"Copying" and Online Bullying

IMG_6042.JPG

I know I don’t have to say this because I am sure my customers, friends and followers on social media know me well enough. But if you’re new around here…

I wanted to add my thoughts to discussions and social media posts that seem to regularly crop up on in my feed.

If you’re a fellow crafter, stitcher, embroidery designer or artist then keep on doing what you’re doing. The world needs you and your work. It needs your unique take on the world and we want to hear your voice. There is room for you.

We are all inspired by similar things and none of us did this first. None of us. Not the lady who was stitching trees in 1976 nor the chap who was making paper butterflies in 1953. We have all consciously or sub-consciously absorbed inspiration and ideas along the way. Nothing is original under the sun, as the saying goes.

There are folk who get their knickers in a twist about ‘copying’. I’ve been messaged by lots of people over the years saying that ‘such and such’ is copying me and I have even had one person contact me because they were outraged that I did a stitched fabric book for my first Stitchery project and they felt it was their idea (in 2017).

I appreciate people’s concern for my business and my designs. I also appreciate that we can feel threatened by work that other people do which is similar to ours, and the knee-jerk reaction might be to feel disappointed. But honestly I am not worried - there is room enough for everyone in the creative world. If I see something online similar to work I’ve created myself then I might re-share my own, just to stop any more nasty messages heading my way about me copying them but otherwise I am very relaxed about it. I love my life, I love my little job and I especially love connecting with people via instagram. I don’t want it to become an unpleasant, competitive and shouty place to be (like Twitter or Facebook, haha).

We may be a very small family business and I do live and breathe my brand BUT if I was ever concerned about any copyright infringement that would be detrimental to my business I would approach it in a polite, professional and private way, via solicitors. (Thankfully I’ve never felt compelled to do this and I know it’s unlikely I will unless a high street store does a tee-shirt with my exact beehive design without asking first…). I would never send an email or social media comment to the culprit and I don’t encourage any of my friends or customers to do that either. I view that as bullying behaviour and bullying destroys lives.

Don’t get me wrong, I am all for freedom of speech and I know that in many situations silence is akin to complicity. But when it comes to ‘copying’ I think negative comments are unnecessary and upsetting for everyone involved. Certainly, at The Stitchery, I want to welcome everyone and rub along nicely with everyone else in the creative world. I love to share the work of artists and stitchers who I admire and I’m always up for collaborations if you’re an artist and you have something in mind!

Having got that off my chest, I won’t be making any ‘copying’ or ‘anti-bullying’ statements on social media any more. I want to keep my instagram grid a happy little bubble as much as possible, away from stress and upset, for my own wellbeing as much as everyone else’s. I don’t want to have to use that platform to defend myself or anyone else, just as I steer clear of politics and religion on social media. There’s a time and place and, for me personally, my Stitchery instagram feed isn’t it.

Thanks for reading, thank you for your support and thank you for being here.

Sending love and sunshine your way,

Nicki xxxx
P5250954.JPG


Christmas at The Stitchery

We made the decision not to exhibit at the Festival of Quilts this year so we will now be launching my Christmas kits next Friday, 30th July at our own micro online festival!

The brochure below shows all of the Christmas kits that will be available to order on Friday; we will have a few discount deals, giveaways and a couple of free online classes too so do stay tuned!

There are plans for one or two Christmas kits later in the year but these are the kits from our Christmas boxes last year which many of you have been waiting for!

I’ll share more via our newsletter so be sure to sign up. See you there!

Nicki xx

Happy Easter from The Stitchery: A free pattern and a biscuit recipe

I love the Easter holiday. It is my favourite break of the year; more than Christmas and I really love Christmas. It’s the colours; the gorgeous pastel hues of mini eggs. Lambs in fields, blossom on roadsides, birds starting to sing in the garden and chocolate for breakfast. I don’t decorate Easter trees for the holiday but I do like to cook a few nice meals and make a cake or two over the long weekend. It’s the perfect break from work and responsibilities with less pressure than Christmas.

P3300592.JPG

This year, the Easter break feels more welcome than ever. The sun is starting to shine a little and restrictions are starting to lift, albeit very slowly, here in the UK. We are hoping to get out for a couple of walks and a takeaway lunch. I also have plans to catch up on some online art classes over the weekend. Lottie will love us being at home with her for a few days.

I felt like stitching a few little chicks and whilst I know it is probably too late for you to stitch them for an Easter gift (although you do have a few days to sit and do them) I thought that you, my readers, customers and fellow stitchers, might like to stitch them too.

You can download the pattern for free over on my website. Clicking the photo below will take you to the digital pattern section of the website.

Sue (Homespun with Love) has been into work today - we collaborate on a few patterns and Sue works with us at the studio once or twice a week when we need help. Sue was a Home Economics teacher and often brings lovely treats in for us to have at break time. Today she brought the prettiest little Easter biscuits and they are so delicious I have eaten three!

I quizzed Sue for the recipe and asked if she would mind me sharing here for you to make some too. They are a simple shortbread biscuit with a simple but effective Easter decoration on top. I bring you - courtesy of Sue - the Easter Bonnet Biscuit!

P3300607.JPG

Sue told me the recipe in imperial measures which I love as I find it easier to remember the quantities (my favourite sponge recipe is a 6/6/6 combination of ingredients!)

Pre-heat oven to 180 deg C and grease or line a baking tray.

Easter Bonnet Biscuits from Homespun with Love

In a bowl, put 6oz plain flour, 4oz room-temperature butter and 2oz caster sugar. Rub together to combine the ingredients into breadcrumbs. Rub a little harder (to warm the fat up) and it starts to form clumps which you then squeeze and knead together to form a ball of dough. Try not too handle the dough too much, so that you get a nice crumbly biscuit.

Roll out the dough to about 1/4” thick and cut biscuits with a fluted circular cookie cutter. Prick the biscuits with a fork and pop in the oven to bake for about 10 minutes. The biscuits can brown quickly, which you don’t want. Keep your eye on them and turn the tray if necessary through cooking and remove any that start to colour too quickly. You want the biscuits to be a pale yellow colour. Remove from the oven and cool on a wire rack.

For the bonnet decoration you need a quantity of glacé icing (icing sugar mixed with water) and some white marshmallows. Pop a marshmallow at the top centre of the biscuit and drop a teaspoon of icing on top of the marshmallow. Allow the icing to run to the edge of the biscuit and tidy up the edges with the back of a spoon. Allow the icing to set and add a piped ribbon with slightly tinted pink glacé icing. If you have them, add a couple of decorative white pearls to the centre of the bow. Allow to set and enjoy with a cup of tea.

Enjoy your Easter break, whatever you get up to!

Thank you for being here.

Nicki xxx

P3300610.JPG


Thread Storage and a new collection

When I think back to the days when I first started stitching, in my childhood, I don’t remember my threads tangling up the way they do now. A visit to the haberdashery shop with mum was such a treat. We would each come home with little white paper bags filled with beautifully coloured silky skeins of thread that I would lay carefully in my sewing box. I remember my padded floral sewing box brimming with threads, lots of pinks of course, and not a single bird’s nest tangle in sight.

Now I just need to look at a skein of thread and it practically snarls up on the spot. I love a fresh new skein but once I start using them - yuck.

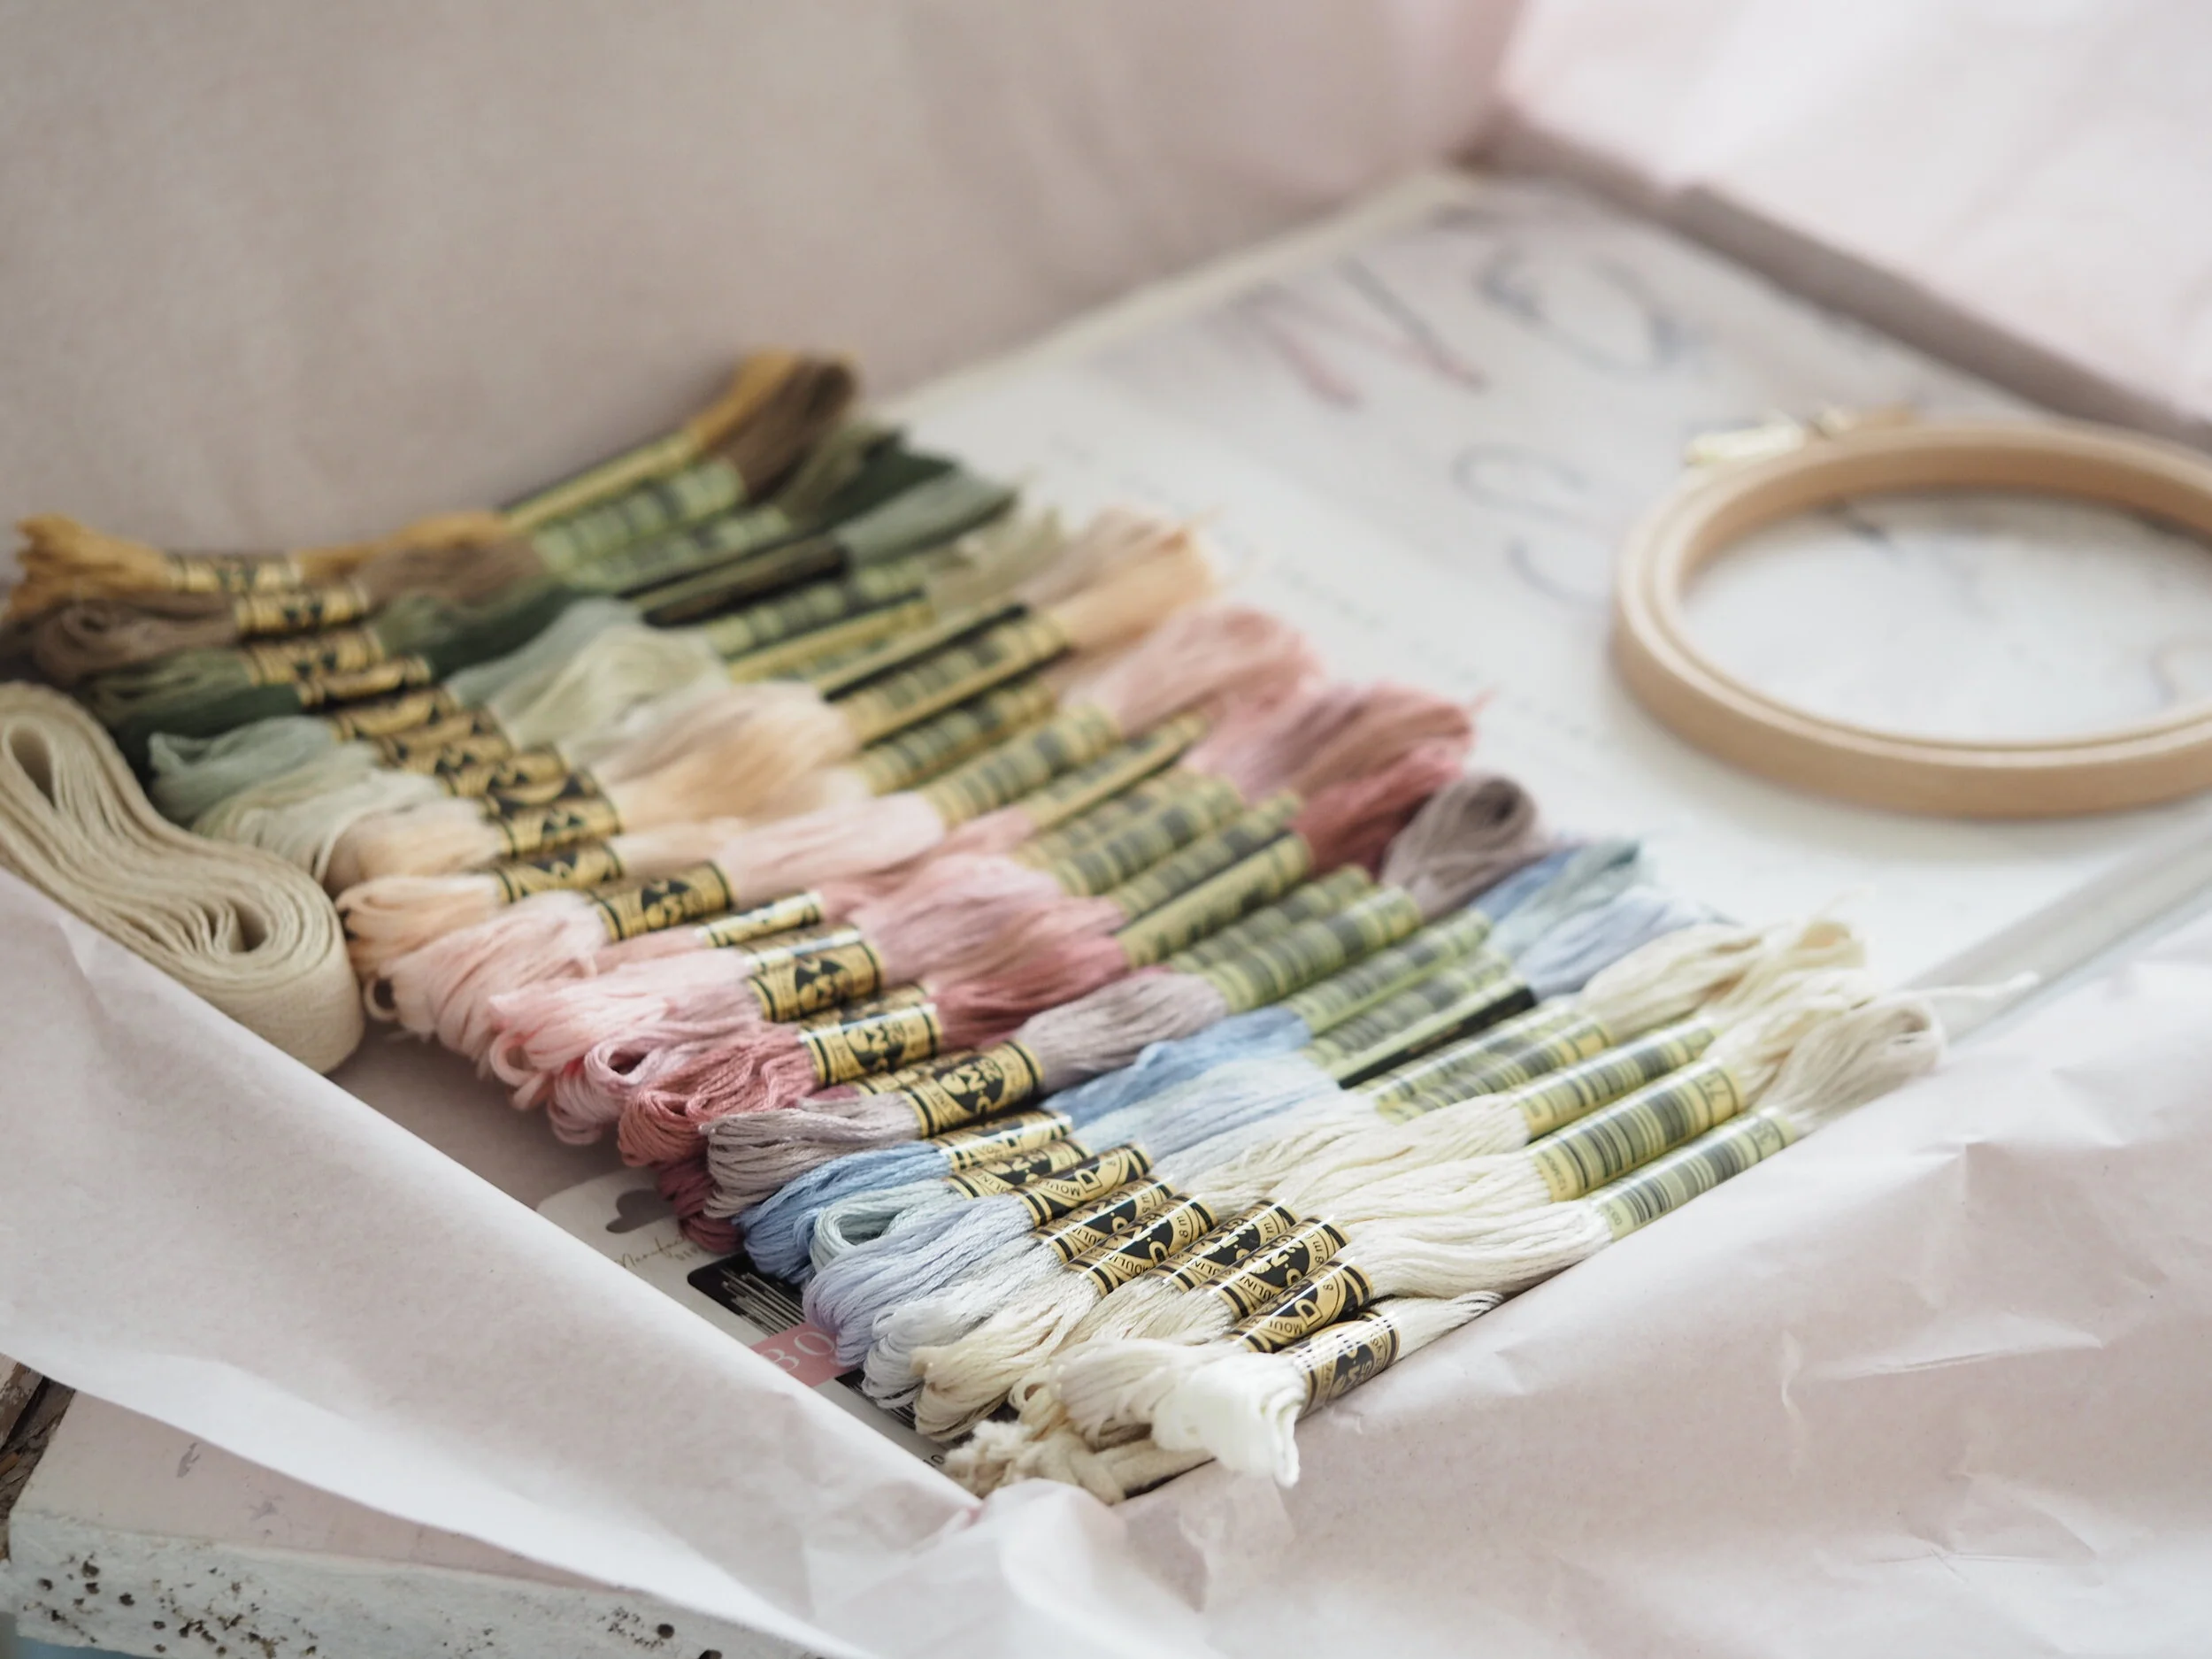
We’ve been busy putting together our Alphabet Sampler kits lately with 29 skeins of thread, all of them beautiful colours, and they look so lovely laid out nicely next to each other. It made me wonder how they would be stored when they reach their destination.

The Stitchery Alphabet Sampler kit with 29 skeins of thread

The Stitchery Alphabet Sampler kit with 29 skeins of thread

When I resumed stitching, about ten years ago now, I became obsessed with finding a way to store threads. I began with the special plastic boxes filled with plastic bobbins. I bought the DMC number stickers and kept a list in the back of my notebook to tick off the ones I’d got, so that I could avoid duplicates when shopping. The sight of those bobbins all neatly stacked and labelled, in colour order was so inspiring to me. (I have dug out a couple of photos from my old blog - Homebird - to show you.)

Screenshot 2021-03-10 at 12.07.43.png
Screenshot 2021-03-10 at 12.07.18.png

I spent the summer of 2012 working on this pretty cross stitch kit from a lovely book. I still love to see a nice tidy box of colours like this but I don’t like how the thread gets such tight kinks in it and now I stitch so much more often and keep SO many more colours in my stash, this doesn’t work for me any more.

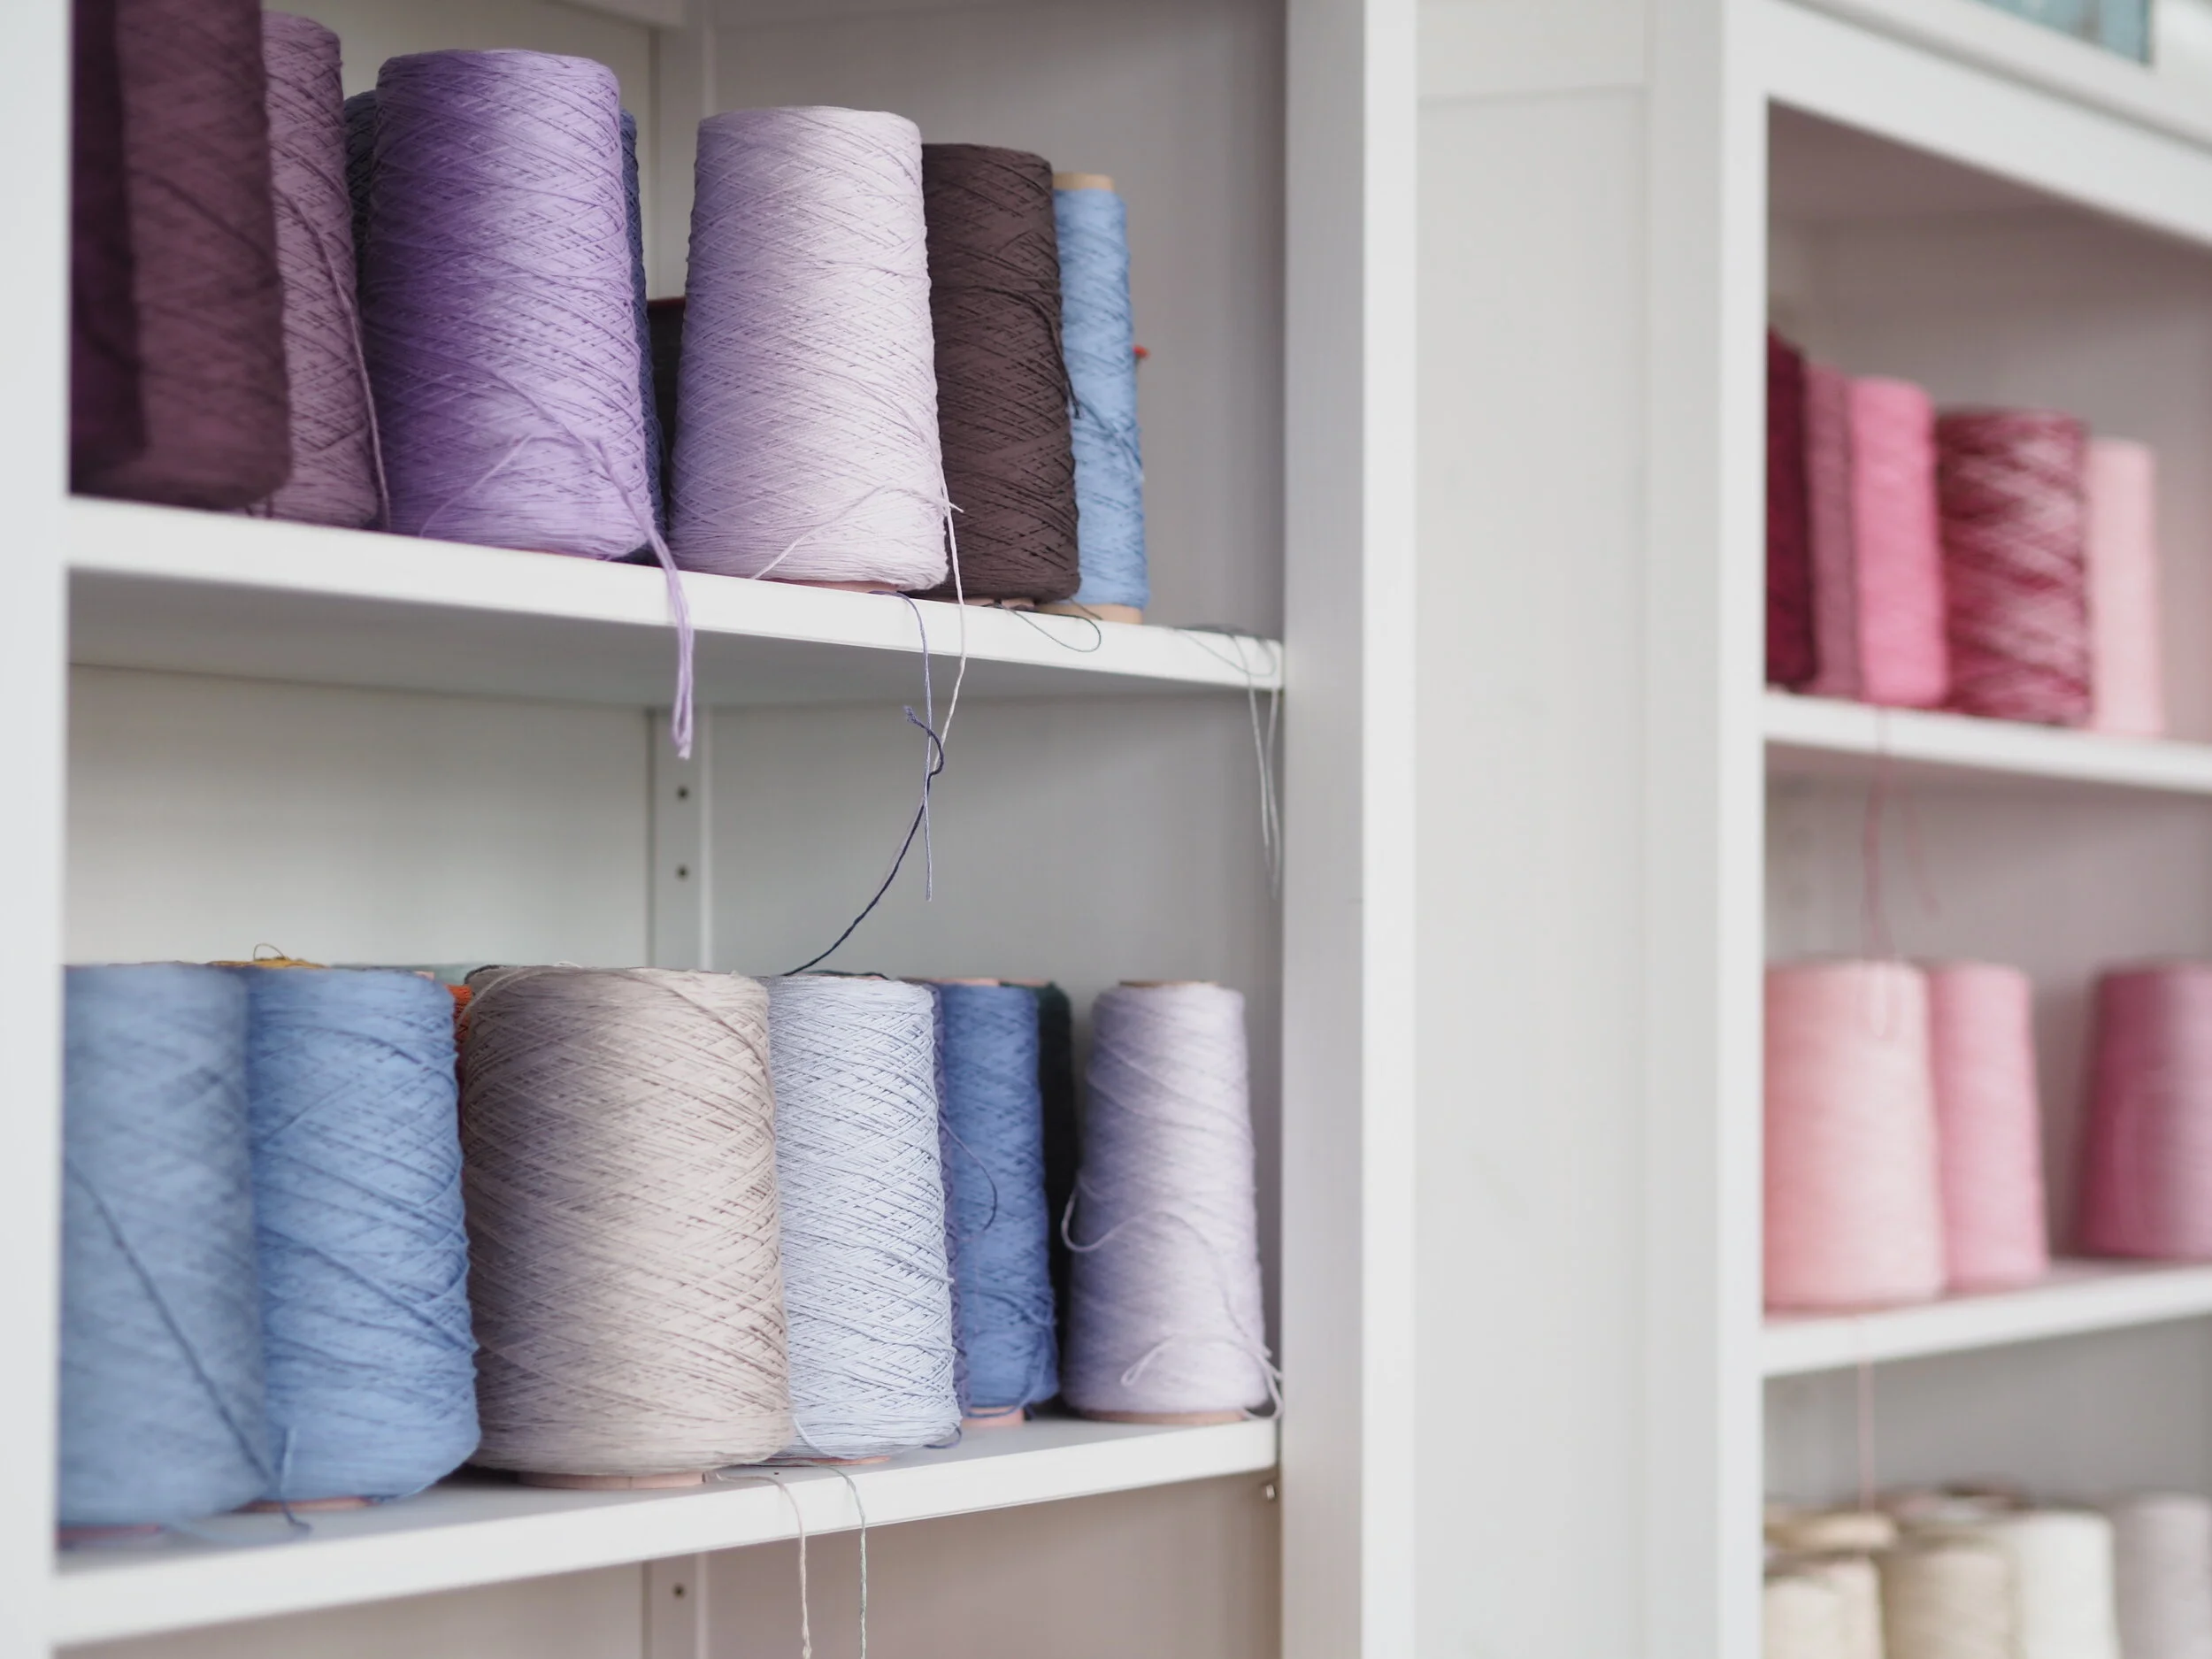
I use DMC for all of my kits because they come in the widest variety of colours and they are easy for people to get hold of replacement colours all over the world. I buy them in large cones and keep them in (sort of) colour order in the studio.

P3100373.JPG

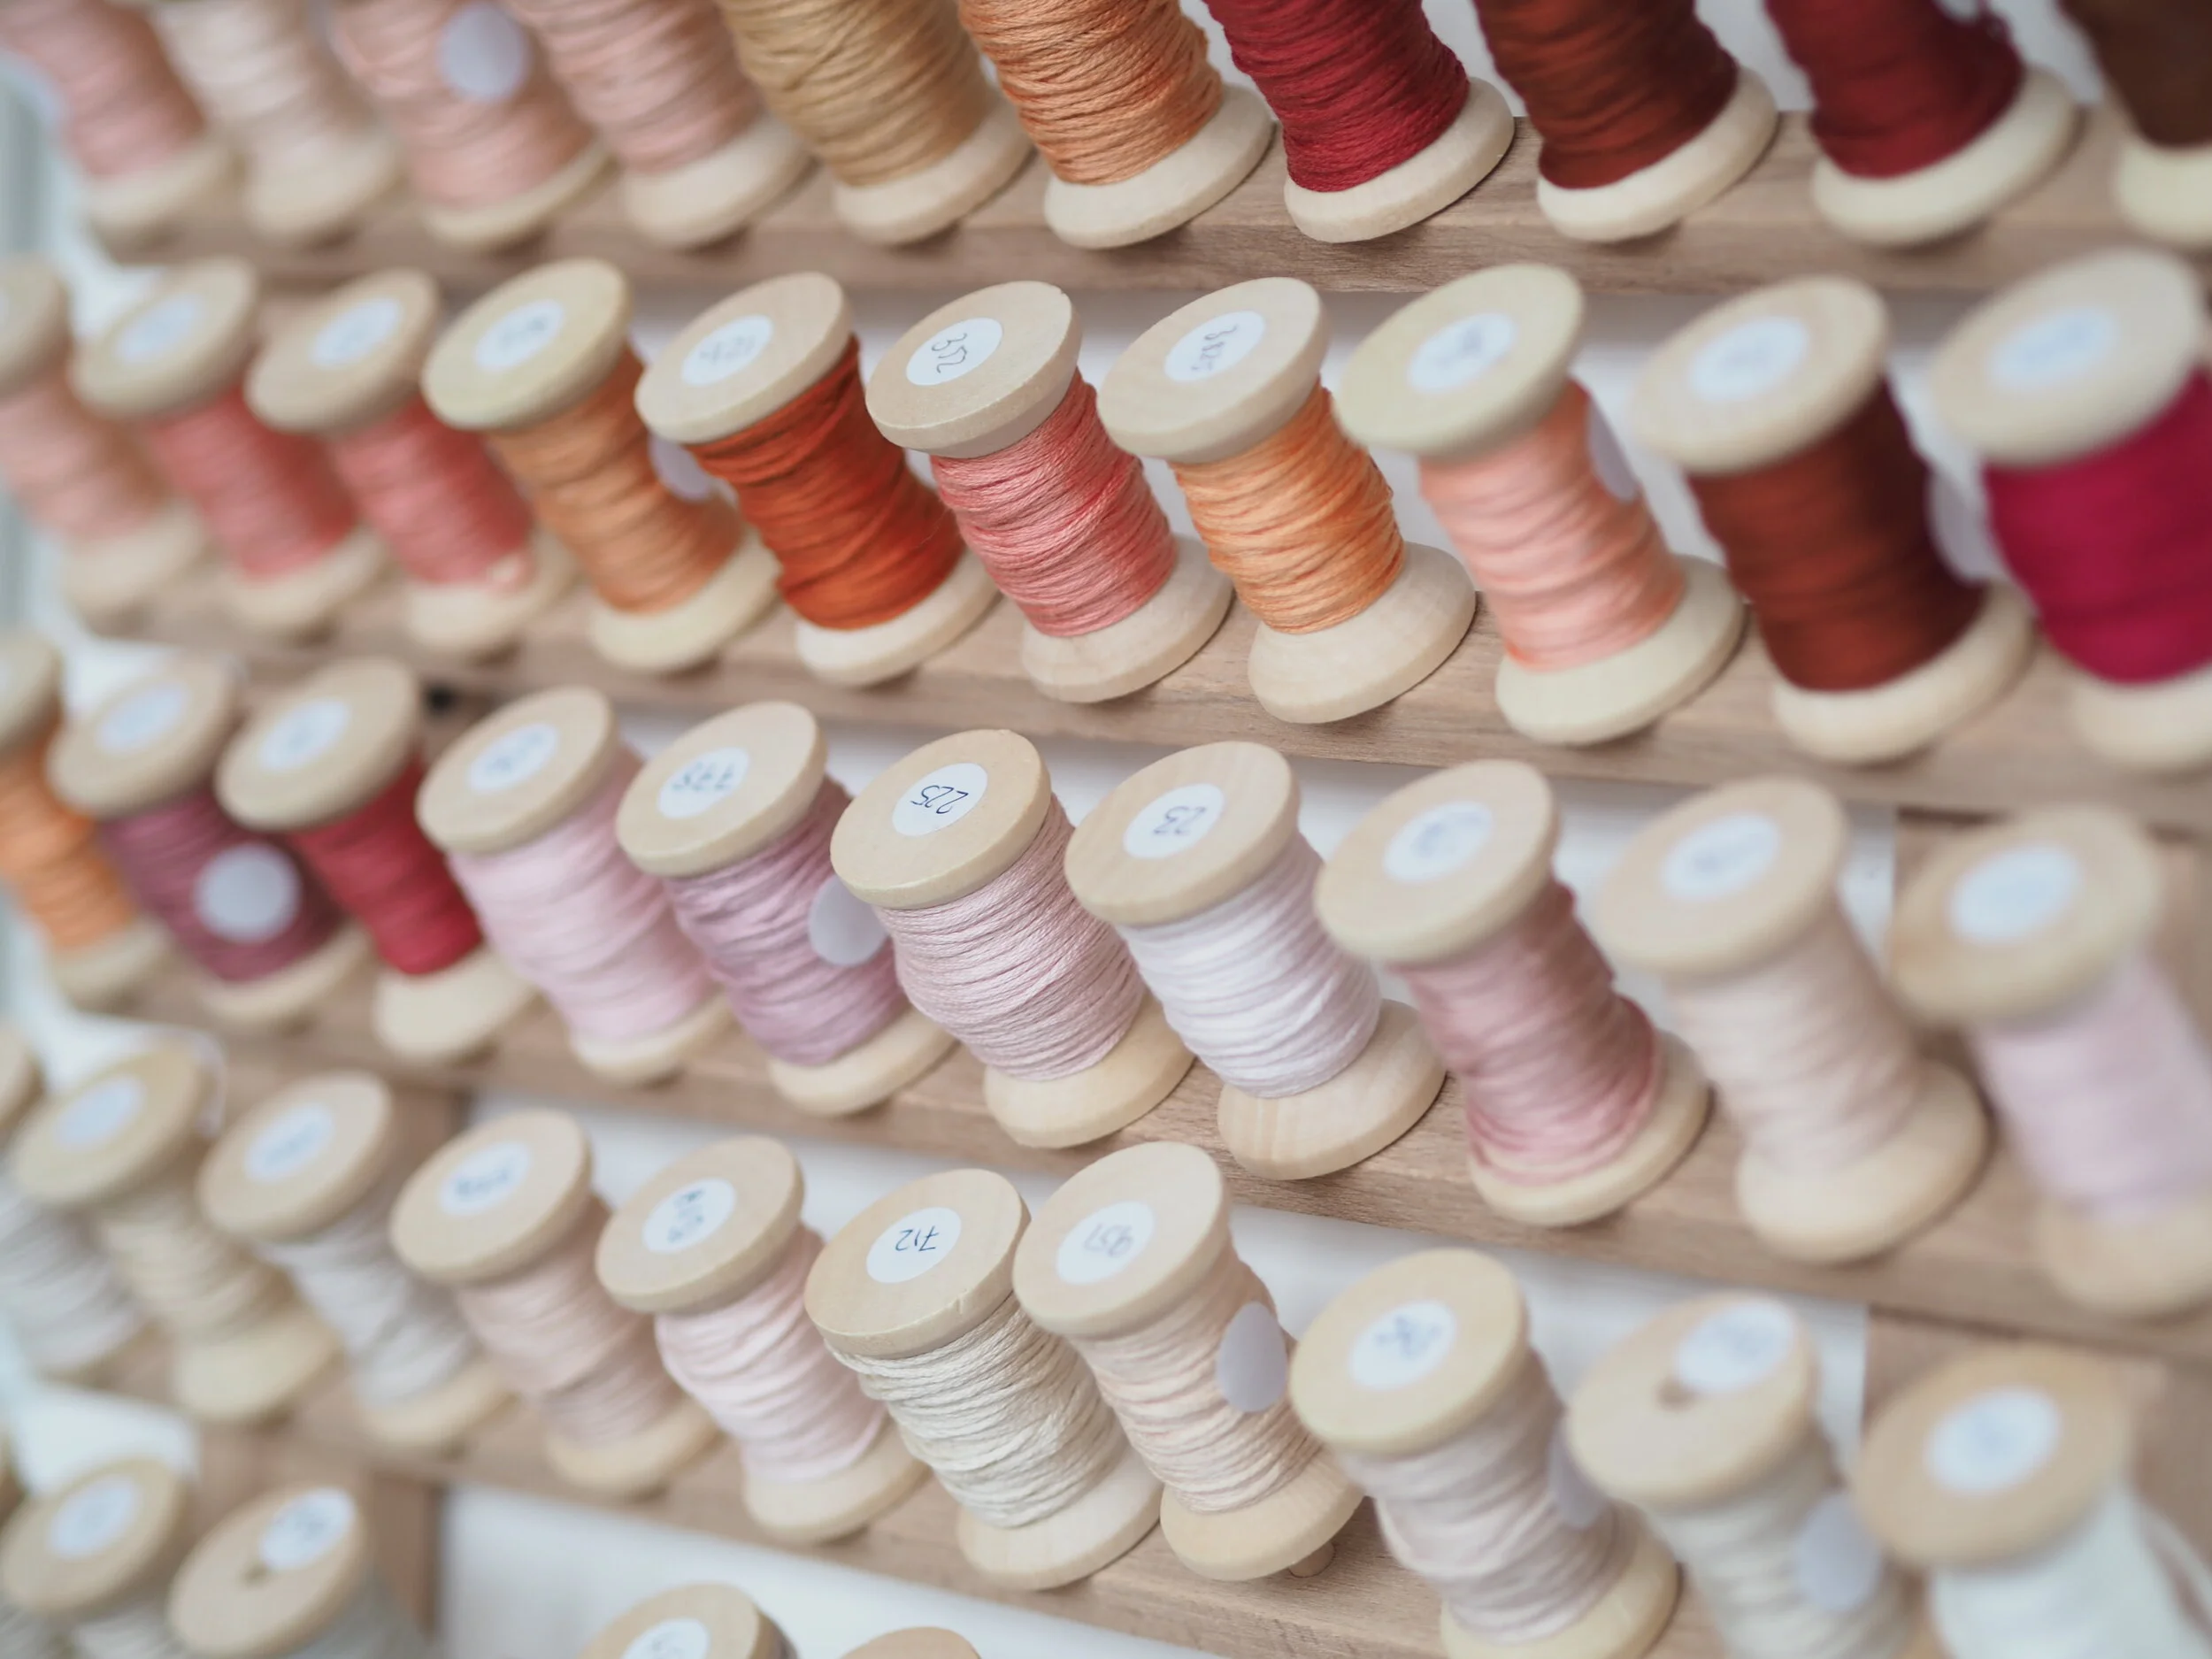
For my personal stitching and in my stash I have not only DMC and Anchor but also Au ver a Soie, Temaricious, Sajou, The Gentle Art, Weeks Dye Works, Cottage Garden Threads, Mulberry Silks, Aurifil and Valdani, to mention just a few. They all come packaged differently and so I like to keep them on wooden spools and I have just found a sweet rack on Amazon to display them all. (Winding them all onto spools is a work in progress and something I have my niece do for me on the weekends to earn a bit of pocket money!)

P3100370.JPG

This is my current favourite storage method for large quantities of thread - I keep a sample of every colour from the cones so that I can easily transport them for kit designs. They look pretty too!

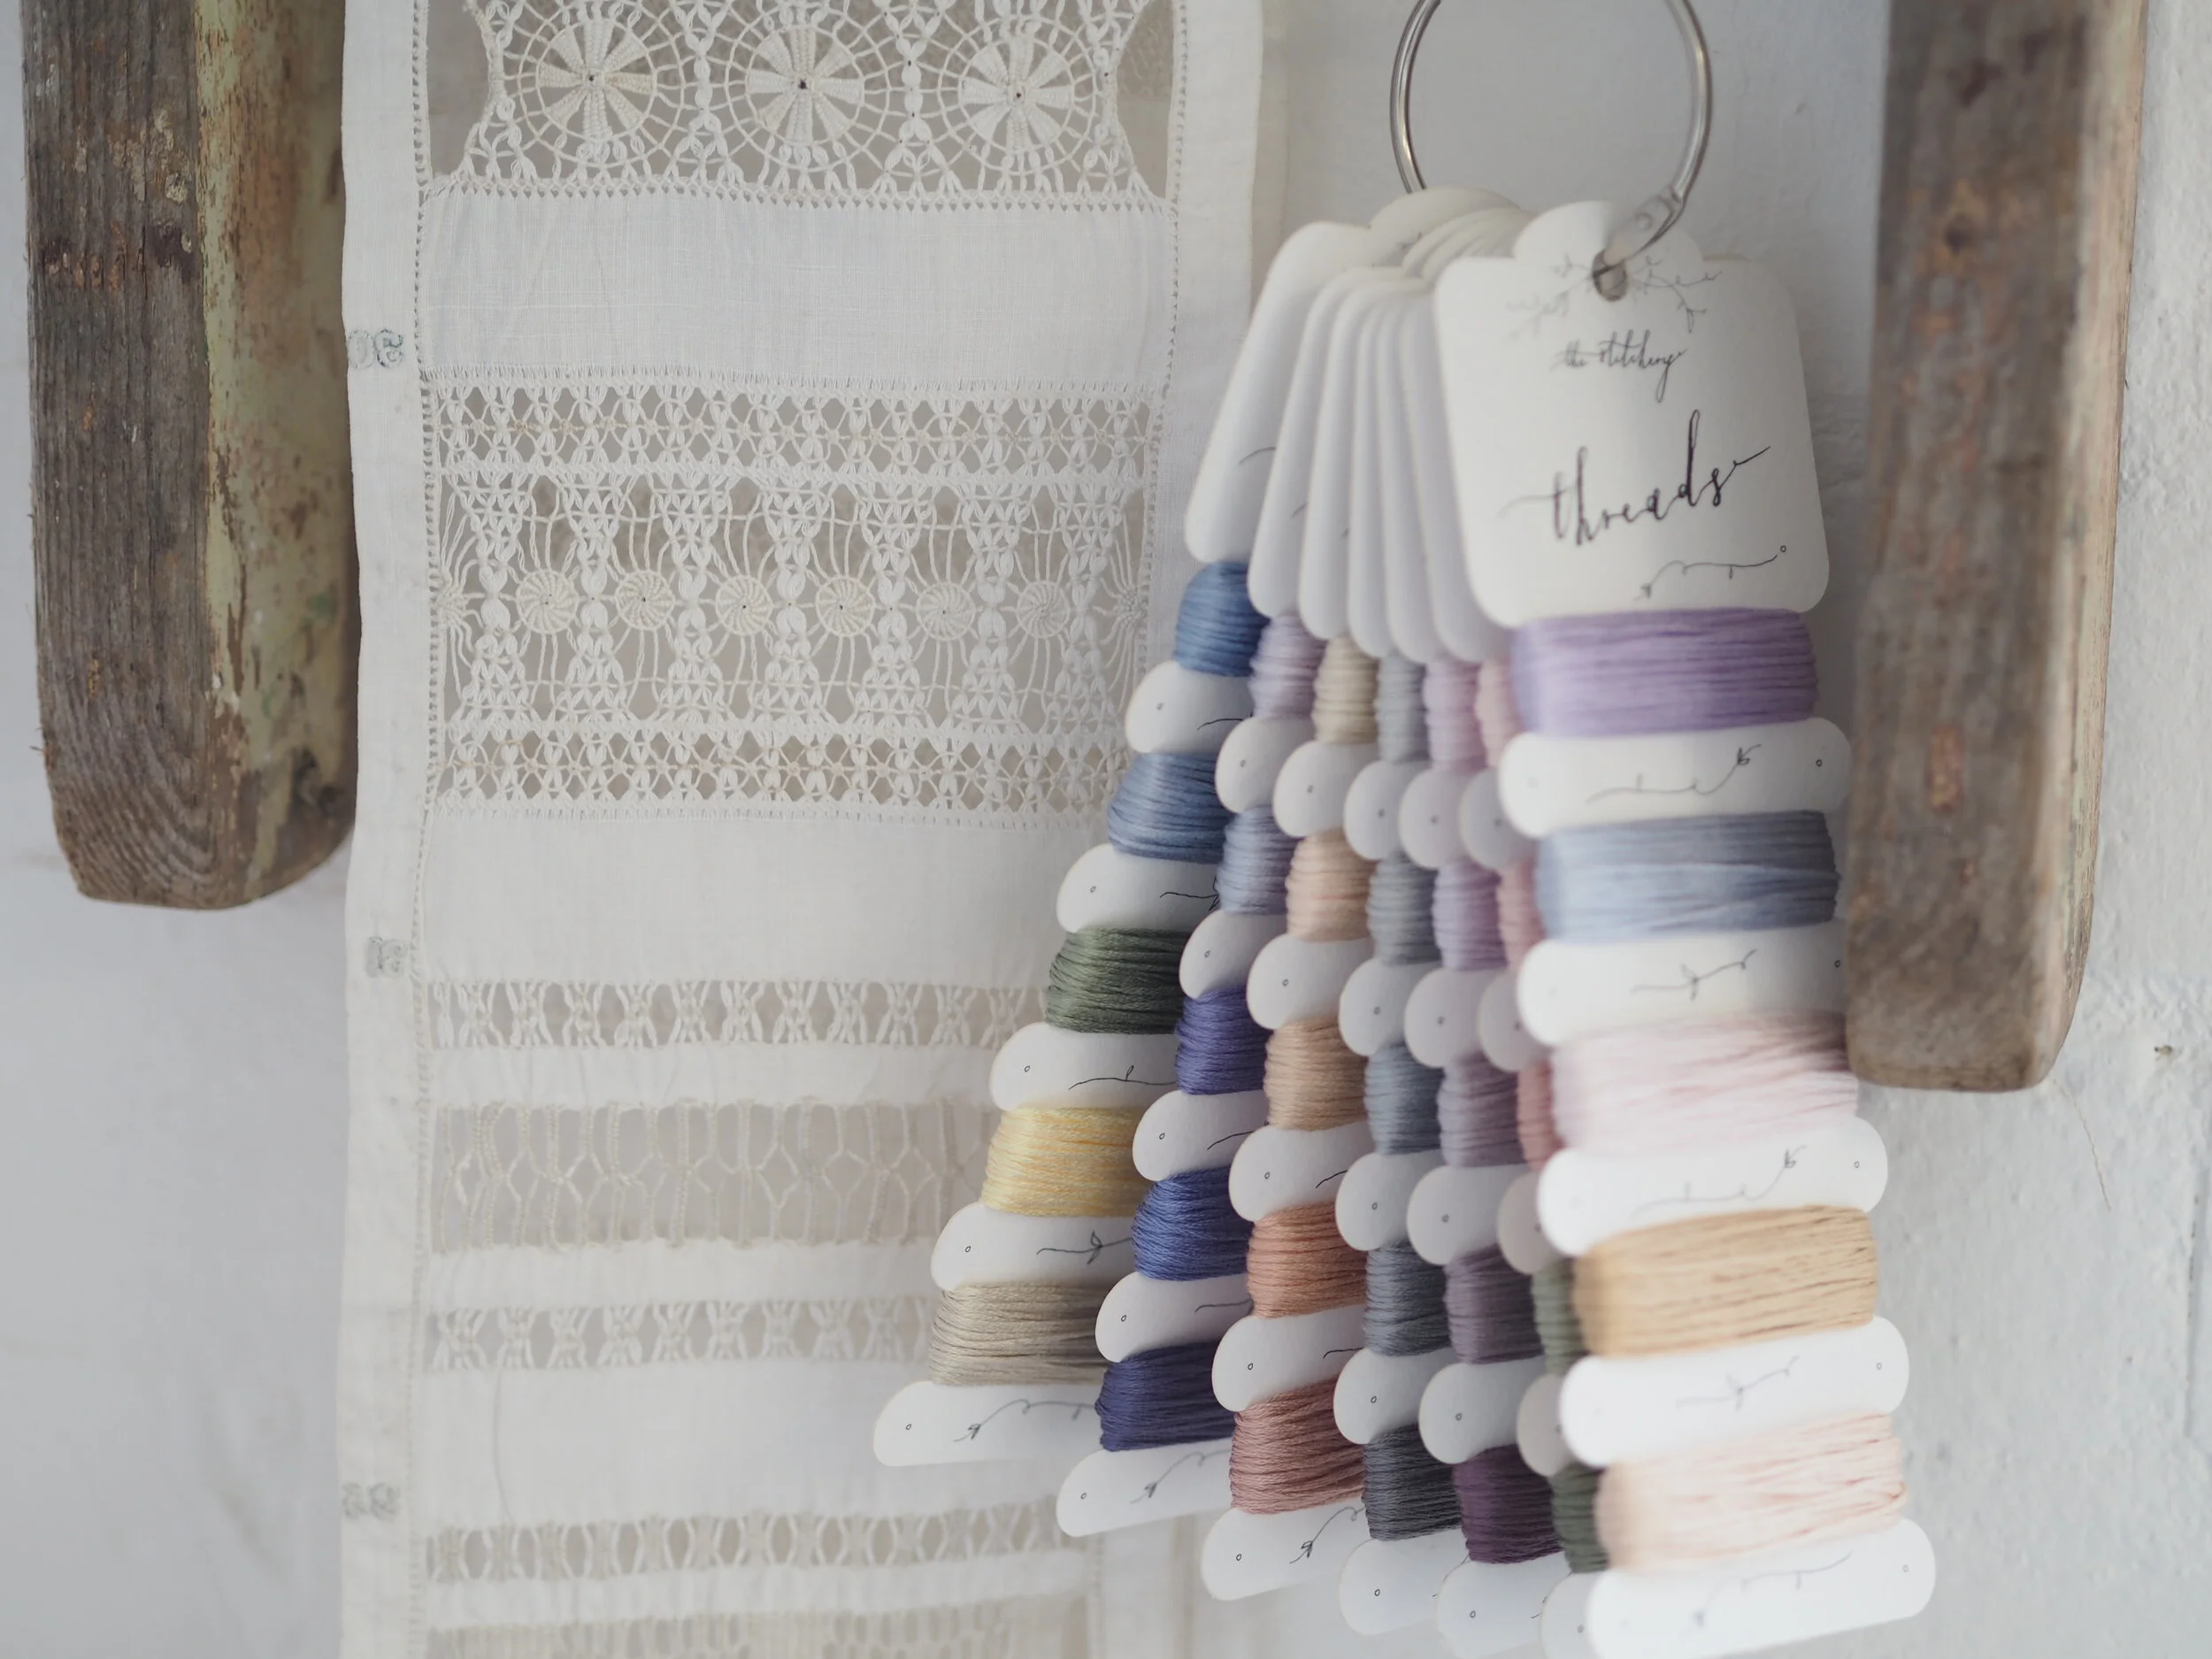
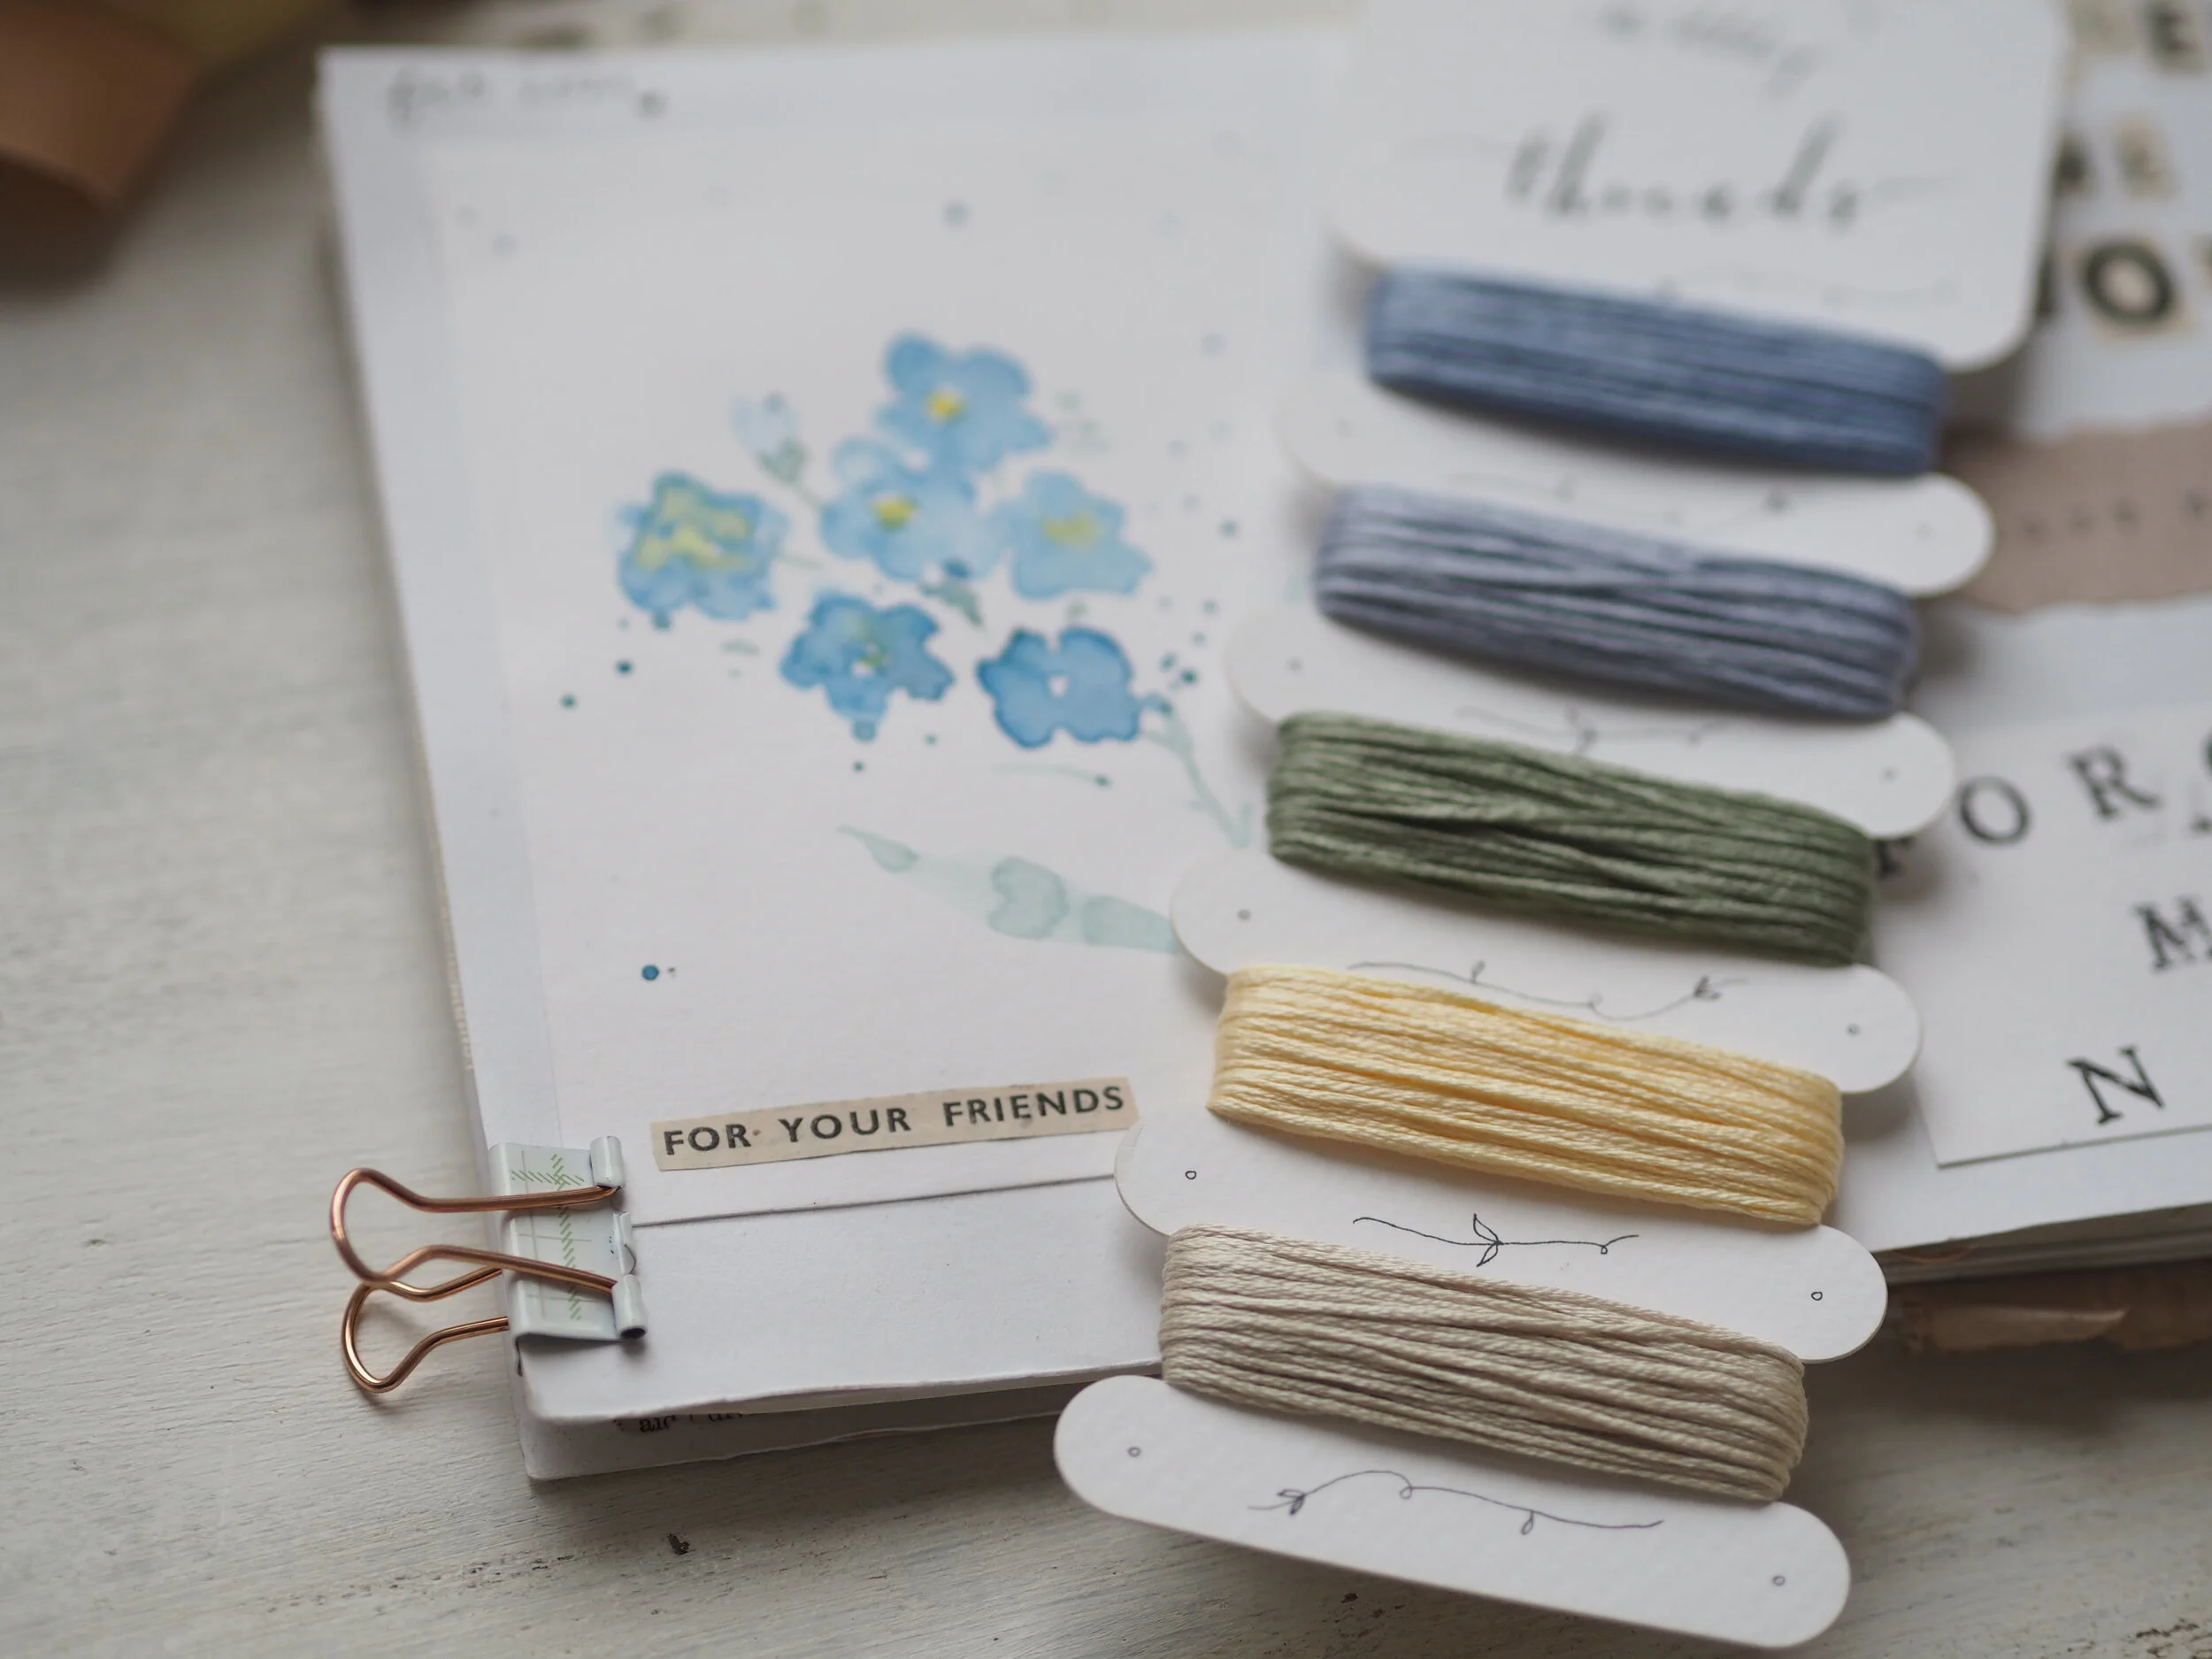
Finally, for my other threads I like to wind them onto my spare collection cards. You can buy them pre-wound here with my ‘favourites’ collections on. I’ll also be selling them in packs soon so that you can use them for your own thread storage. I use tiny white stickers to hold them in place on the back and they keep really neatly hung on a hinged metal thread.

P3100358 2.JPG

Our lush Studio Assistant, Clairey, is making up the thread collections like a trooper and I have just updated stock amounts in the shop HERE for the Rosy Pinks, Spring Pastels and Bluebell Woods collections. We have also created a Forget-me-nots collection, as requested by the group at my Zoom class last month. If you fancy stitching a few forget-me-nots I have a free pdf pattern over in my online studio HERE along with a recording of the online class I held too.

P3100339.JPG
P3100344.JPG

Thanks for reading! Hope you and your families are staying well and safe.

Love

Nicki xx

Painting on Linen: Useful Resources

Hello hello!

There’s a frisson of hope in the air at The Stitchery today as we talk about making tentative plans for fairs, retreats and events at the studio. With potential ‘release’ dates from the Prime Minister yesterday it feels even more important to really stick to the rules and stay strong for just a little bit longer.

We are sending out the February kits for Stitchery Lane this week; kits will ship on Thursday and Friday this week. There’s some painting involved which I know can sometimes be a bit intimidating, particularly if you are a beginner. It really isn’t scary and, certainly for embroidering The Stitchery style , slight imperfections make your embroidered art extra charming!

I will be doing a monthly class for the Stitchery Lane subscribers and you can find the dates for those lessons here. Other resources include a blog post I’ve written on linen painting here and a youtube video here. Hopefully they will help you to enjoy the painting aspect of kits a little more!

I’ve been doing some lovely online art classes this lockdown (more about those another time) and have come across a lovely inexpensive set of watercolour and gouache paints that are not only good on paper but ideal for fabric too. We now sell Seawhite of Brighton watercolour in sets of 12 tubes with all the colours you could need for my embroidery kits. I haven’t used much gouache yet in my embroidery - it sits on top of the fabric rather than soaking in - but a little white gouache is perfect for white buildings and snow if you don’t plan to stitch through it, adding lots of texture. Click on the photos below to buy. I also have a small packet of the basic watercolour brushes that you might need too. All in the Tools section of the website.

The Language of Flowers: a personal project

Hi and happy happy new year!

If you follow me over on instagram or read my newsletters, you’ll know about the new little project I have started for the new year. It’s not something I was going to do for The Stitchery, rather a little fun and informal project for myself to work on during my downtime (something I am determined to make more of this year).

I loved the film Enola Holmes and have found myself thinking about it often. I loved everything about it but especially the props and the coded messages. I would like to improve my sketchbook, drawing and lettering skills this year and I have become a bit obsessed with book binding, so I thought I’d do a little project on the language of flowers, inspired by the film.

Words and typography (and packaging!) have always been my thing so I definitely wanted to do something with lettering and I am enchanted by the idea of flowers having a secret meaning! Obviously stitching is my first love and I definitely have to stitch the flowers…. I am starting with the Xeranthemum because it stands for cheerfulness in adversity which feels totally appropriate right now. It’s a pretty flower too.

DF307933-366D-4428-99FE-DC15A8809542.JPG

Anyway, I wondered if you, my stitching friends, fancied joining me. On Friday 22nd January I will be doing a live zoom workshop that will be free for my newsletter subscribers; I will show you how I’ve stitched the flower and talk a bit about how I’m decorating the pages of my sketchbook and stitchbook. I’ll be circulating the digital pattern and supply list in next Tuesday’s newsletter so please sign up before then if you fancy joining in. Don’t worry if the time isn’t good for you, I’ll be selling a recording of the workshop with the profit going to charity.

It isn’t something I am putting myself under pressure to do religiously but I’m hoping to do something once a month and, when I do, I will most certainly invite you along again. Hope to see you next week. Any questions then please drop me a line.

PLEASE NOTE - this important - if you want to participate live or receive the recording for free, you must be a newsletter subscriber. I cannot add you to the subscriber list myself due to data protection law; you will find a link to subscribe at the foot of each page on the website (there is a two-step authentication system where you have to verify your subscription so check junk mail for the note!)

I know not everyone (hardly anyone) wants to have me waffling on in their inbox every week so you’ll be able to buy the pattern and recording later on here on the website if you’d rather not subscribe.

Hope you are having a nice week.

With love,

Nicki xx

Heart Template

Just a quickie today as we are in the midst of Christmas loveliness.

I am often asked for the heart template that I use for my embroideries so I have added it as a free download should you wish to use it.

Just click on the image below.

I’ll be back very soon with my Christmas charity pattern - a third year and I would love to raise another £1000 for my favourite charity, Shelter.

See you soon

with love and Christmas glitter,

Nicki xx


News from The Stitchery

Hello hello, I hope you are keeping well and happy. It’s getting cold here and we are preparing for our second lockdown so I am getting ready for weekends at home with a fire, a lapful of puppy and some stitching. (Maybe a nip of ginger wine too, for when it’s really cold.)


I am super thankful that you have been keeping me busy with your orders in my new studio this year. It has been an unsettling year for everyone and I have only recently started to get properly on top of my workload with help from my wonderful friends and family. I am excited to say, though, that I will have full-time help with The Stitchery from the new year and it cannot come quickly enough.


D R U M R O L L P L E A S E

After 30 years in the banking industry, my husband (Drew) has taken redundancy and will be working with me on a full-time basis from 1st January. He has been helping me outside of his day job for the last couple of years and we have often dreamed of being able to work together on all things stitchy. So we’re doing it.

I have so many ideas and projects I want to work on that I need help in actually getting the production side of things organised and that's where Drew comes in. He will be in charge of production and despatch so that I can focus on the things I love best; designing, teaching and connecting with my stitching friends online. I love teaching and whilst I now have a bigger studio to accommodate more people (when it’s safe to do so) I want to be there for my customers overseas and for those who love stitching but would rather do so at home in their spare time (fellow introvert here and I hear ya). Working with Drew means that I will have more time and headspace to focus on my online classes as well as retreats, in-person lessons and events next year too.

Obviously it is a big and scary change for both of us (we won't be buying diamonds or ferraris any time soon, that’s for sure) but we have worked together for years previously (we met at the previous bank we worked at) and got on well so I am confident that we can hang out at the studio together and not kill each other. *famous last words*

Many of you will have spoken to Drew already via email or met him when he was helping at one of the fairs we attend and I know that you will make him super welcome. He is lovely (everyone says so, not just me!) And, as, I overheard him saying to one of his colleagues the other day, "what [he doesn't] know about French knots, isn't worth knowing."

If you are waiting on orders in the meantime, please bear with us as we catch up and get through them, particularly as we enter lockdown again and things slow down for a second time.

Thank you for buying from The Stitchery and for continuing to support us.

Love

Nicki (and Drew). Eek. xx


The Stitchery Journal 2021 : Welcome to Stitchery Lane


I can’t quite believe that I am writing this but it is the time of year where I receive a lot of excited emails enquiring about the availability, and project, for next year’s subscriptions.

It is the fourth year of The Stitchery Journal and 2021 will be slightly different in that we will be completing an entire piece of textile art across the course of the year. I am so excited to begin!

Stitchery Lane is a street in a pretty, imaginary town, inspired by my favourite places across Europe. The Stitchery Journal for 2021 will be a concertina fabric book that opens to its full width to display a beautiful row of shop fronts and cottages, peppered with trees, carts and flower pots.

There will be a florist, pavement cafe and library. A few pretty pastel cottages and a greengrocer. A bakery and, of course, a town hall. As it is a street in my imagination, flowers bloom whatever the season and the buildings are individual and quirky.

Pieces will be a mix of embroidery and applique with a little fabric painting in places. You will be given access to Stitchery Lane at the Stitchery Studio online where I will demonstrate easy applique methods and linen painting with the odd livestream stitchalong. Whilst you will be able to buy a ready-made linen fabric journal they are very simple to make and I will be demonstrating how to sew one as part of the subscription.

Each month you will have a building or scene to stitch that will be transferred to your linen book. If you prefer not to complete the book, however, each embroidery will be an attractive piece of textile art in its own right, suitable for framing or making into a decorative wallhanging. You could also make a quilt block with each piece, should you wish.

I don’t have photos or sketches to share yet as you will be working on your artwork alongside me; I will stitch and share each piece monthly with the first available at the end of January.

Stitchery Lane will be my only kit subscription for 2021, sent monthly. There will be no quarterly subscription next year as I kind of fancy having a little freedom for a while to create ad-hoc standalone kits. I am currently obsessed with The Language of Flowers courtesy of Enola Holmes; a film which I have watched approximately 398 times so far. I love it. The film has also refuelled my love of typography and Victorian illustrations.

Full Year Subscription Packages Available Now

At the moment I am only offering full year subscription packages for 2021 to help me ascertain interest and, subsequently, numbers for print cost purposes. I have kept the full year price the same for the third year running and monthly subscriptions will be available at a cost of £27 per month plus p&p from the beginning of January.

As we know, the best way to eat an elephant is bit by bit and I hope that this monthly subscription will give you the confidence and impetus to create a large, detailed, piece of textile art that you might never have attempted otherwise. My kits are always aimed at enthusiastic beginners whilst being, hopefully, an enjoyable relaxing stitch for the more experienced embroiderer. 2021 will be no different and I am excited to start this project with you and help you to create something you are proud of.

Don’t worry if you are an absolute beginner and don’t feel ready to attempt such a project. 2021 sees the launch of Stitch School; a series of online tutorials specifically for the beginner. Each month we will tackle one specific stitch with a downloadable mini project at the end of each module. Each mini project will demonstrate uses for the stitch we’ve learned. I will share more here next month for those interested.

FINALLY (phew!) I will be relaunching the Alphabet Sampler next year as a monthly digital subscription (with fabric and threads available to buy separately). More soon I promise!

Thank you for your enthusiasm and support this year, I am so enjoying stitching with you. If you have any questions at all please do drop me an email, I would love to hear from you.

Love

Nicki xx


The Stitchery Studio Online

P9070801.JPG

If there is one thing that makes me thankful for lockdown, it is the volume of e-courses, talks and clubs that have become accessible on the internet. I love going to workshops in real life; meeting new people and soaking up the atmosphere but you cannot beat the sheer indulgence of joining a workshop from your kitchen table in your own sweet time. I can’t always justify a whole day out to sit and stitch but when those classes are broken down into hour-long sessions that I can do each day after dinner? Perfection. I’m there!

I have found SO many artists over the pond who I want to visit and learn from one day but whilst I find the money (and the dog sitter) for those trips I am delighted to be able to join their classes and paint with them at home, in my slippers, with the puppy at my feet and dark chocolate Bounty bars on tap.

Stitchery customers have often told me that they would love to join a workshop but I’m too far away or they work during the week (when I typically hold classes) so I thought I’d look into a suitable platform to host online courses. I am really excited to have found just the thing and whilst I am working on subscription video classes for the new year, I thought I’d kick off with a little Christmas stitching for December.

And so I have launched my first online class, which talks you through how to embroider and make an heirloom Christmas stocking. I am really keen to make the course as pretty, festive and fun as possible so we won’t just be making one stocking, I have lots of ideas and mini projects to share at the end of the course too. There will be a live stitchalong and there is a community page where we can hang out and be social.

I know it isn’t quite the same as getting together in real life but it does have some really useful benefits that you don’t get from a ‘real life’ workshop:

  • Lifetime access means you can join the class whenever you like as many times as you like.

  • You are a lifelong member of the Christmas Stitching community and will meet other stitchers sharing projects from future Christmas e-courses.

  • There is no long and stressful journey to and from class. You can join in your PJs.

  • The videos are downloadable so you can download to your device and access them whenever and wherever you like. Join from a cafe or campsite, on a long train journey or in the wee hours when sleep eludes you.

  • The videos show stitches and projects really close up to help you master the stitches. Pause and rewind to your heart’s content!

  • It’s a safe and convenient way of learning. An easy way to add a bit of cheer and feel connected when you are convalescing from an operation or isolating for health reasons.

If you fancy giving it a go you can read about it here and sign up here. When you join, you’ll automatically receive an email with a video from me to help you gather materials for class. You will also be granted free access to the Christmas Stitching community. I haven’t quite got around to stitching my designs for class yet but I will share sneak peeks here and on my social media pages if you’d rather get a taster before you sign up. I can promise you, however, the projects will be beautiful and achievable for all stitcher levels.

Really hope to see you there.

Nicki xx

Christmas Mini Kits Coming Soon

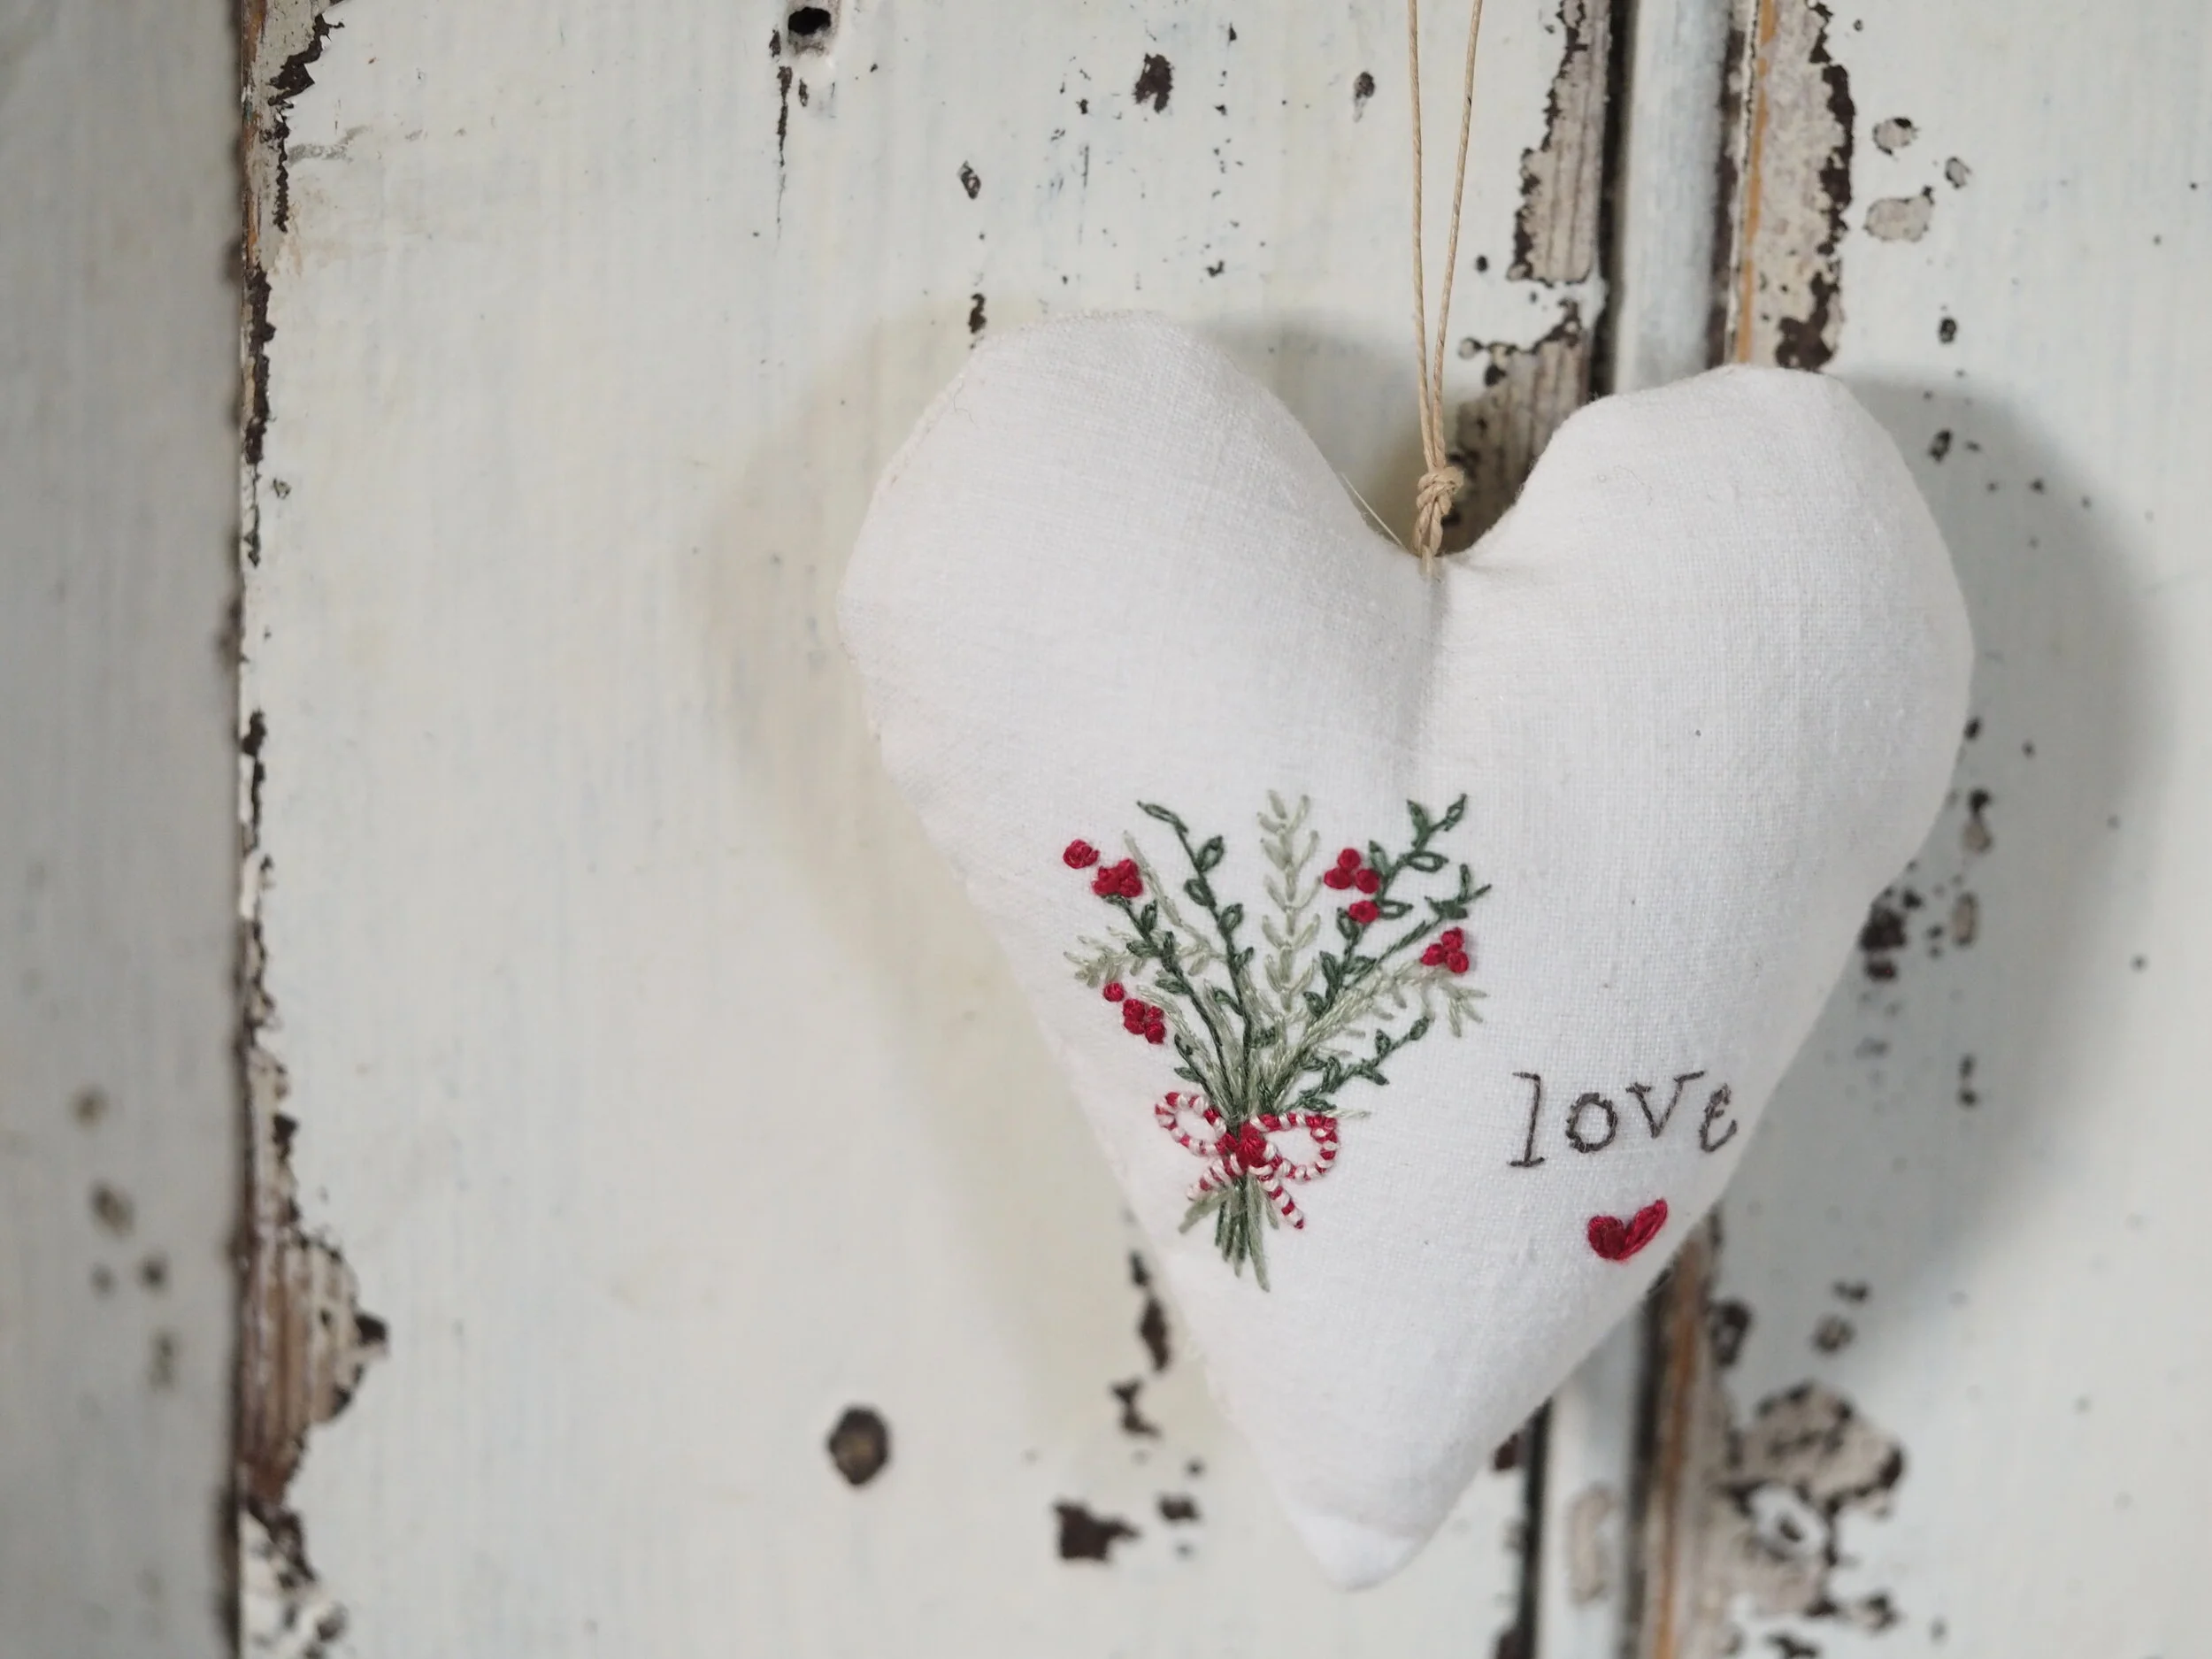
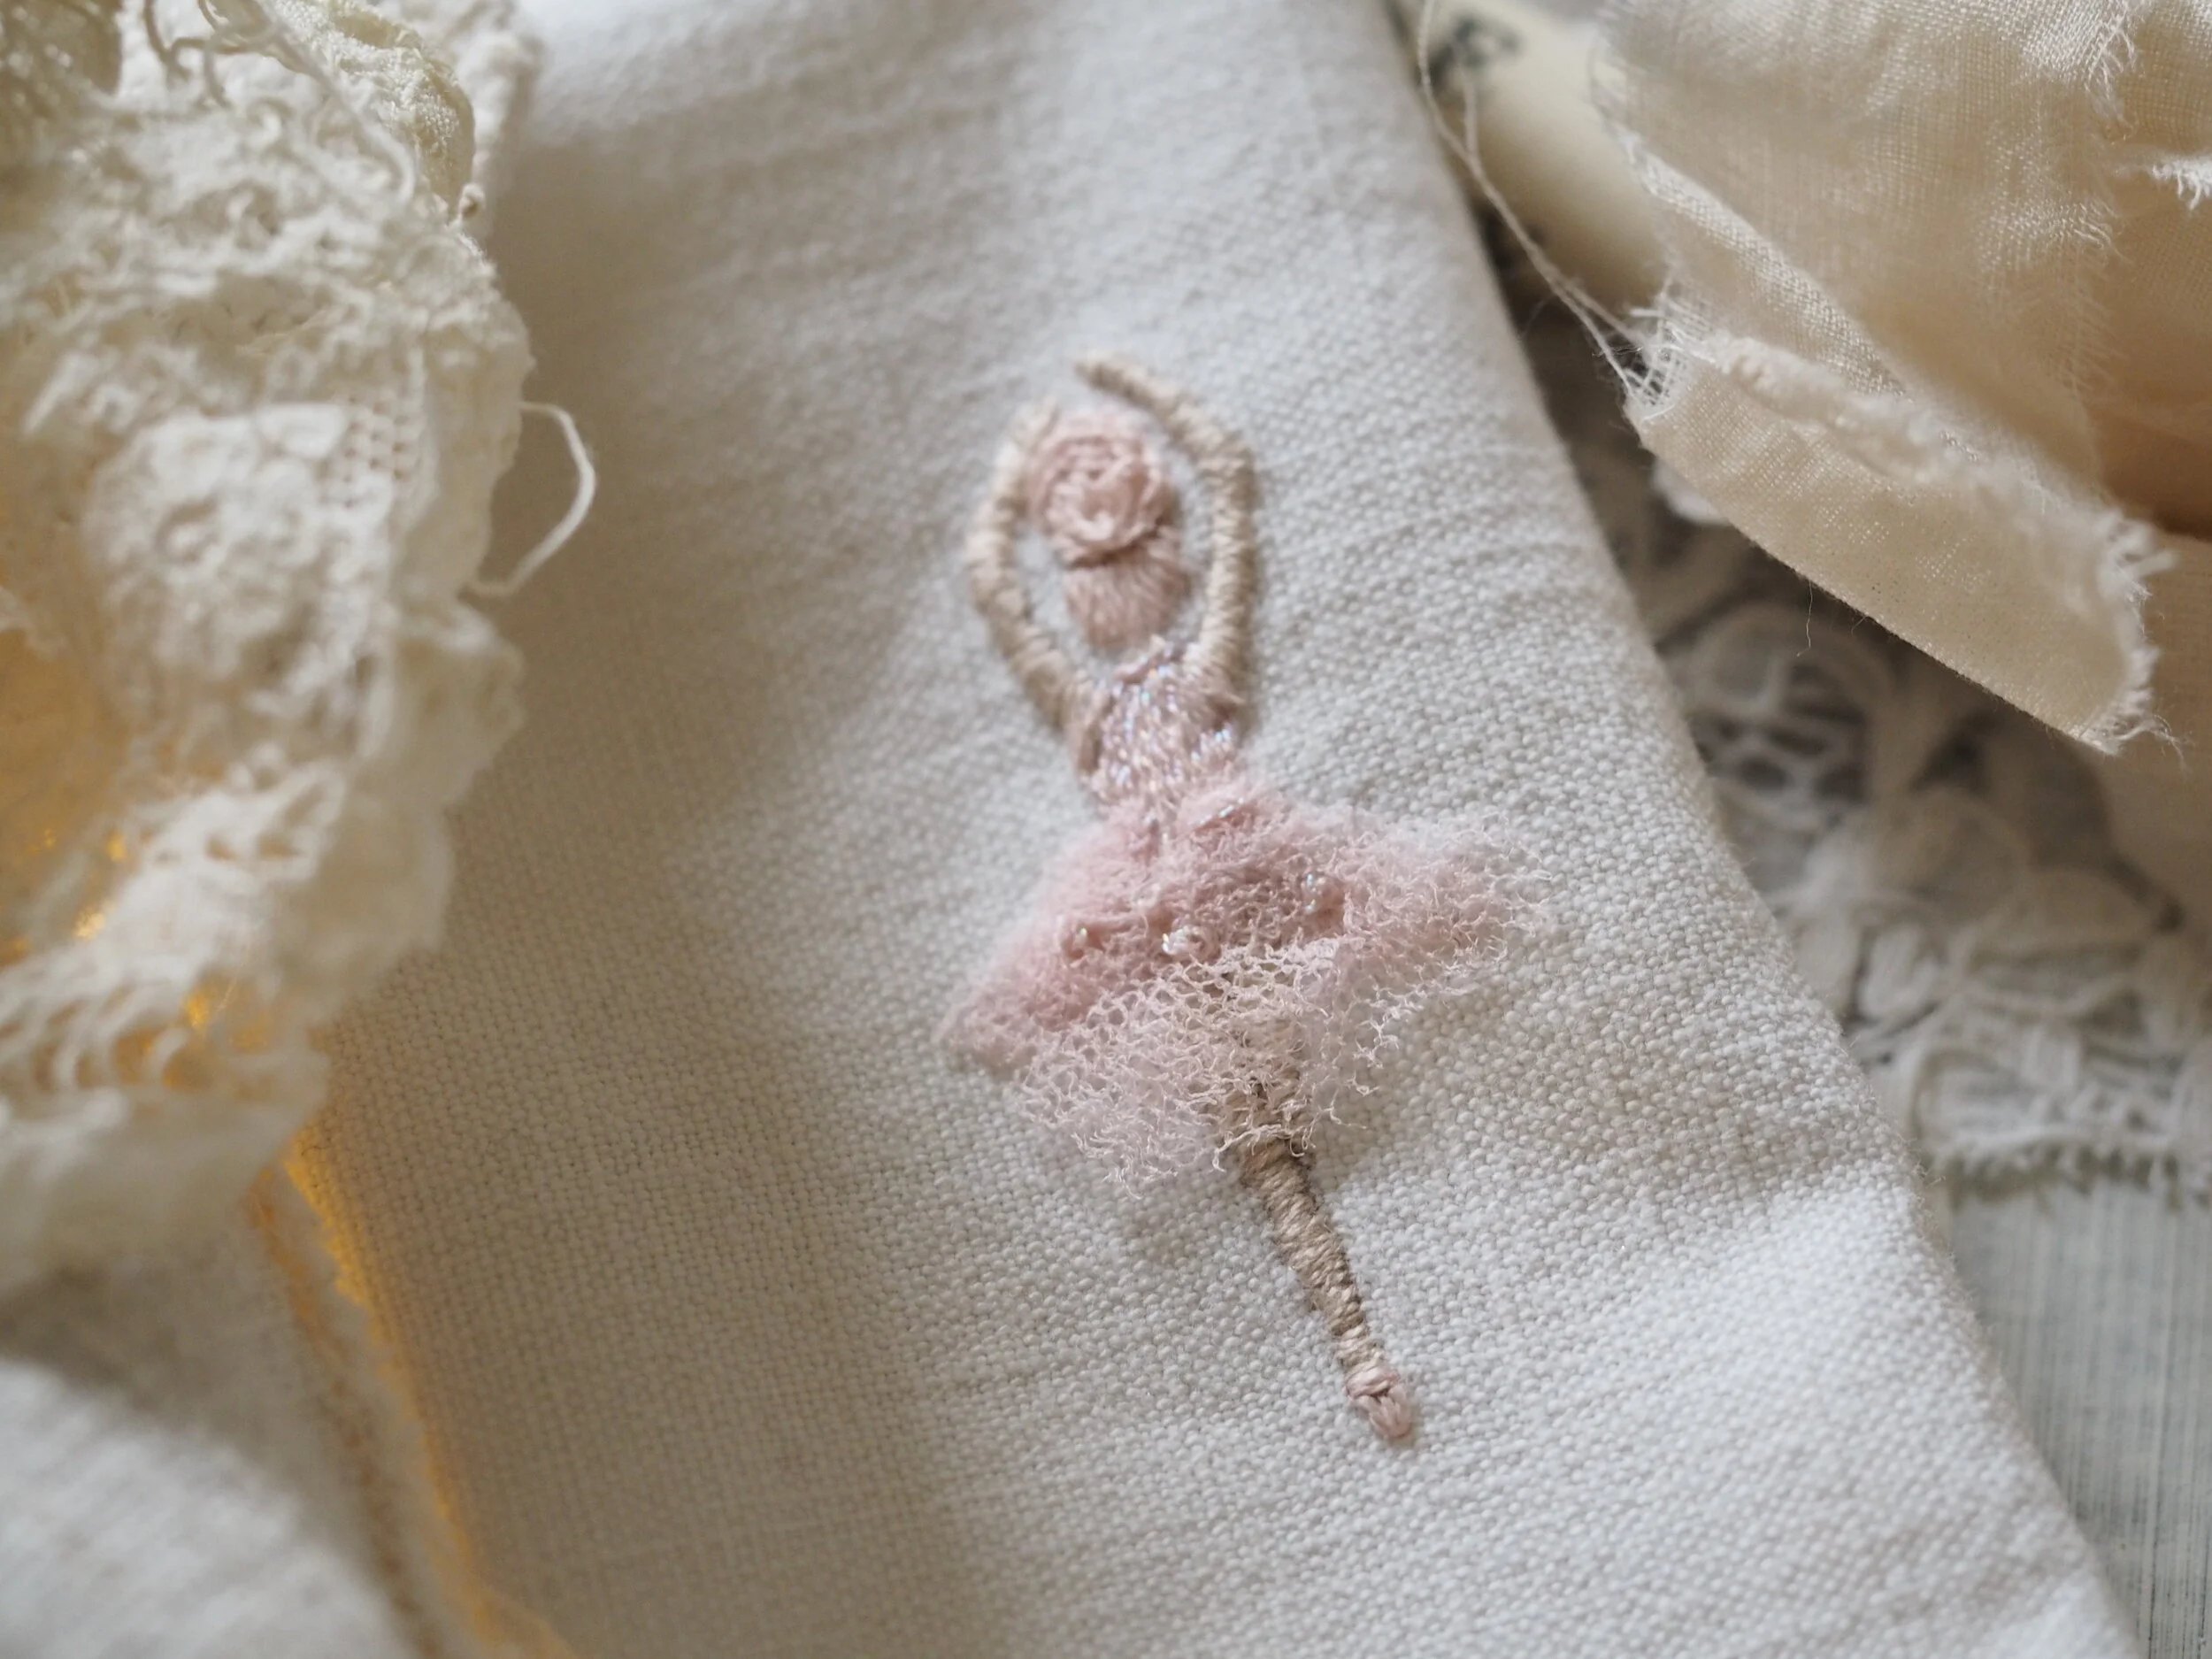
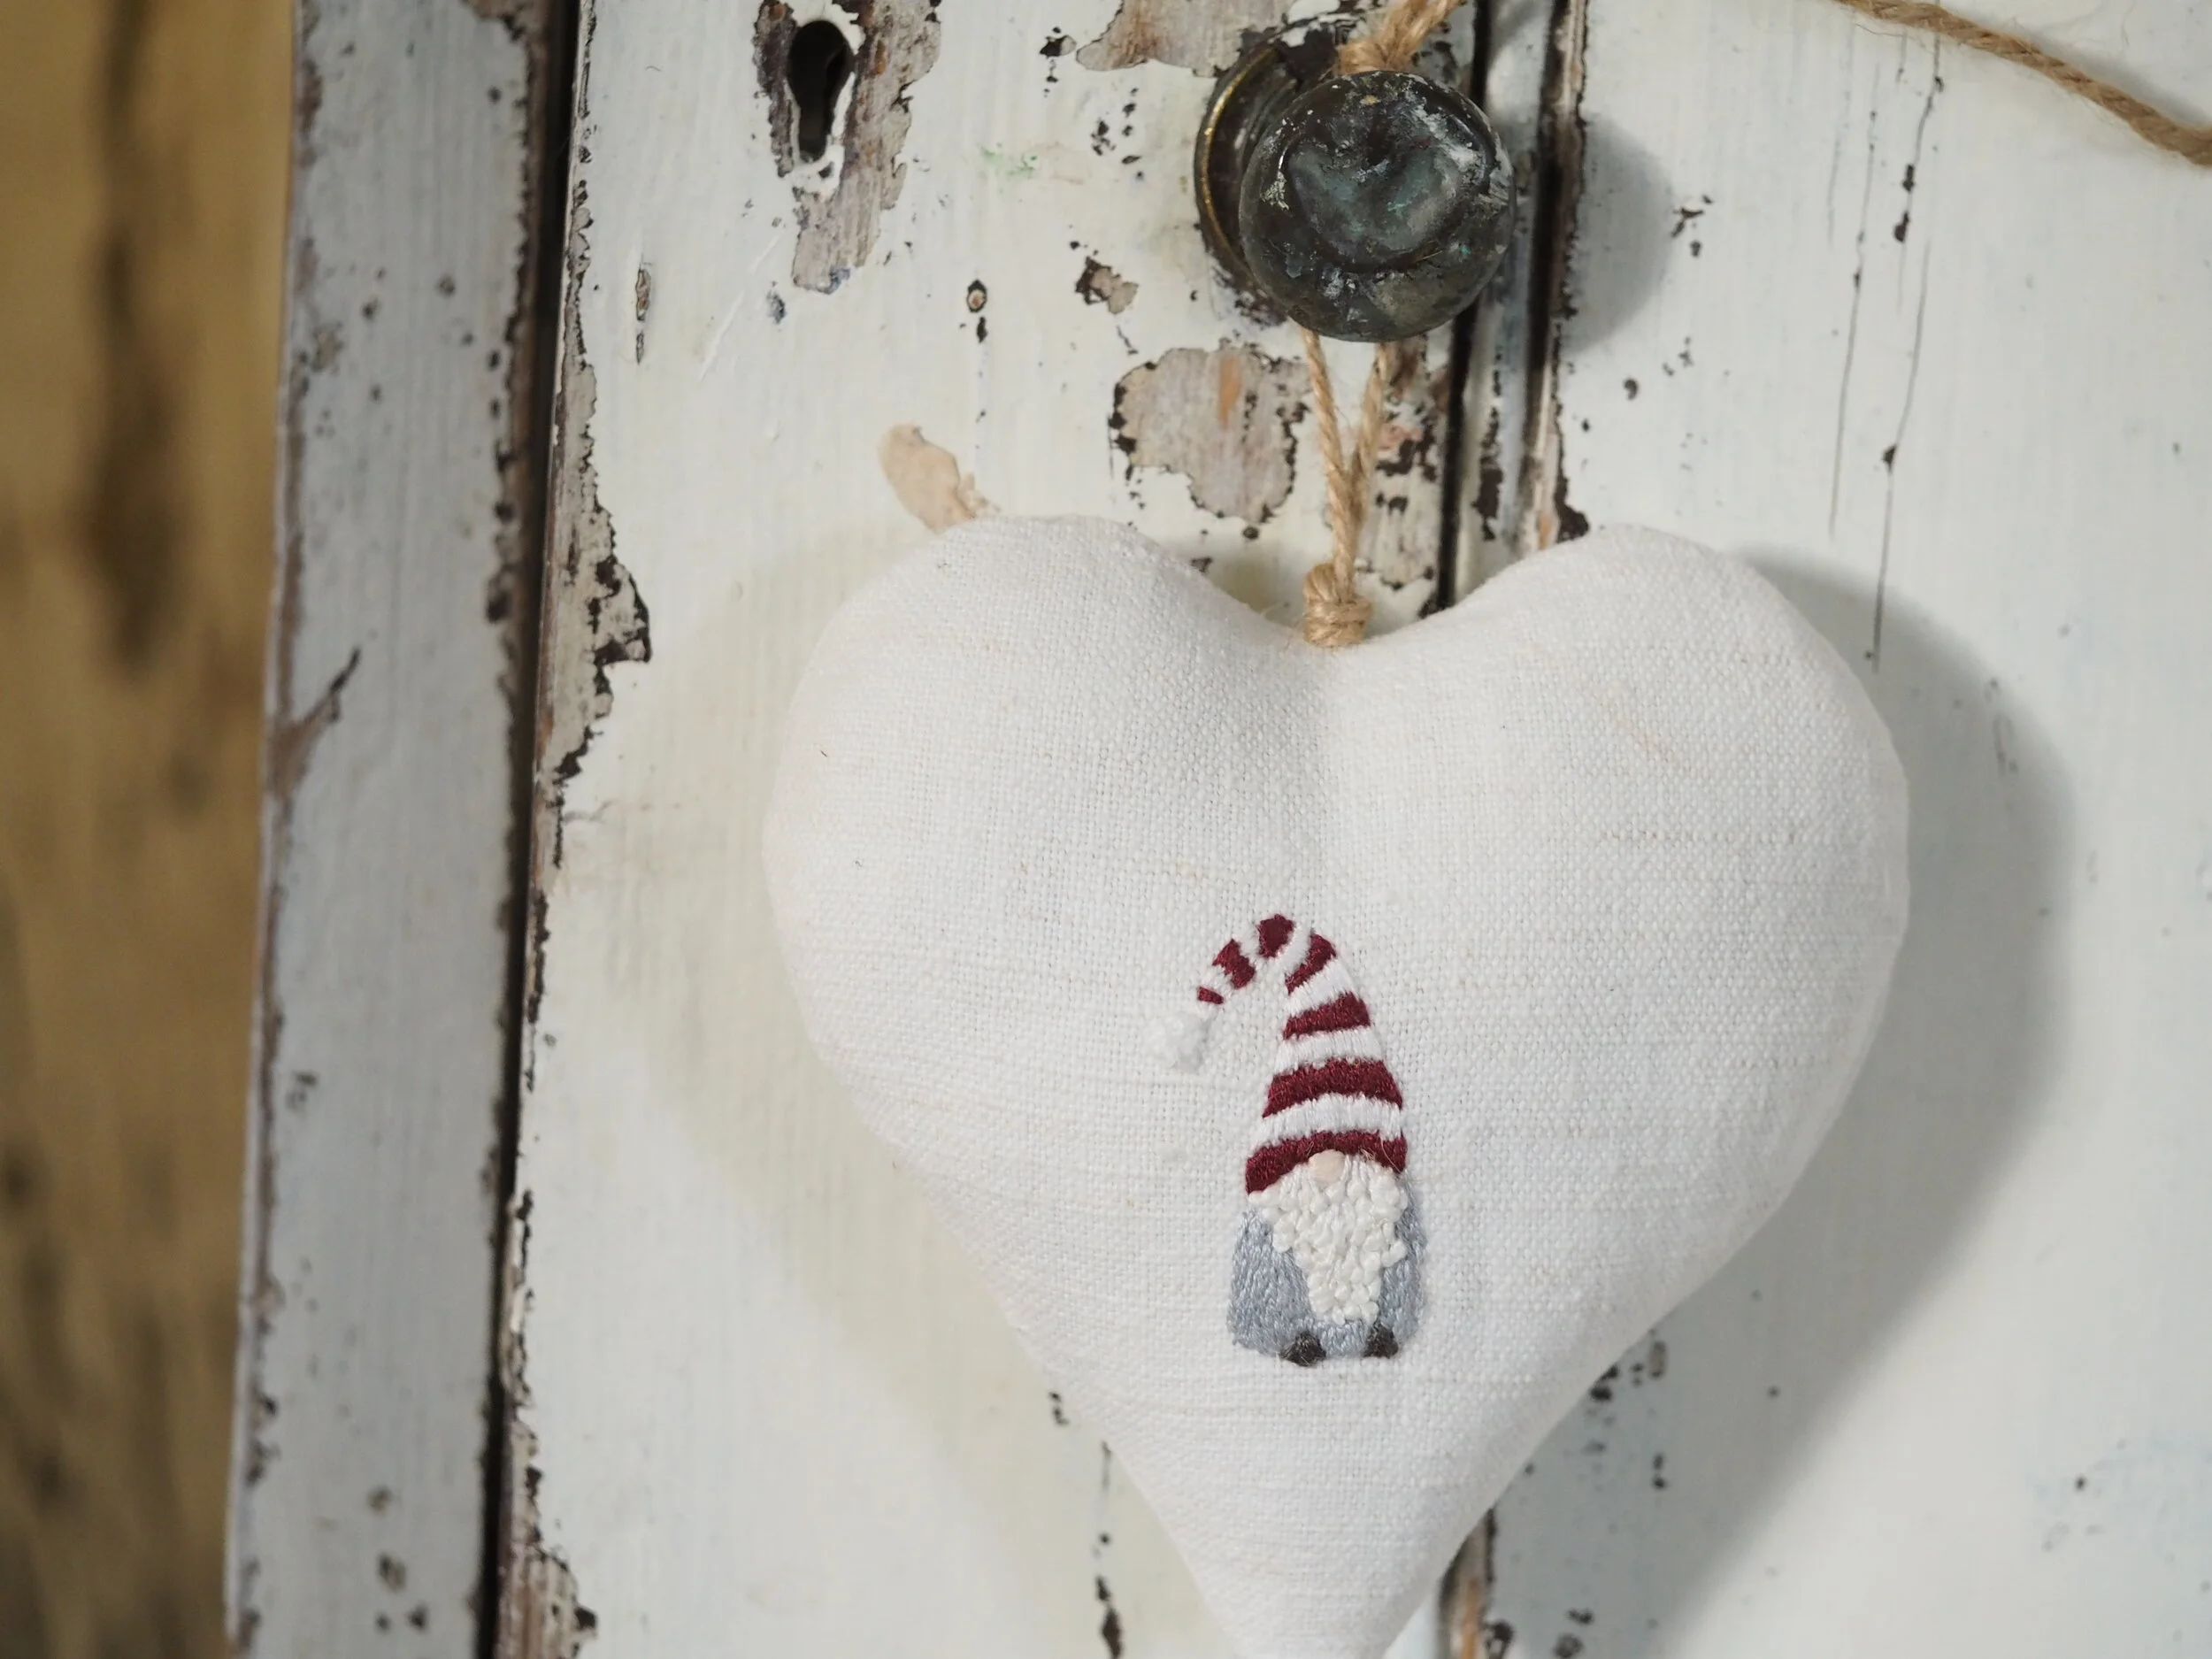
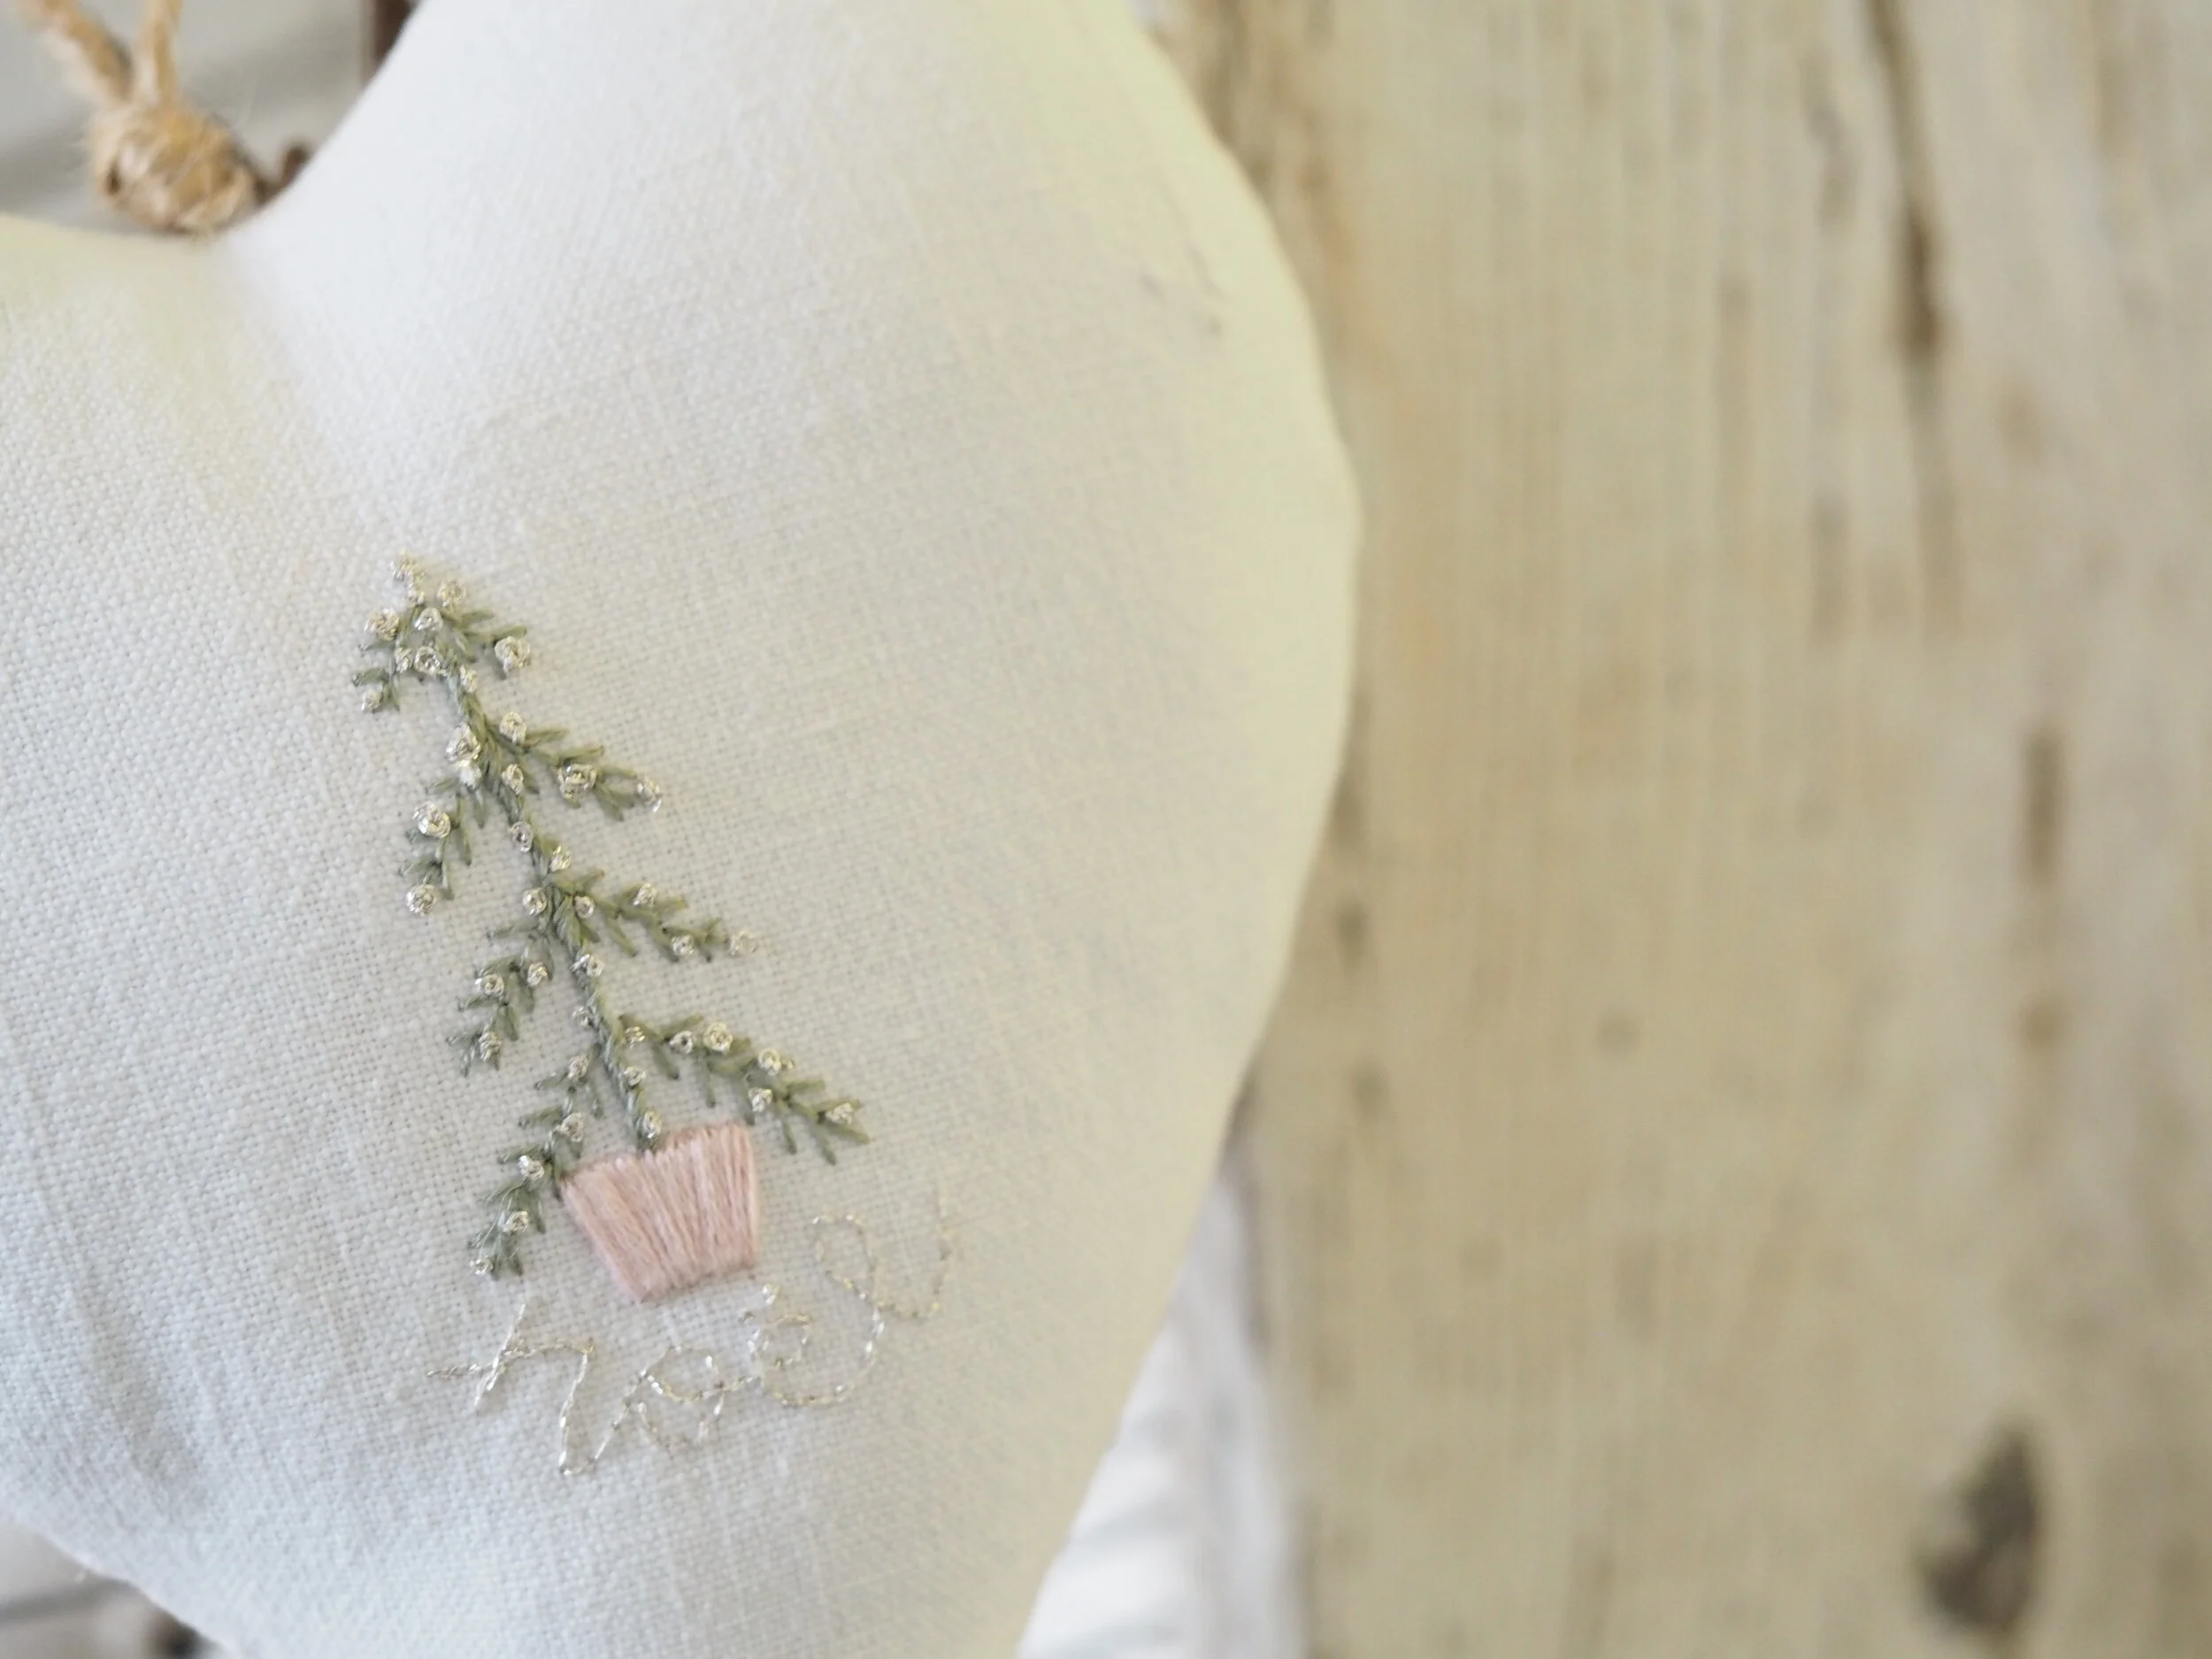
I thought I’d share a few photos of the Christmas mini kits that will be available in the webshop soon. These are the mini kits from last year’s advent calendar. Just a few little stitches to help you to feel festive and prepare for the Christmas season.


Festive Posy

Festive Posy

Sugarplum Fairy Embroidery Kit

Sugarplum Fairy Embroidery Kit

Scandinavian Tomte Embroidery Kit

Scandinavian Tomte Embroidery Kit

Hydrangea wreath embroidery kit

Hydrangea wreath embroidery kit

Primitive Tree Embroidery Kit

Primitive Tree Embroidery Kit

Christmas Gift Tags Embroidery Kit

Christmas Gift Tags Embroidery Kit


Beside The Sea

BesideTheSeamain.jpg
BesideTheSea3.jpg
besidethesea2.jpg

I thought I would share a few pictures of the June subscription kits that are now available as standalone kits on the website. If you fancy stitching something pretty, nostalgic and beachy I think this one will tick all of the boxes! Yes, there’s a little fabric painting but it is very easy and you only need add a little colour to get the desired effect. (Also, if you’re not going to wash the embroidery once it’s finished you can use regular watercolour paints, there is no need for special fabric paint.). You can find it here if you’d like to take a look.

I admit that I am anxious about the country coming out of lockdown. Things have been returning to normal here in our neck of the woods and the road by our house has become noisy again. Sigh. I have only been to the essential shops (art supplies and coffee, of course) and there have been reassuringly strict measures in place at both of those shops.

We had our first meal out on Sunday at the local pub which was definitely different but - oh my goodness - absolutely delicious. How I had missed their Sunday roasts! My parents have been able to open their static caravan in Norfolk and we are going for a few days later in the month. I can’t wait to see what Lottie thinks to the sea and sand!

I have given myself the summer to get slowly back to normal; I don’t plan to go out socialising and there won’t be any workshops at the new studio until the Autumn. I am keeping a low profile and working on all of the projects I want to complete (and the exciting new ones I want to start). My notebook of ideas, designs and dreams is bursting at the seams and some of them feel within reach now, which is amazing. There are so many things I am learning as I go along, working on one kit inspires an idea for another, and there is loads I want to share here with you.

As you probably know, I have no formal training in textiles or art. My qualifications and experience are in the corporate world; I worked in magazine advertising for 10 years and finance for 15 years. Despite being reasonably good at art at school, with definite potential, I was always encouraged to take a more academic route and I feel as though I am making up for lost time now. My mum and maternal grandma are very artistic and creative; mum has always sewn or stitched (she has formal training in garment sewing but did a lot of knitting, embroidery and cross stitch too). My great-grandma taught me to embroider when I was 6, I held knitting groups at school when I was 7 and I spent my childhood constantly writing letters and stories or copying drawings from books.

I don’t regret the years that I spent working in magazines and banking - I have had some amazing experiences and met some truly lovely people - but I am seizing every available opportunity to do more and learn more now that I can. I have done a few online art classes which were wonderful (more about those another day), I have signed up with a creative mentor and I am currently working through a watercolour and illustration class online.

paintswatch2.jpg

I can’t wait to tell you more about workshops at The Stitchery and the new kits coming but for now I must stay focused and get the work done! Our home needs some TLC too. I’ve got a lot of decluttering and deep cleaning to do, I want everything shipshape for the new term starting in Autumn!

I hope you are keeping well and staying safe. Thank you for being here.

Love

Nicki x


The Cottage Garden Bouquet Embroidery Kit


YOUTUBE LIVESTREAM .jpg

The Cottage Garden Bouquet embroidery kit has become a bit of a bestseller during lockdown and I thought it would be nice to have a live stitch-along so that I can provide a little guidance on the kit and how to do the stitches.

The session is just an hour long and will be hosted via YouTube livestream. This means that you will watch me stitching on your screen and ask any questions via the chat box which I will address as I stitch.

I will talk through the embroidery and how the stitches build up for the final design as well as demonstrating the stitches needed to complete the kit.

This is my first livestream video and I am keeping it to an hour to see how we go. Hopefully all will be good and I can use the platform for future kits and demonstrations.

As my first online class, access is limited to those customers who have previously bought the kit or attended a workshop with me on this design. If you would like to buy the kit and join in on Friday, you can do so here. Please be sure to register for a free ticket to the livestream using this link so that I can email the live link to you on Friday, just before class. If you have previously bought the kit you will still need to ‘buy’ a ticket (it’s free) for the livestream please, so that I can keep a track of numbers and attendees!

If you have any questions please pop them in the comments below and I will answer as soon as possible.

See you in class!

Nicki xx

IMG_8176.jpeg

Travel Flower Press

At this time of year there is a lot of content on social media about flower pressing. Gardens and hedgerows are bursting into life at last and there is an undeniable romance in collecting flora to press and reminisce. The delight in finding a little old book in an antique store with letters and flowers slipped between the pages is something I secretly hope for every time I visit a second-hand book store!

I have been pressing the occasional flower for years on and off, using heavy books around the house that I subsequently forget all about. But I have only acquired a proper flower press and a real passion for it in recent years. I have a large press at my studio and several smaller ones at home that I use on a regular basis. A friend in Miami (hello lovely Patricia!) sourced a beautiful flower press for me, held together with sturdy straps instead of bolts, which inspired the little travel press I am going to tell you about today.

My travel flower press is nothing special but it really works for me and I wanted to share it in case it’s an idea that you might find useful too.

P5150215.jpg

Firstly, I am really bad at removing flowers or leaves from stalks with my fingers. I can’t make a clean break and then I feel bad for the plant, like I’ve injured it. (I know. Eye roll.) So I need a small pair of snips with me at all times. I also wanted just the smallest flower press that wasn’t too heavy to carry in my bag when I’m out for walks. The wooden ones I have, though small, are still very heavy and take up valuable room in an already overstuffed tote. This little Observer book is the perfect size and with its strong rubber band keeps flowers secure inside and snips handy on the outside.

P5150220.jpg

If you are a reader of my newsletter then you will know that I am currently sitting an online art class with Abby Monroe (I really recommend it - art journalling and experimenting - so much fun!). After a lovely day with Abby at my studio last year I have been more inspired to work on collage and mixed media in my spare time. I treated myself to a few lovely materials (little wooden stamps, washi tape and a selection of fine papers) and this week I made a cover for my book. Totally inspired by Abby and the lovely things she makes (in fact the little sprig of dried lavender in my photo is from the art journal kit I bought from Abby this month).

I used a sheet of A4 newsprint as the base and glued an illustration of hogweed from a vintage book as the main decoration. I tore strips of antique handwritten documents and crumpled gold tissue paper. A regular glue stick (almond-scented of course) secures everything neatly in place with minimal mess.

In my washi tape stash I found a roll of thin tape decorated with butterflies which was perfect for this project. I then cut down a little strip of antique script washi tape to cover a tear in the base paper where I was overzealous when pulling the paper tight around the book! A title typed on my treasured antique typewriter brings it all together, I think.

The back of the flower press is plain newsprint apart from a centre column of seedhead motifs that I stamped from top to bottom in sepia ink. I used washi tape to stick the paper to the cover of the book and glued a small envelope inside the front cover for extra cuteness. Just because.

The last time I used my flower press was on a holiday to Cornwall last year shortly after we lost Lizzie, our little Westie. We had booked the holiday specifically so that we could take Lizzie with us and bring her along to walks by the sea, and afternoon tea in the courtyards of pretty farm shops. Although the holiday was lovely, I missed our little dog so much; I kept thinking how much I would have loved her to be there with us. One sunny afternoon we found a pretty, very tiny, courtyard as we hiked uphill from the seafront. I remember sitting with a strong coffee in the hazy afternoon sunshine in that little park. I spotted a beautiful hydrangea by the railing and snipped it to remember a lovely little holiday and my sweet little dog.

A new but very dear friend sent me the most special handmade album recently, devoted entirely to my two little Westies - Lizzie and our new puppy Lottie. This pressed hydrangea is destined for that book (which I will show you next time - it deserves a post all of its own).

It is Friday evening now; the sun has shone all day but it’s chilly now and time to light a fire in the front room. A glass of wine and perhaps a film beckon.

Have a beautiful weekend and thank you, as always, for being there.

Love

Nicki xx

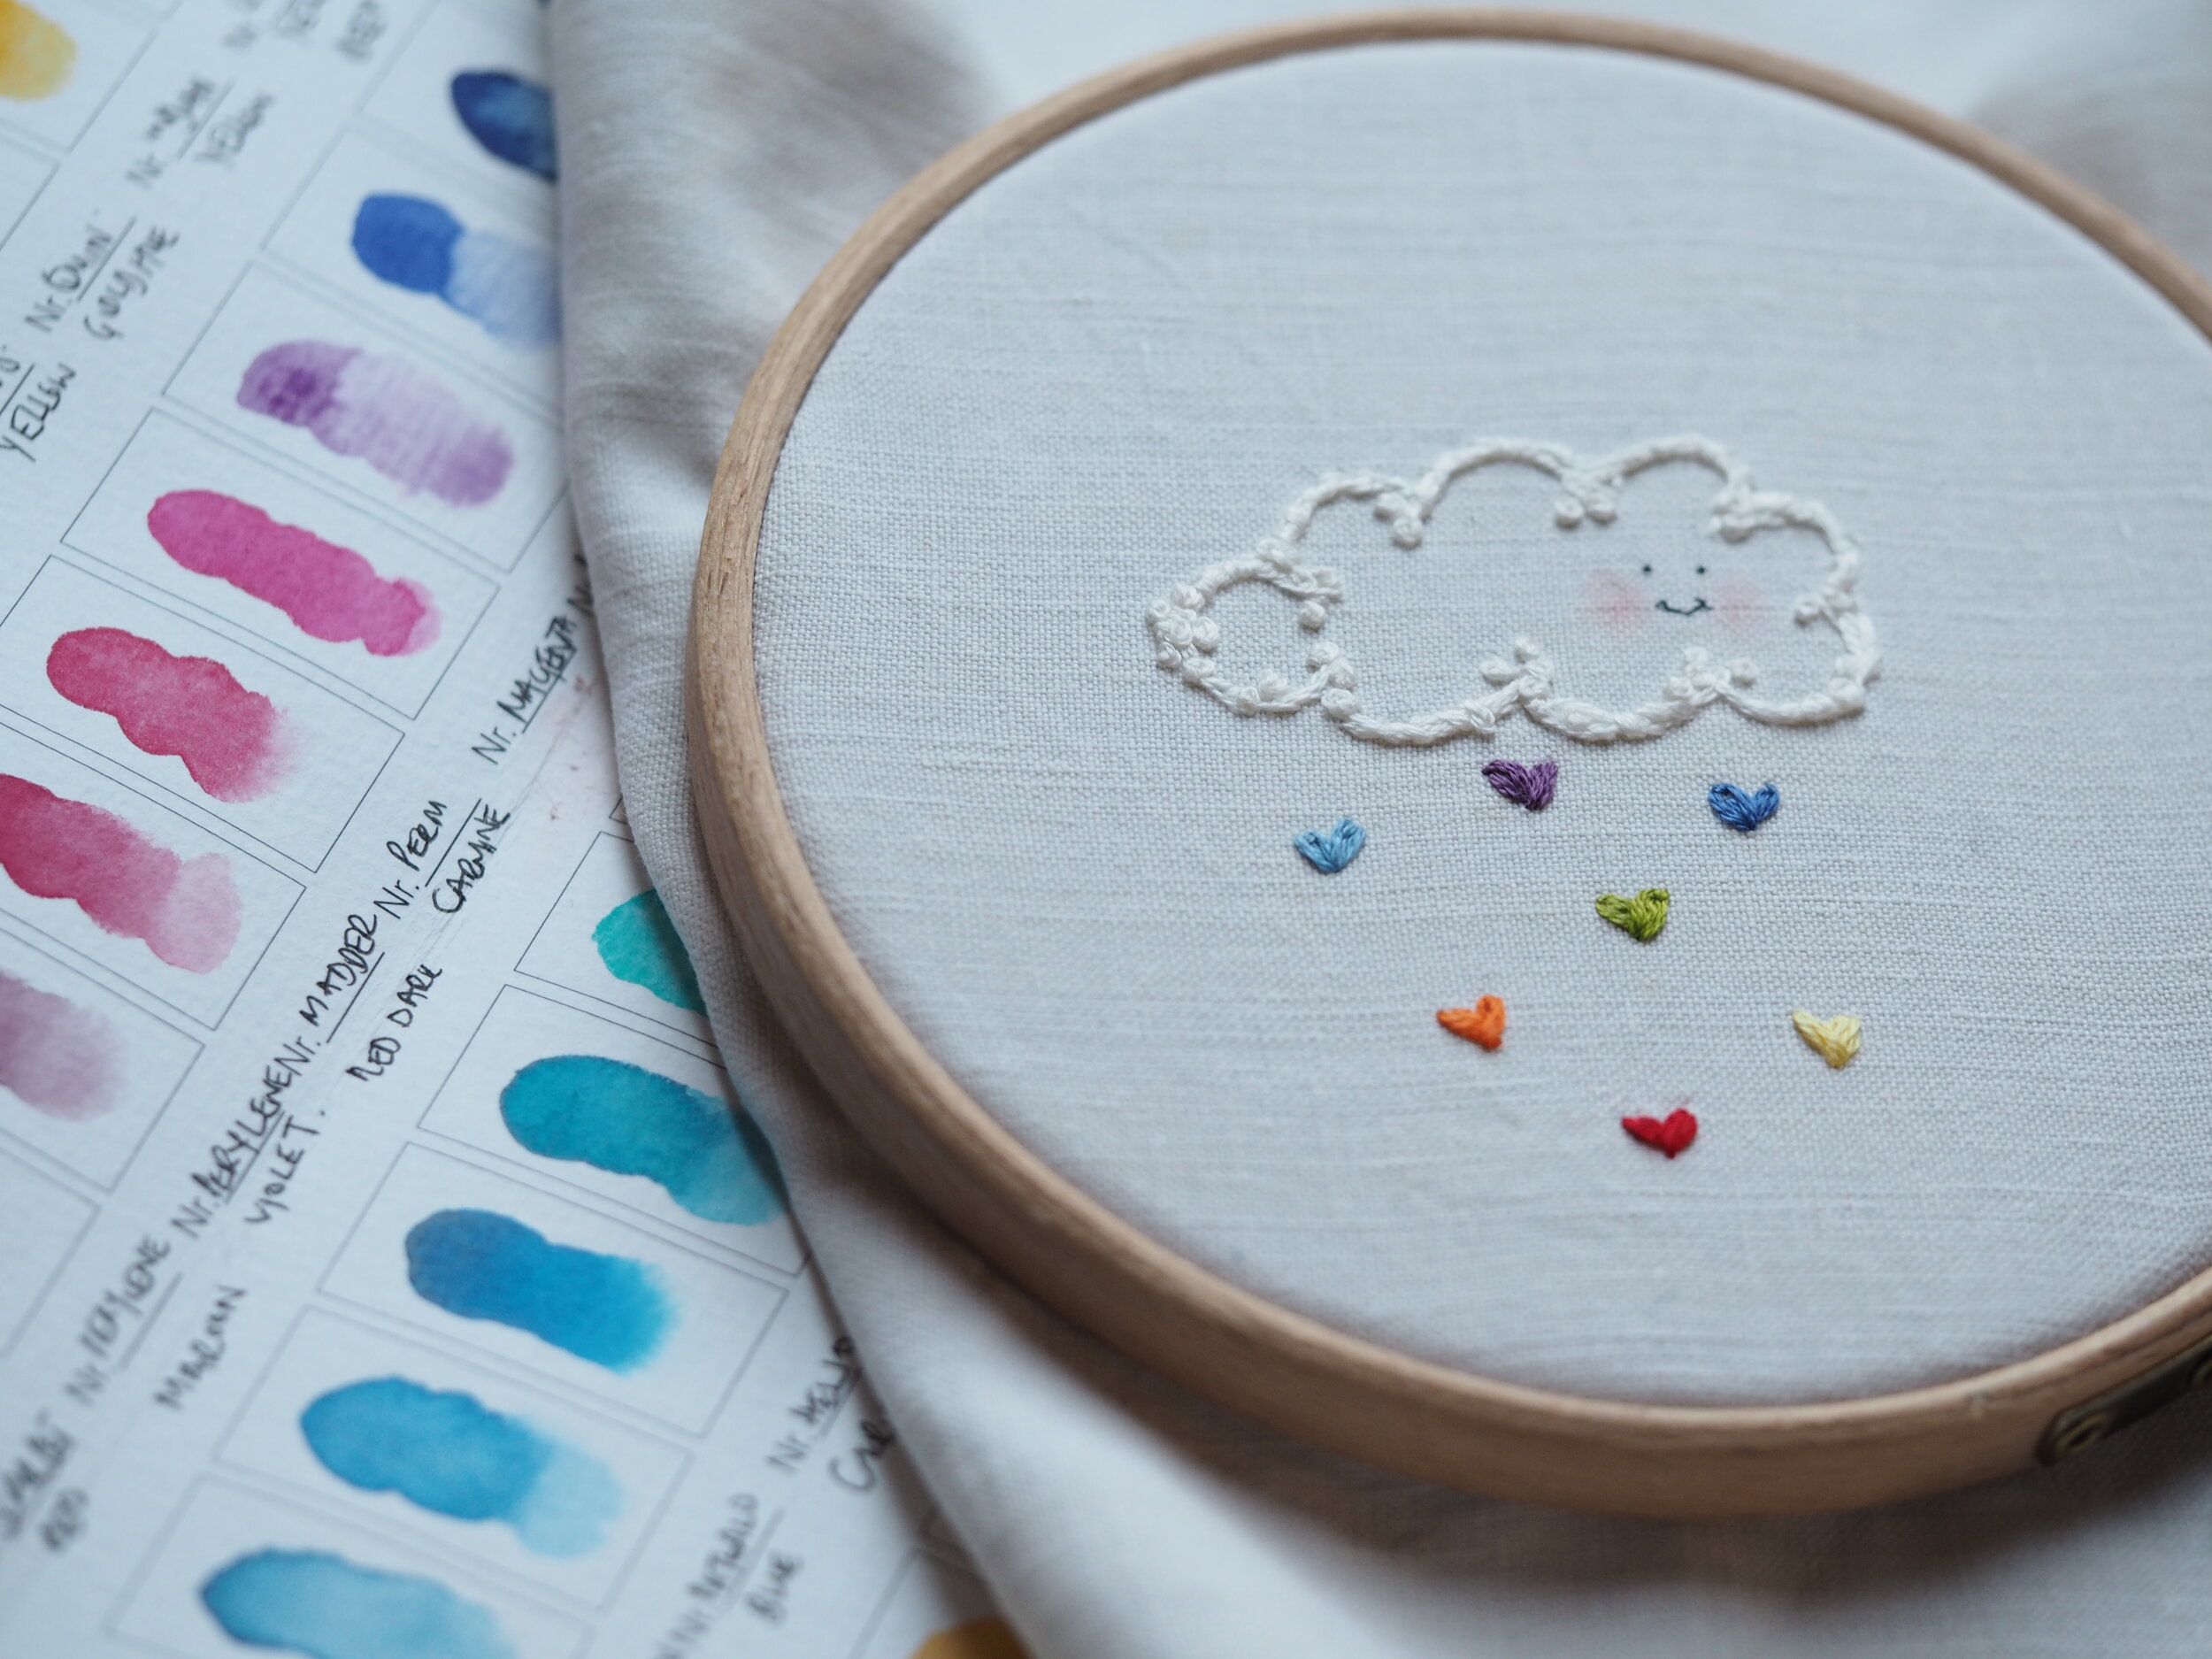
Rainbows in windows: A lockdown freebie

P4062638.jpg
P4062631.jpg
P4062634.jpg

Rainbow colours are not my thing, usually. Since the onset of social distancing, though, the rainbows in windows have brought a warmth to my heart that I can’t really explain. Just to know that there is a little family indoors, staying snug and keeping safe makes me happy. Just a small gesture of reaching out, saying hi to your neighbours and the delivery men, postmen and volunteers who are keeping the country going… I love it.

There’s really only Drew and me with our little dog behind the thick stone walls of this old cottage but I wanted to make my own version of a little rainbow for linen hearts to hang on the woodshed, the front door and pop up in the window. As I stitched I thought that perhaps my nieces might like to do a few cute stitching projects (they love rainbows) which led me to thinking that the children in your lives might like a little project or two, too.

I am plodding through a lot of work at the moment and finding it really difficult to concentrate on anything. These easy little rainbow motifs have been fun to stitch, very quick to finish and as I work I feel as though I am recording a very small moment in social history.

I’ve put a little Spring worksheet together with a few stitching ideas that can be adapted to suit any age. Keeping the motifs tiny with lots of white space around will keep the designs more appealing for grown ups but drawing the designs larger, filling with colouring pencils and stitching thick outlines will be fun for small children too. Feel free to use the ideas and stitching however you like and do share on social media if you can. I would love to see if any children are having a go!

I feel fortunate that my little business is able to carry on throughout this difficult time and I am very aware that others have either lost jobs or found themselves furloughed with less money than usual. With this in mind, I am trying to create a few little free downloads with some stitching ideas and motifs to keep you going, but I have to do this in my spare time and it takes a while for me to faff with getting them done digitally so please bear with me. I will try to upload one little sheet a week as we go through this and I hope they come in useful.

You can download the first freebie here. The rainbow is very simple to work - I have added the (very minimal!) instructions below.

Wishing you happy stitching with lots of love

Nicki


rainbow.jpg


Beginners Guide to Painting on Linen

marchmainpic.jpg
Marchpic.jpg

I didn’t plan on the March edition of Haven including paint. Having stitched and photographed the design, I wondered how it would look with a little extra colour for context. As it turns out, I like it both ways and thought I would share a few tips on how to achieve a pleasing finish.

I don’t use paint in my work very often but when I do I like it to hint at the solidity of something as an alternative to heavy stitching.

Lots of folk are worried about adding paint to their work and ‘ruining’ it - especially when it is added at the end when you have spent a great deal of time on the stitching.

My preference is to use watercolour when colouring linen; I find it a quick and convenient way to work. Generally I only use one or two colours for my embroidery, to add sky, grass, earth and occasionally colour to windows. The painting complements the stitching rather than vice versa.

Equipment

P4022584.jpg

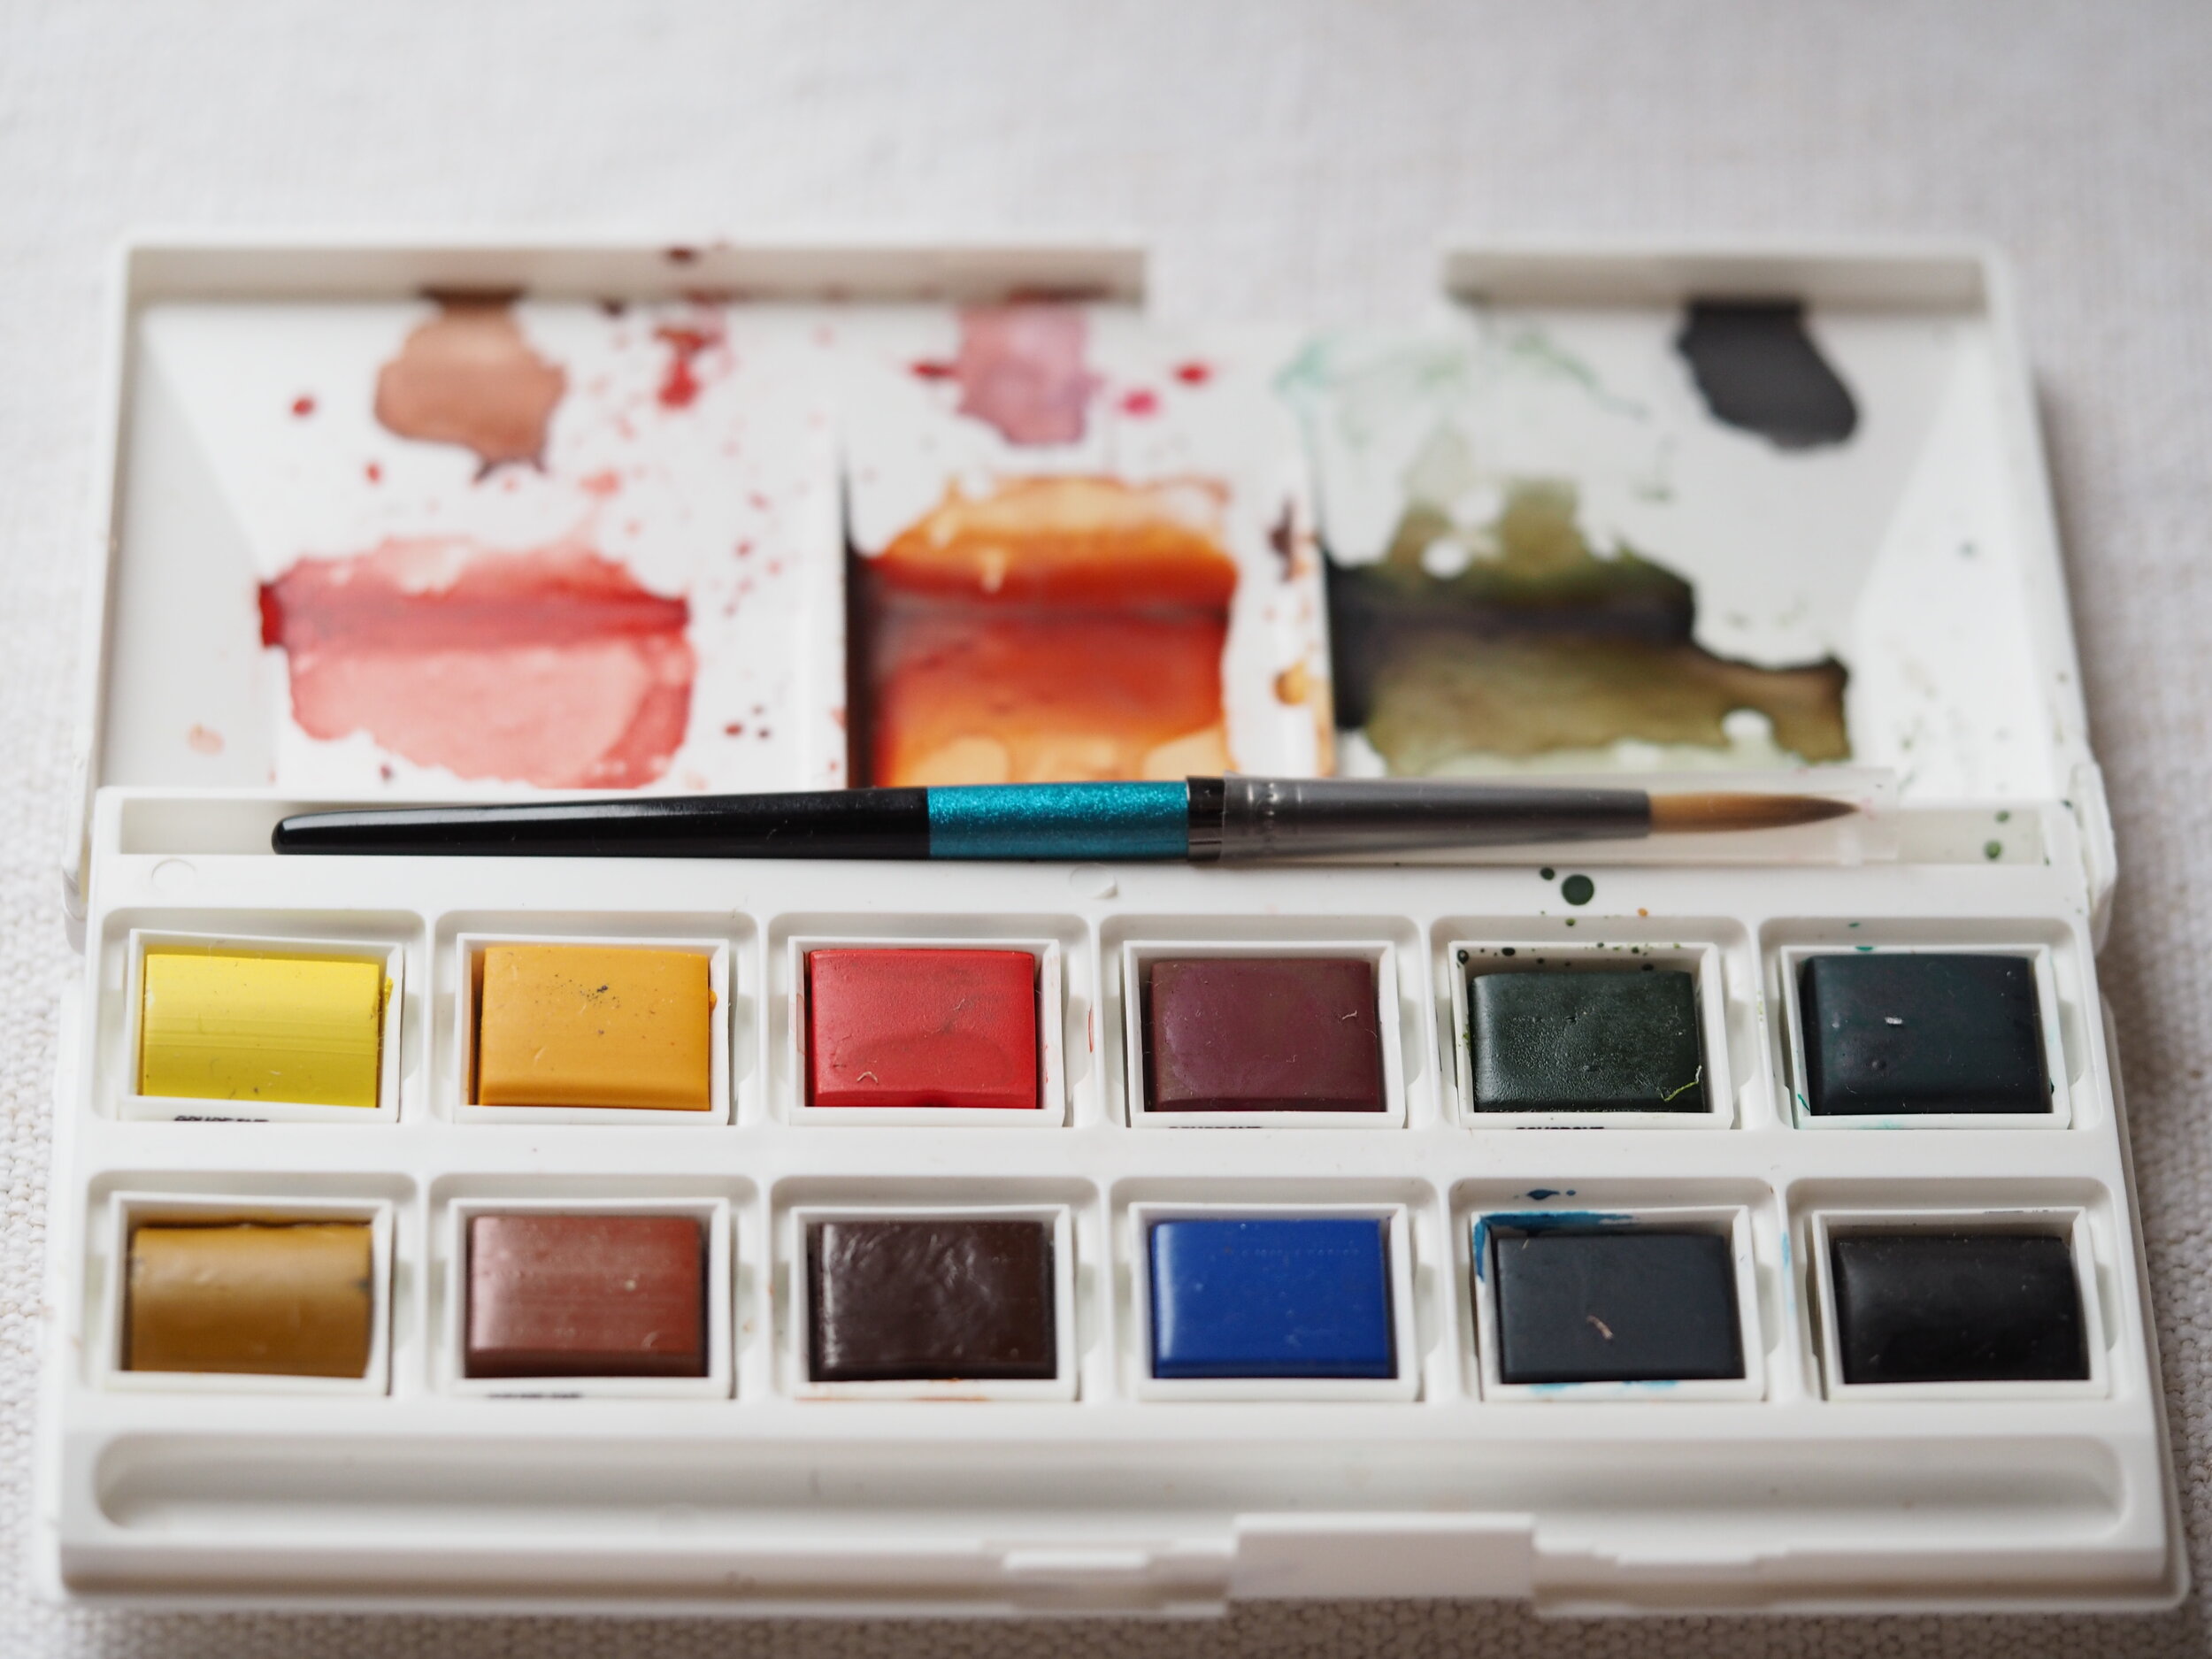
Pans of watercolour are affordable, clean and convenient to use. I have a very inexpensive Daler Rowney Aquafine pocket set which I paid about £12 for (in fact I am on my second box as my nieces begged me for my first set) and it has all of the basic colours you could need for an embroidered picture. Find it here. 

P4022591.jpg

If you are keen to invest in a larger set of colours that you could use to learn watercolour painting too, I love my Koi Pocket Field Sketch Box. I have the 48 pan set with a separate mixing palette, water brush and sponge. They are lovely to use both on linen and paper, I highly recommend them. The box is sturdy and the removable palette acts as extra mixing space. I haven’t had this palette for long; it was recommend by Shayda Campbell and I use it to paint along with watercolour tutorials in my spare time.

The paintbrush you choose is very important. You need a round pointed brush rather than a flat one so that you can control the amount of paint you put onto the linen. Also bear in mind that the bigger the brush, the more paint it holds and will, subsequently, transfer to a surface. For painting linen I tend to stick to three sizes: I have a size 10, a 4 and 2/0.

paintbrushes.jpg


The size 10 is great for adding paint to large areas, such as the sky and grass. The size 2/0 is very fine and good for adding tiny spots of paint if you want to hide a bare patch of stitching or take your paint right up to an outline.

The size 4 is a good universal size to choose if you only buy one brush. Synthetic bristles are fine and very affordable.

The image below shows the difference in size between each of the brushes. The second picture also shows the opacity of a colour from neat to very dilute.

When a colour is very dilute (or watery) it soaks into the linen more quickly and its direction is more unpredictable. However, a splodge of neat watercolour (on the left) looks sticky and unnatural.

burntumber.jpg

I always recommend starting with a very dilute colour; it is far easier to add extra colour and build up gently than it is to take colour away, particularly on linen. The green and blue paints above show a colouring pencil alternative with heavy to light pressure applied. Colouring pencils are a foolproof way to add colour to your embroidery and, as long as you have no plans to launder it, should last as long as paint does. Do consider colouring pencils if paints scare you!

The process

test your colours first on an off-cut of the same linen as your work or at the edge of your embroidered piece where it can be trimmed or hidden later.

  • Wet your brush in clean water and apply to your chosen colour. Dab the colour into a concentrated splodge onto a clean palette. Add plenty of colour so that you have enough paint to finish your piece. This ensure that the colour is consistent throughout.

  • Wet your brush again and add water to the paint on your palette. Mix until the colour is very pale and watery. Mix thoroughly and soak your bristles in the paint mix.

  • Remove any excess water from the ferrule of your paintbrush (the metal bit near the bristles) with a paper towel and apply lightly to your fabric. Start in the centre of a space moving outward towards the outline. Dab rather than brush the paint on.

  • I like to leave areas of the linen showing through but you can cover the entire space with paint if you prefer. Dab the paint gently and take particularly at the outline where the colour can easily spread.

  • I use a larger brush for the centre of a shape and colour around the outline with my very fine brush.

  • When you think you have finished an area, dry it with a hairdryer (beware that any frixion pen markings will remove with the heat too). You will notice that the paint looks much brighter and lighter when dry.

  • Finish the rest of the painting of your embroidery with a very light hand before drying off and evaluating. If you want to add more colour do so carefully and build the colour slowly, drying in between each application.

  • When you have finished your work, press with a dry iron face down on a fluffy towel so as not to squash your stitches. The heat of the iron will set the colour to the fabric making your finished piece more colourfast (although I do not recommend washing the finished piece).

If you make a mistake you can cover the area with more flowers, grass or foliage. Don’t stress about it and just enjoy the process.

I hope these tips help a little and give you confidence in choosing your colours and applying them to the fabric. For this particular piece I used an olive green gold for the grass (but sap green is a more commonly found colour), prussian blue for the sky and burnt umber for the paving stones. I used a very dilute Payne’s grey for the window panes. All of the colours were watered down considerably before I applied them to the fabric.

If you have any questions drop me a line. I will be filming a quick painting demo shortly which I hope to share at the weekend.

Happy painting!

Nicki xx

(pin for later)

painting pin.jpg


Letter Writing and Stationery

P3252564.jpg
P3252565.jpg
P3252566.jpg

As a child, I’d always got a little Basildon Bond writing set on the go; my favourite was a very pale blue paper with matching envelopes. I had a few penpals and loved to both send and receive happy mail. I used to copy illustrations from my books - most notably my Garfield comic books and a heavily illustrated copy of The Secret Diary of Adrian Mole. I would send my drawings to friends alongside a letter, often with a page of lyrics to songs that I had carefully copied down from Smash Hits! magazine. I sent mix tapes and scented stickers. Photos of Philip Schofield torn from magazines (my friend had an enormous crush on him) and I would often send one of those ‘chatterbox’ origami games.

Adulthood arrived in a flurry of driving lessons, Peach Schnapps and clubbing, so whilst I’ve always written thank you cards and letters to my grandma, my letter writing fell by the wayside a little. Then, about 10 years ago, I discovered blogging, then instagram and made friends with like-minded people all over the world. The friendships I made online resurrected my love of happy mail and I’ve been sending little parcels and letters ever since.

With loved ones pretty much isolated for the next 12 weeks, now is a good time to take up letter writing and send happy mail. They don’t need to be long, wordy letters. Just a postcard saying I love you, or look after yourself is nice to receive amongst a plethora of bills and junk mail.

I thought I would share some of my favourite sources for inspiration, stationery and hand-lettering. I know it isn’t stitch related but I have a feeling that there might be fellow stitchers who might also be stationery lovers and want some inspiration for sending happy mail!

The Postman’s Knock was the first modern calligrapher I found online. I love Lindsey’s blog, she is super generous with ideas and provides a lot of creative inspiration. I was desperate for her illustrated map course to launch and signed up straight away last week. Lindsey sells lots of beautiful downloads and I highly recommend a few hours browsing her blog posts.

Naomi Bulger has a beautiful blog Naomi Loves; and last year I signed up for her Beautiful Letter course. Full of writing prompts, stationery projects to try at home and beautiful illustrated envelope templates to download and colour, there is lots there to keep you going and inspire you.

Choosing Keeping is by far the best place for pens, paper and other letter writing paraphernalia. The shop is obviously closed at the moment but they are still sending online orders and we small businesses rely on website orders at the moment to keep going. I love their Rivoli writing paper and have it in all three available colours.

You’ve heard me sing the praises of Abby Monroe before. Ever since her journal workshop at the studio last year I have been obsessed with rubber stamps, zines and other mini books. I am hoping that I can book Abby in for more workshops at the new studio space as soon as the Covid restrictions are lifted. Fingers crossed for Autumn! Check out Abby’s website and follow her instagram page- she has lots of online workshops planned this Spring and they are worth dialling in for.

I’ve grown out of sending song lyrics in the post but I do like to add one or two little pretty things to my envelopes if I can. Pressed flowers, vintage floral cigarette cards, scraps of fabric and tiny doodles all make their way into letters from me at some stage. Kate Nicole’s beautiful cards, paper garlands and labels are perfect additions to letters; you can usually find Kate at various brocantes around the country but for now Rosehip in the Country is their online shop.

If you have any suggestions of other stationery suppliers or letter-writing bloggers please let me know in the comments below!

With love

Nicki xx

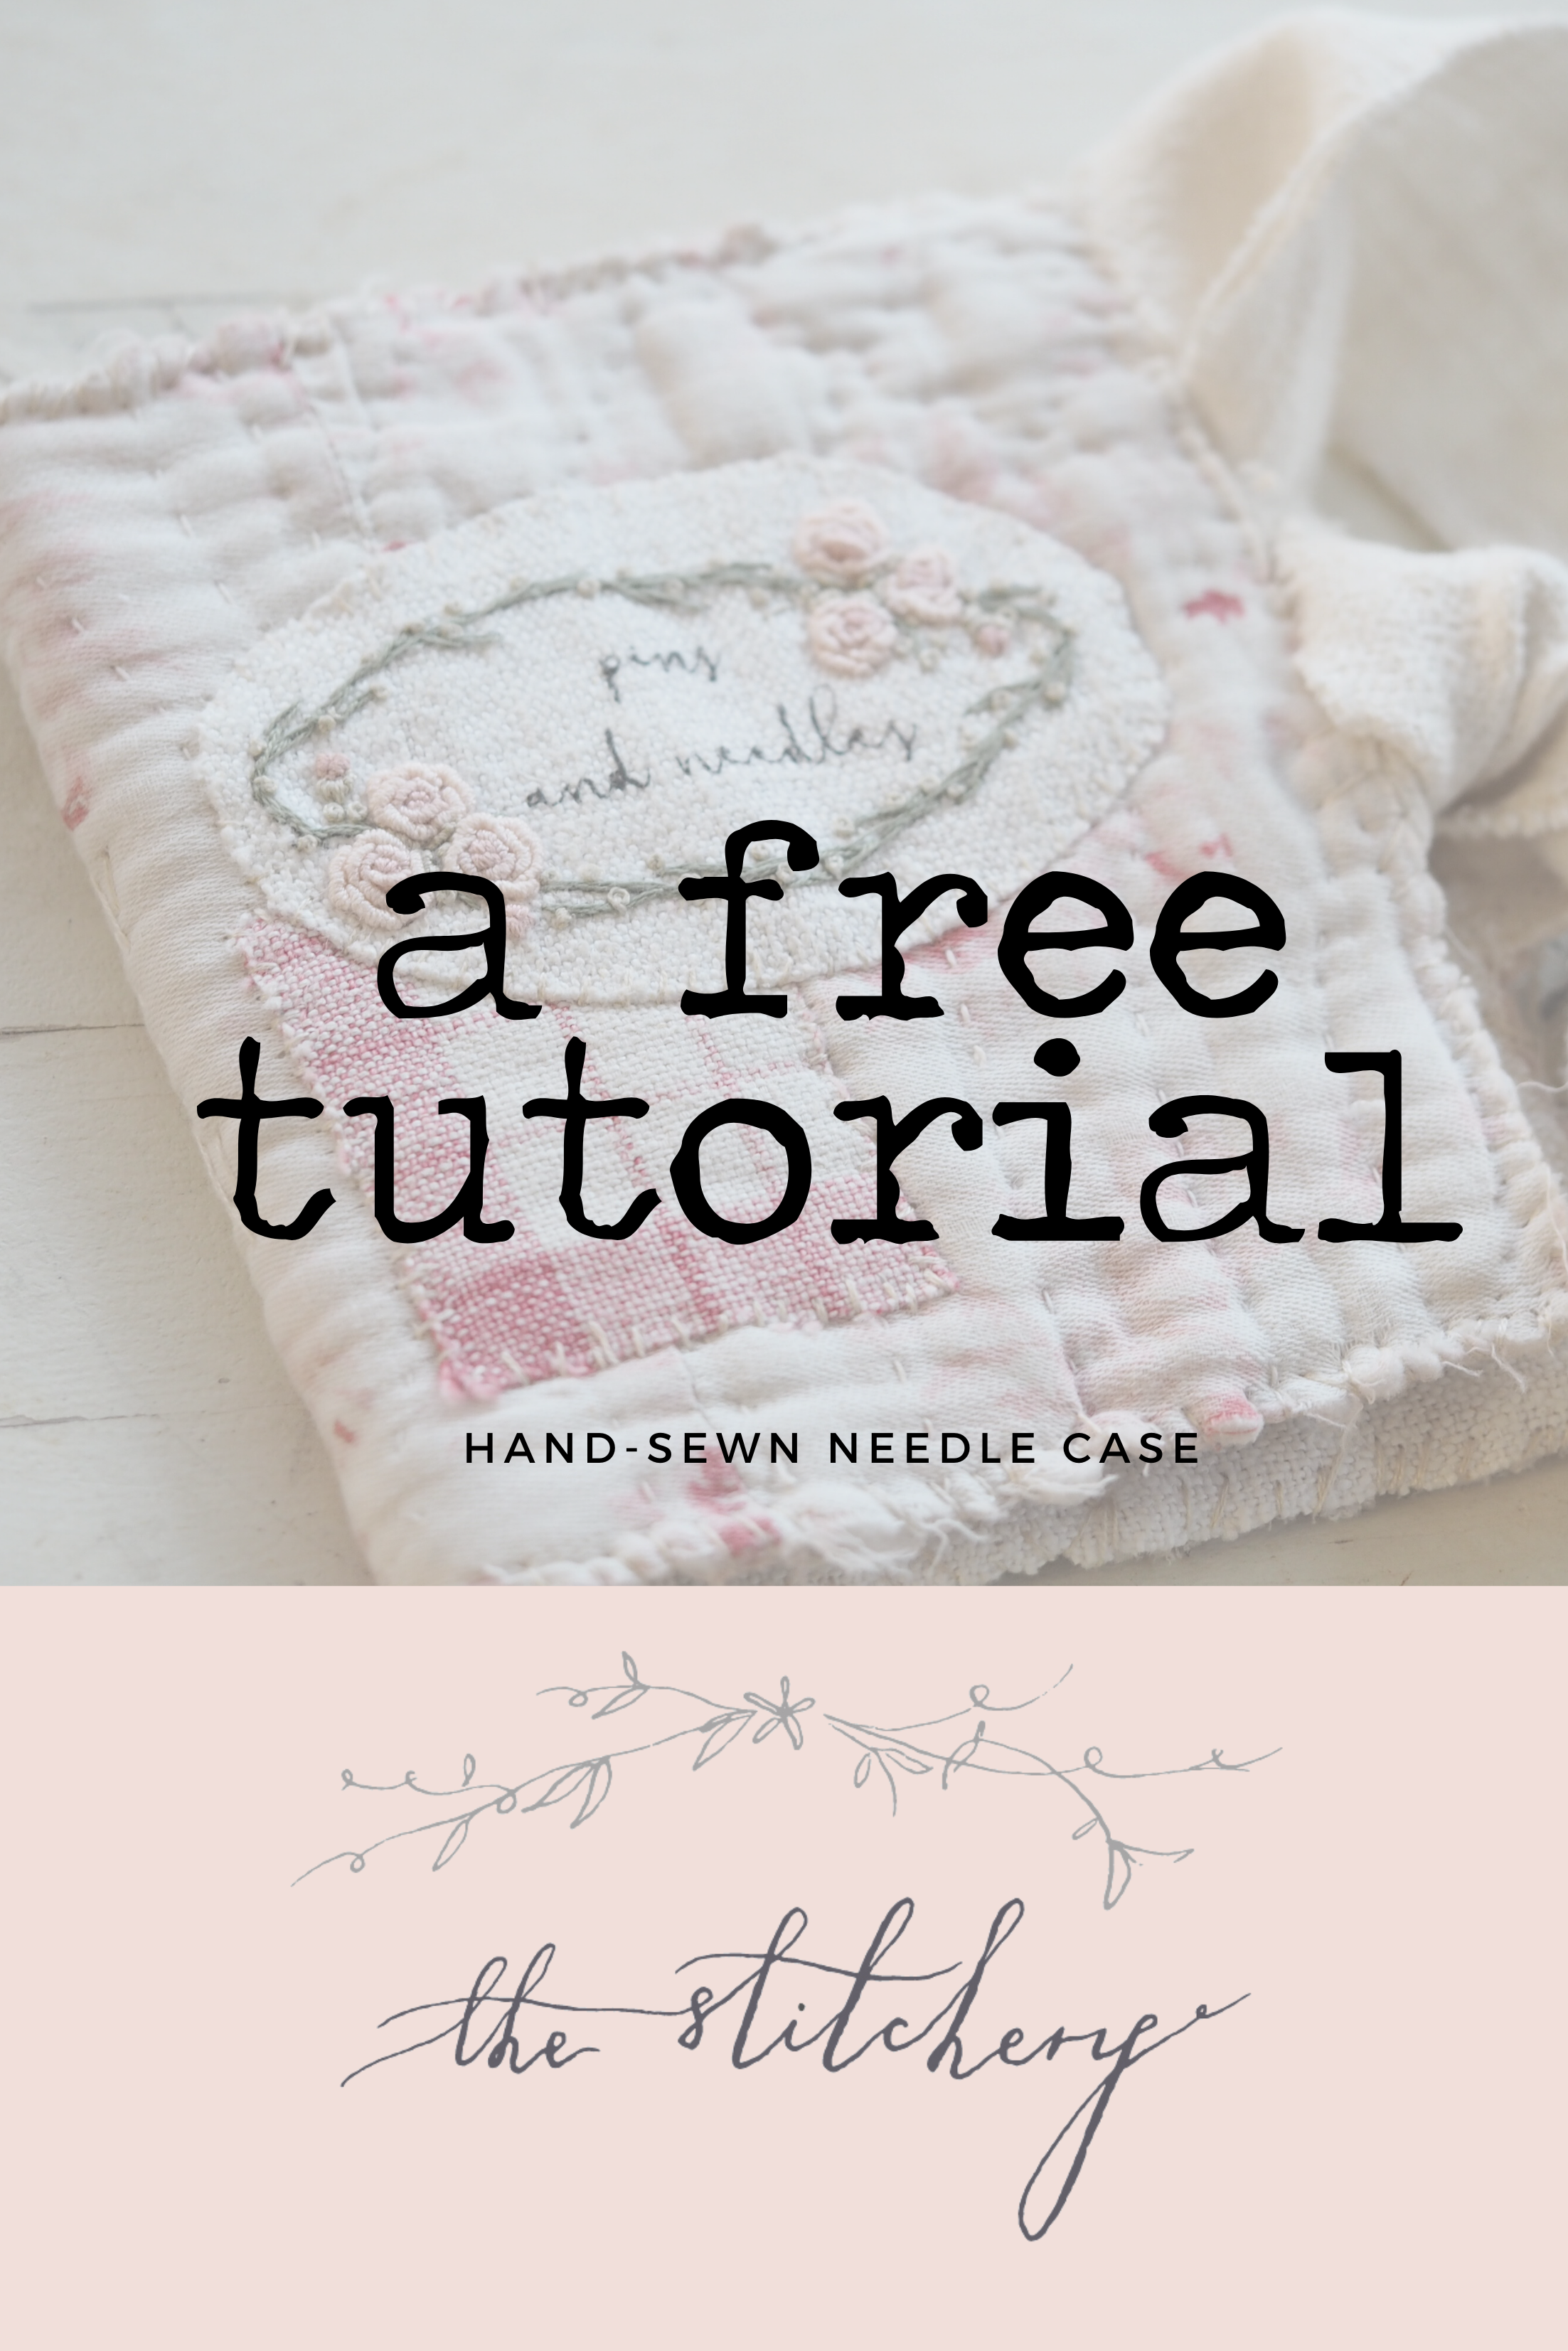
Free Tutorial: Antique Quilt Needle Case


P3232487.jpg

Regular followers will know that I love a needle case! I make them a lot for myself, and friends, and often buy them from fellow makers. A handmade needle case makes a lovely gift for a stitching friend; you can make them as simple or intricate as you like; as small or as large as you fancy.

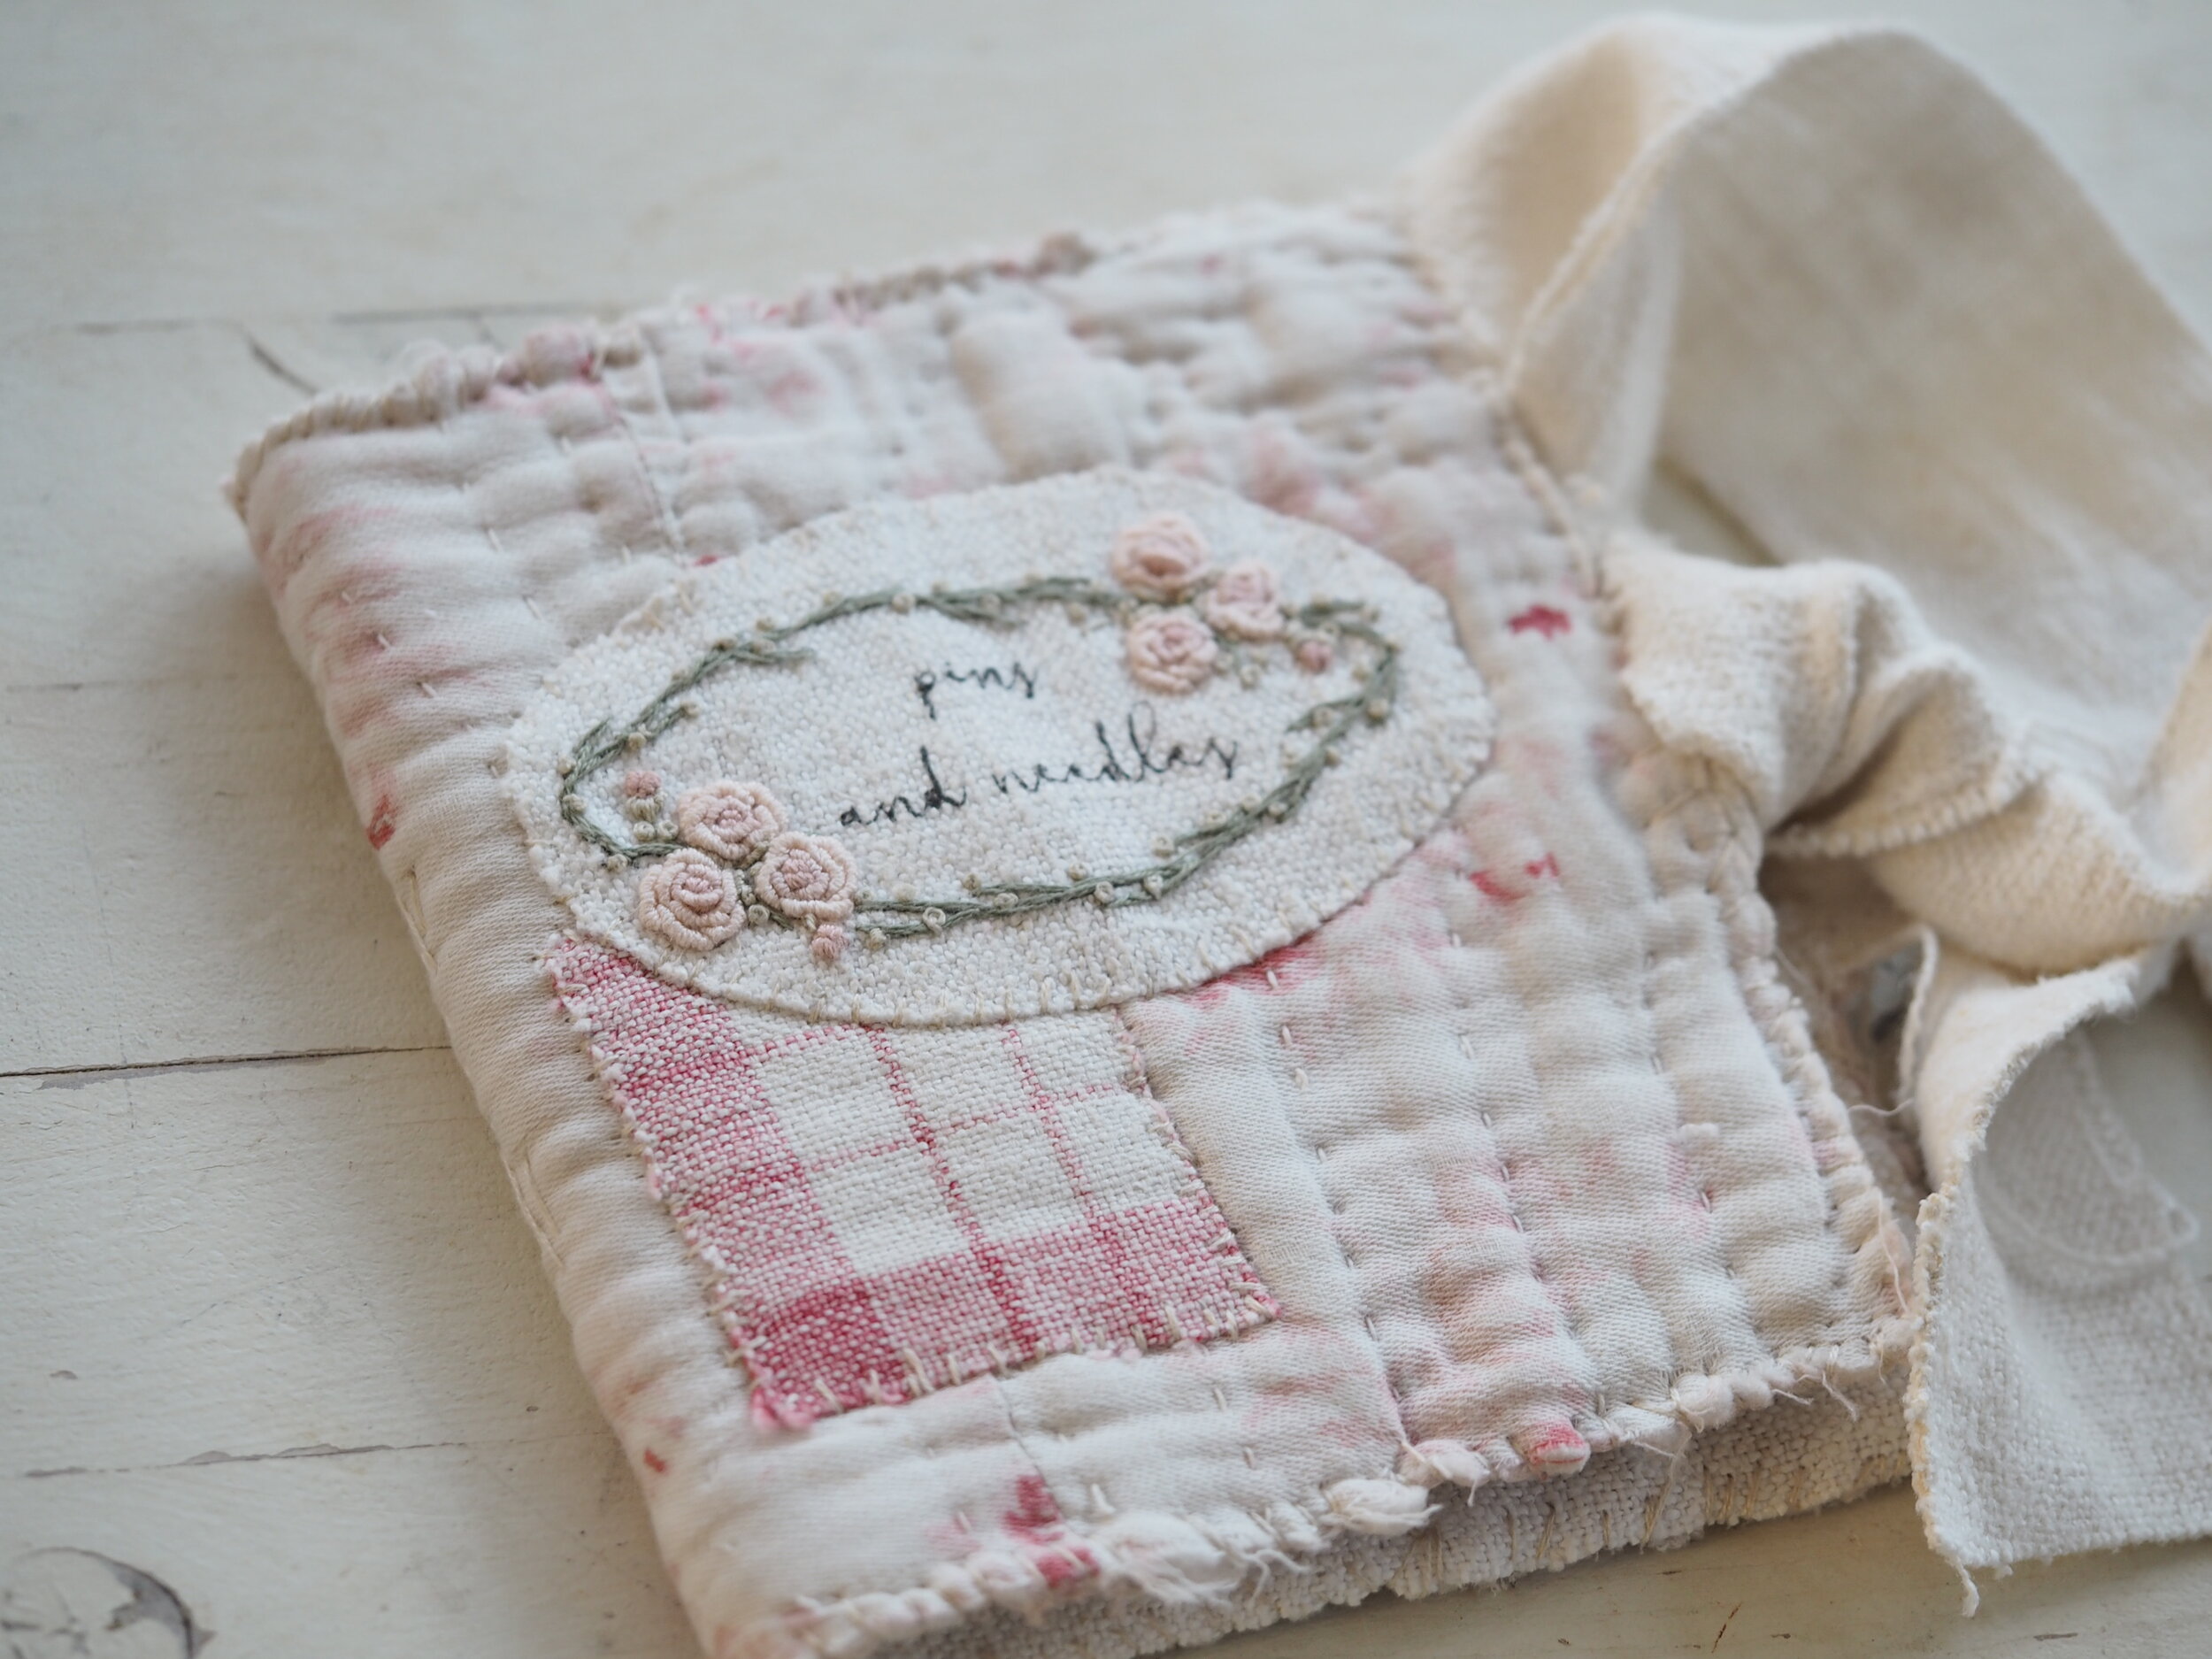
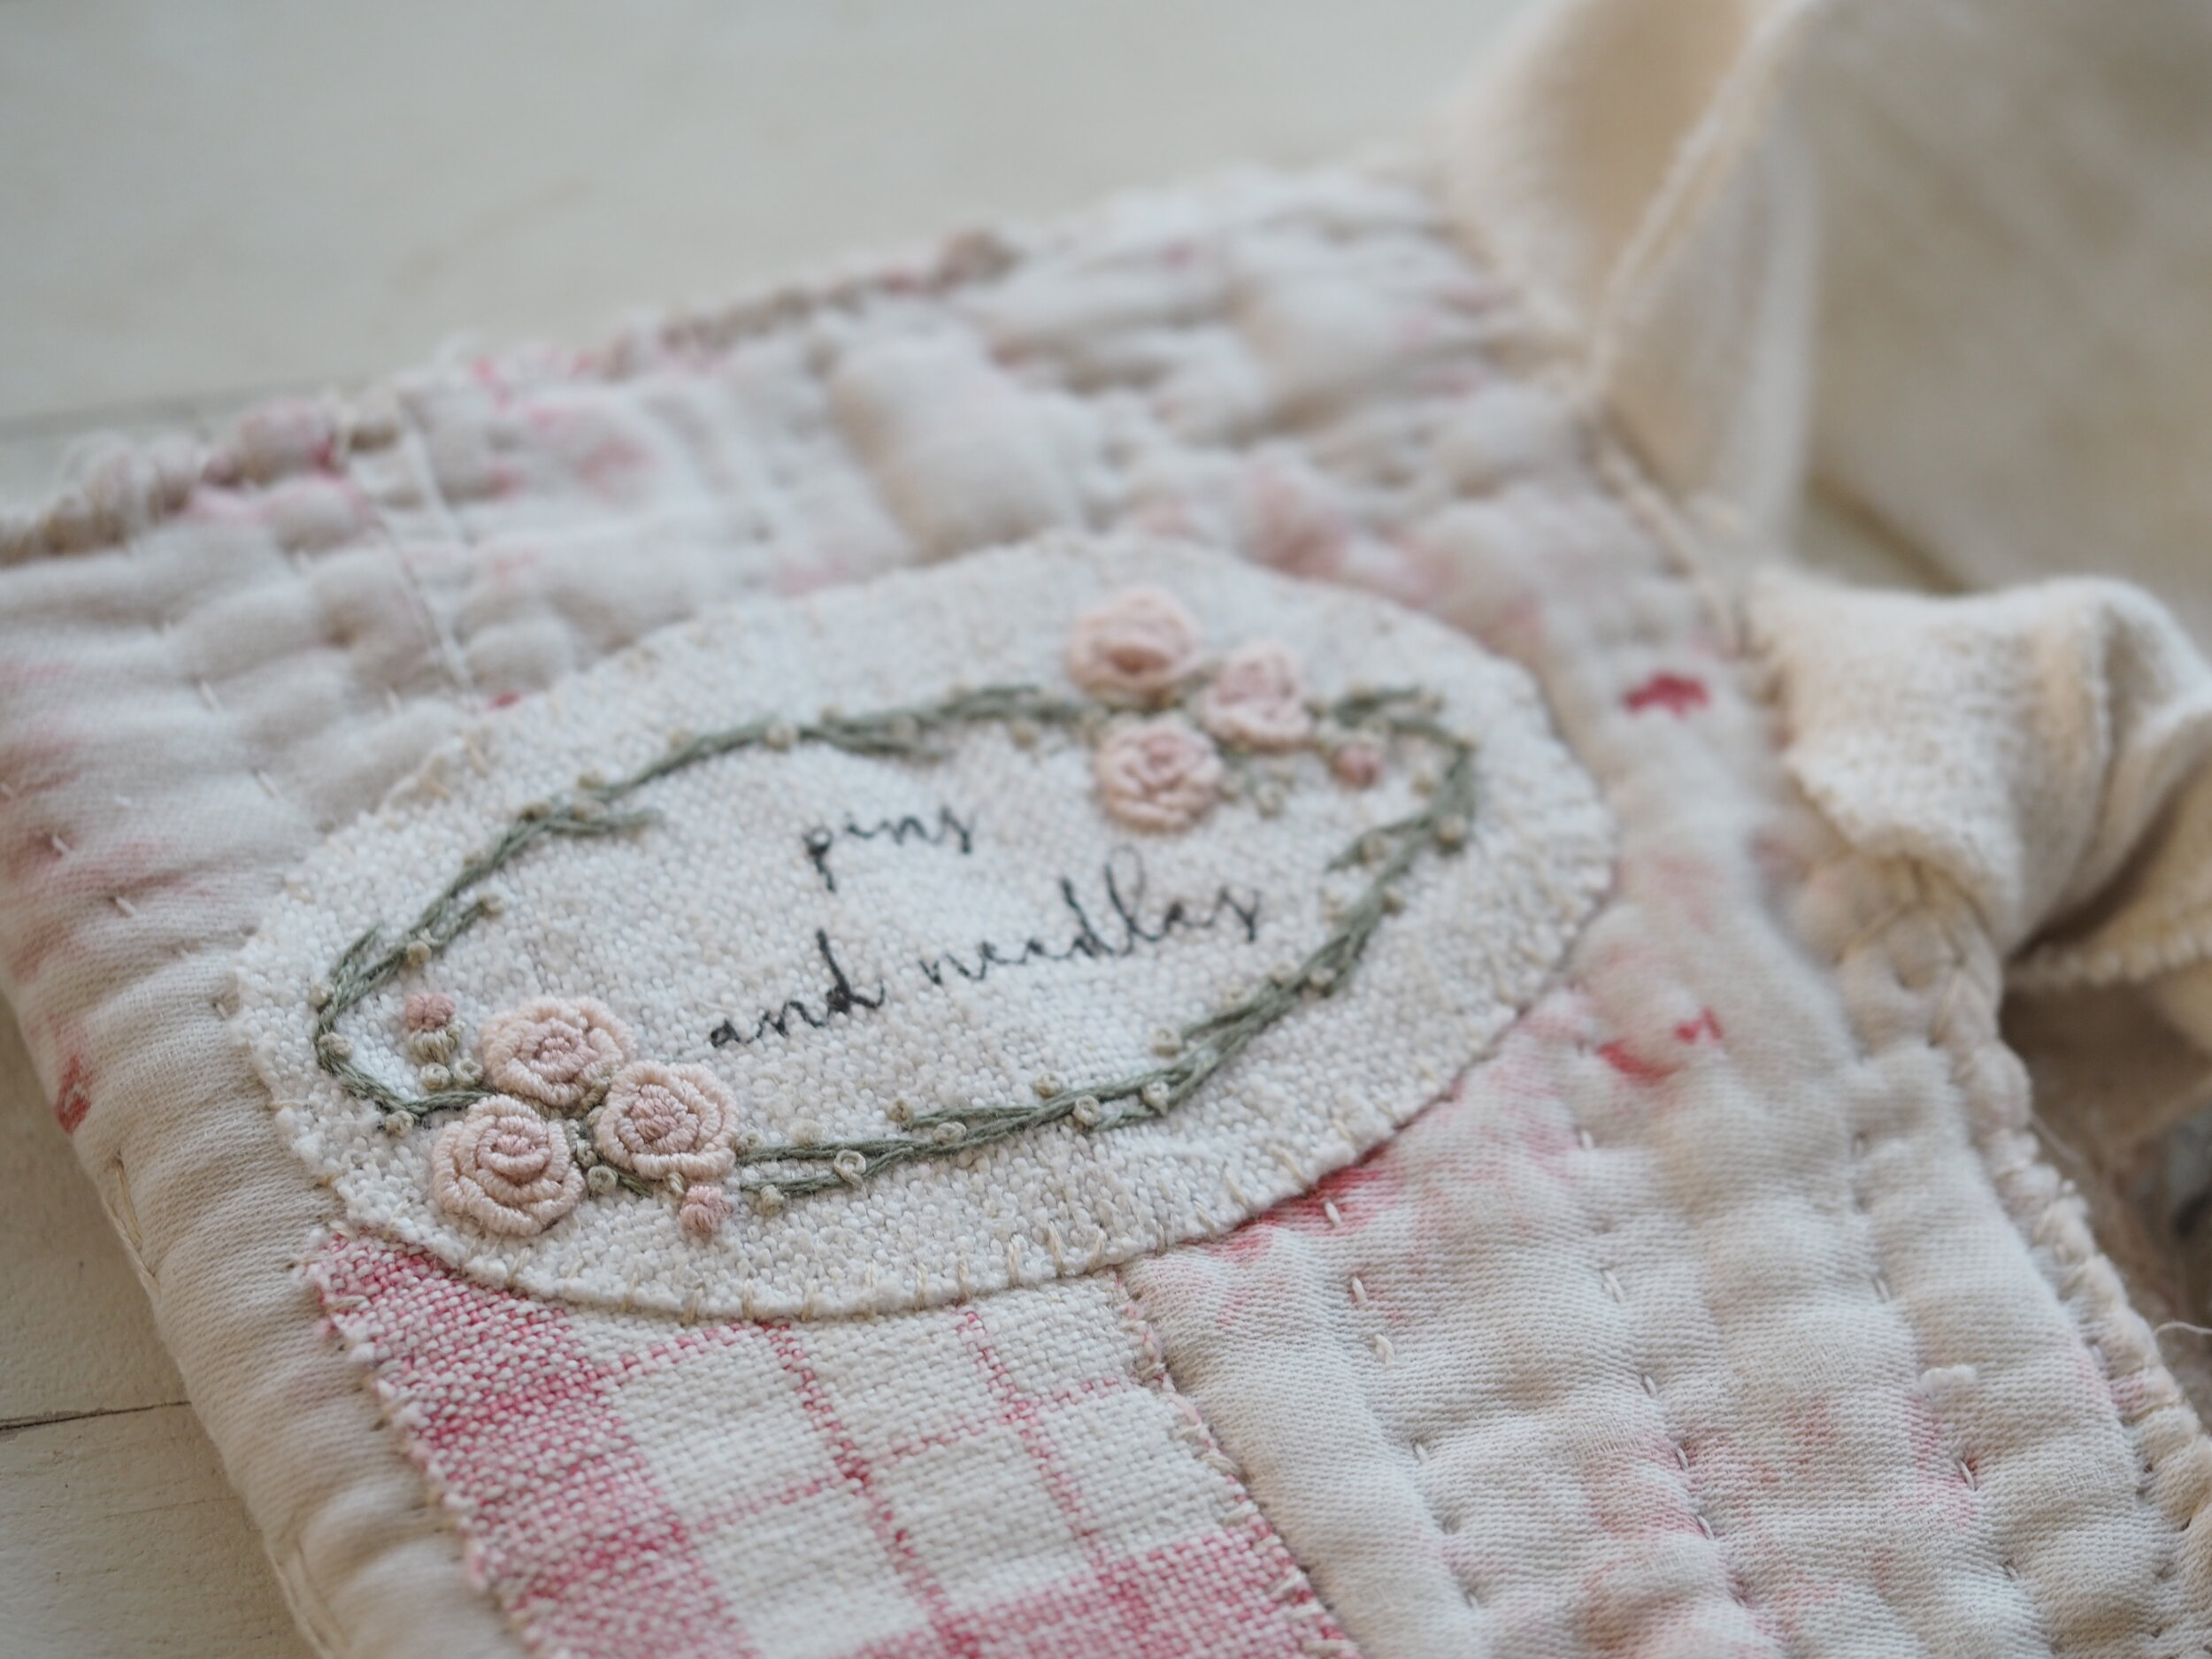
This is a tutorial for a very simple hand sewn needle case. I designed it for a workshop at The Dorset Brocante and provided the little printed patch for stitchers to embroider and attach to the front of the book. The patch is available here if you’d rather buy one but you can make your own patch quite easily if you like. I’ve added the pdf pattern below if you’d like to trace it - I printed the pattern and text on to mine and left the text as is, without embroidery. It is permanent ink so won’t disappear. For the text you could use small rubber stamps or handwrite if you have neat writing (I don’t).

Below is the list of items you will need. Gather your supplies, grab a cuppa and let’s get started.

Pins and Needles you will need.jpg

Complete the embroidery

Download the pattern here and transfer using your preferred method and fit a hoop to your fabric. A 4” hoop is perfect.

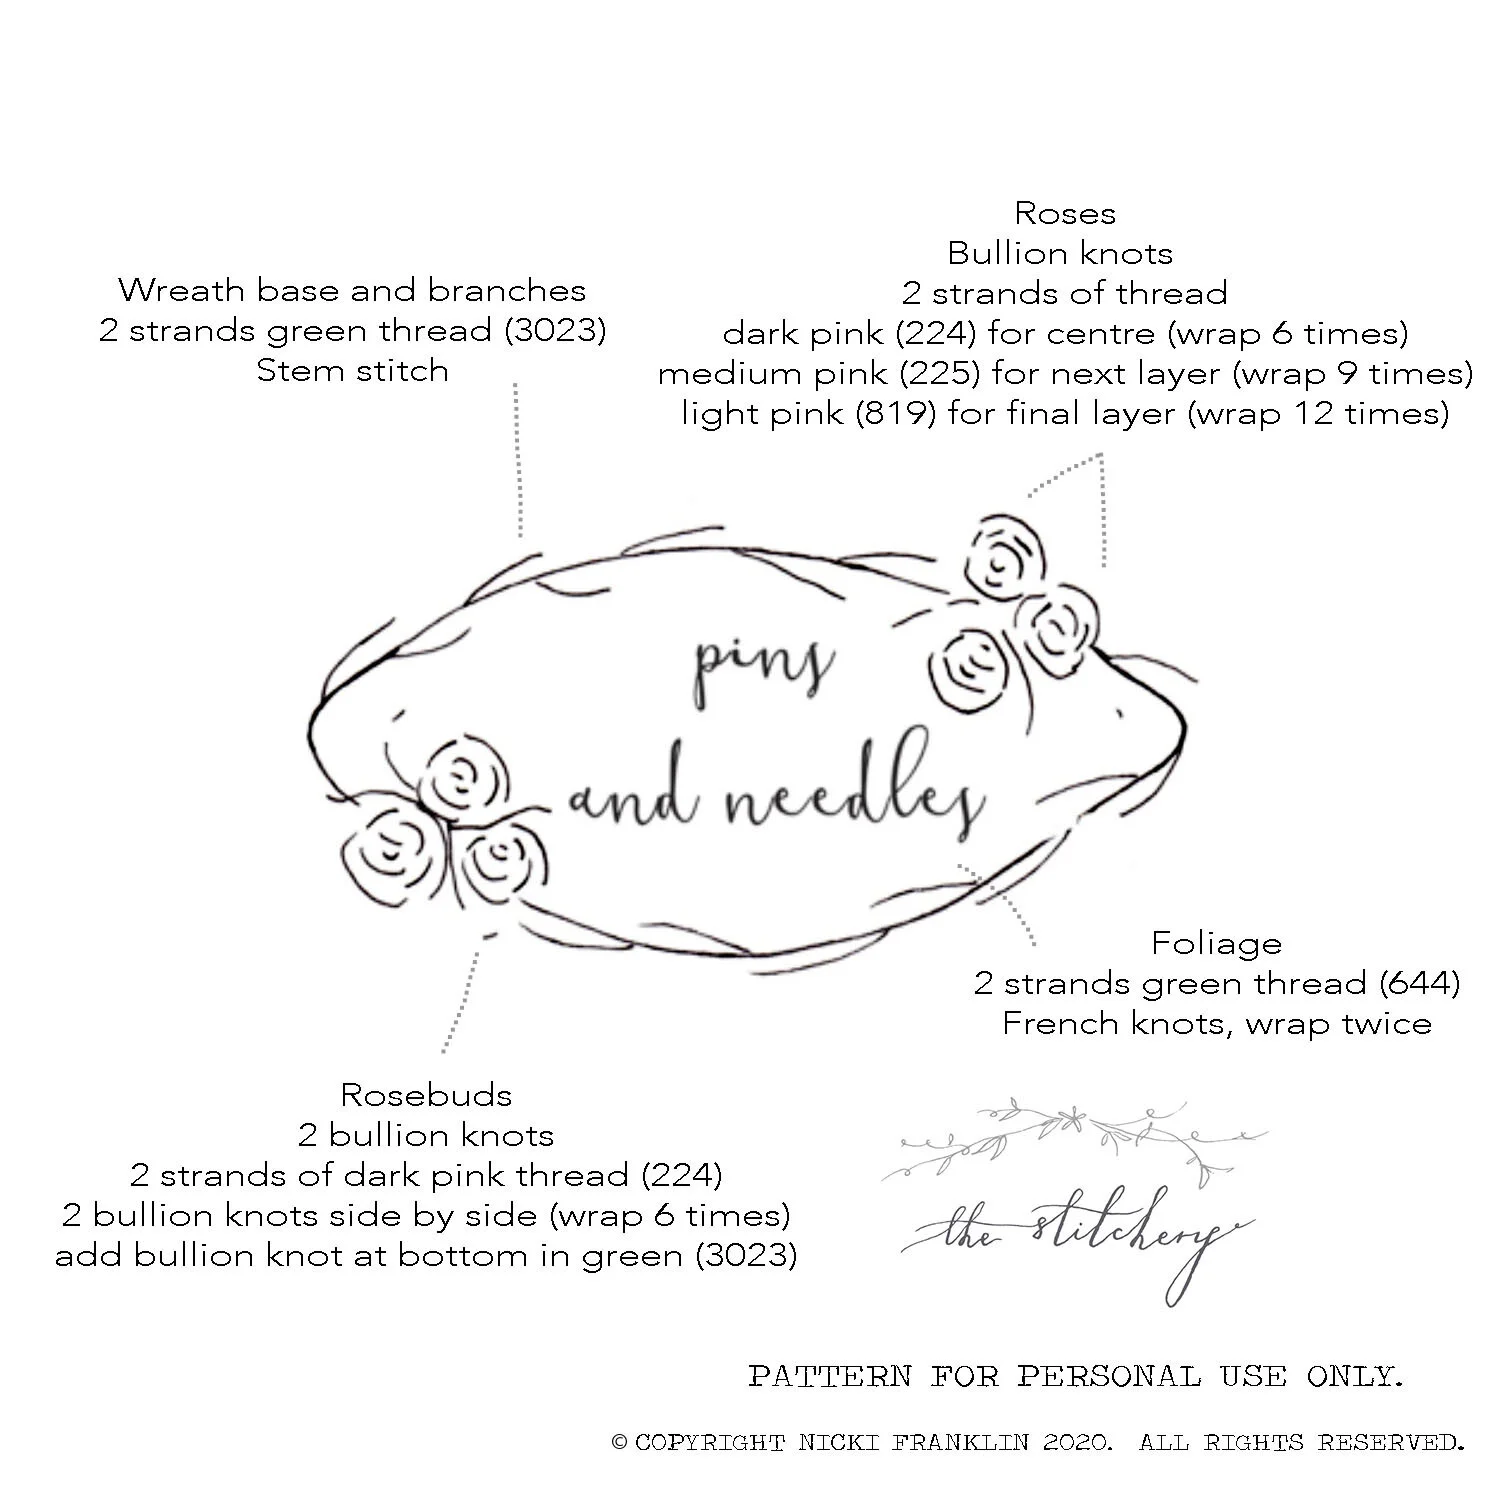
Begin with the wreath base and branches. Using two strands of darker green (I used DMC 3023) work a split stitch to cover the base and all branches. Add little French knots for foliage randomly around the base. I used two strands of light green thread (DMC 644) and wrapped twice around the needle.

To stitch the roses, first make two bullion knots close together for the centre of the flower (the rosebud). Use two strands of the darker pink (DMC 224) and wrap around the needle six times. Make sure they are close together with one slightly higher than the other.

Make three bullion knots around the rosebud. Use two strands of medium pink (225) and wrap around the needle approx 9 times. Make sure you curve the knot around the rosebud as you lay down the stitch. Take care also to overlap the petals for a more realistic effect.

Finish the outer layer of the rose petals with the lightest pink (DMC 819). Again using two strands of thread, make bullion knots overlapping and curving around the flower, you will need to make five or six bullion knots to cover around the edges. Wrap around the needle 12-14 times. Add French knots in the light green (DMC 644) in and around the roses.

Make rosebuds where indicated on the photograph. Do this as per the first round of stitches for the whole flower but make a bullion knot in green (DMC 3023) to curve around the bottom of the petals to suggest a calyx.

If you don’t like bullion knots, you can make the roses with spiralling stem stitch or a woven wheel.

Press your work on a fluffy towel and it is done!

P3232485.jpg
annotated pattern.jpg

P3232484.jpg

Make up the case:

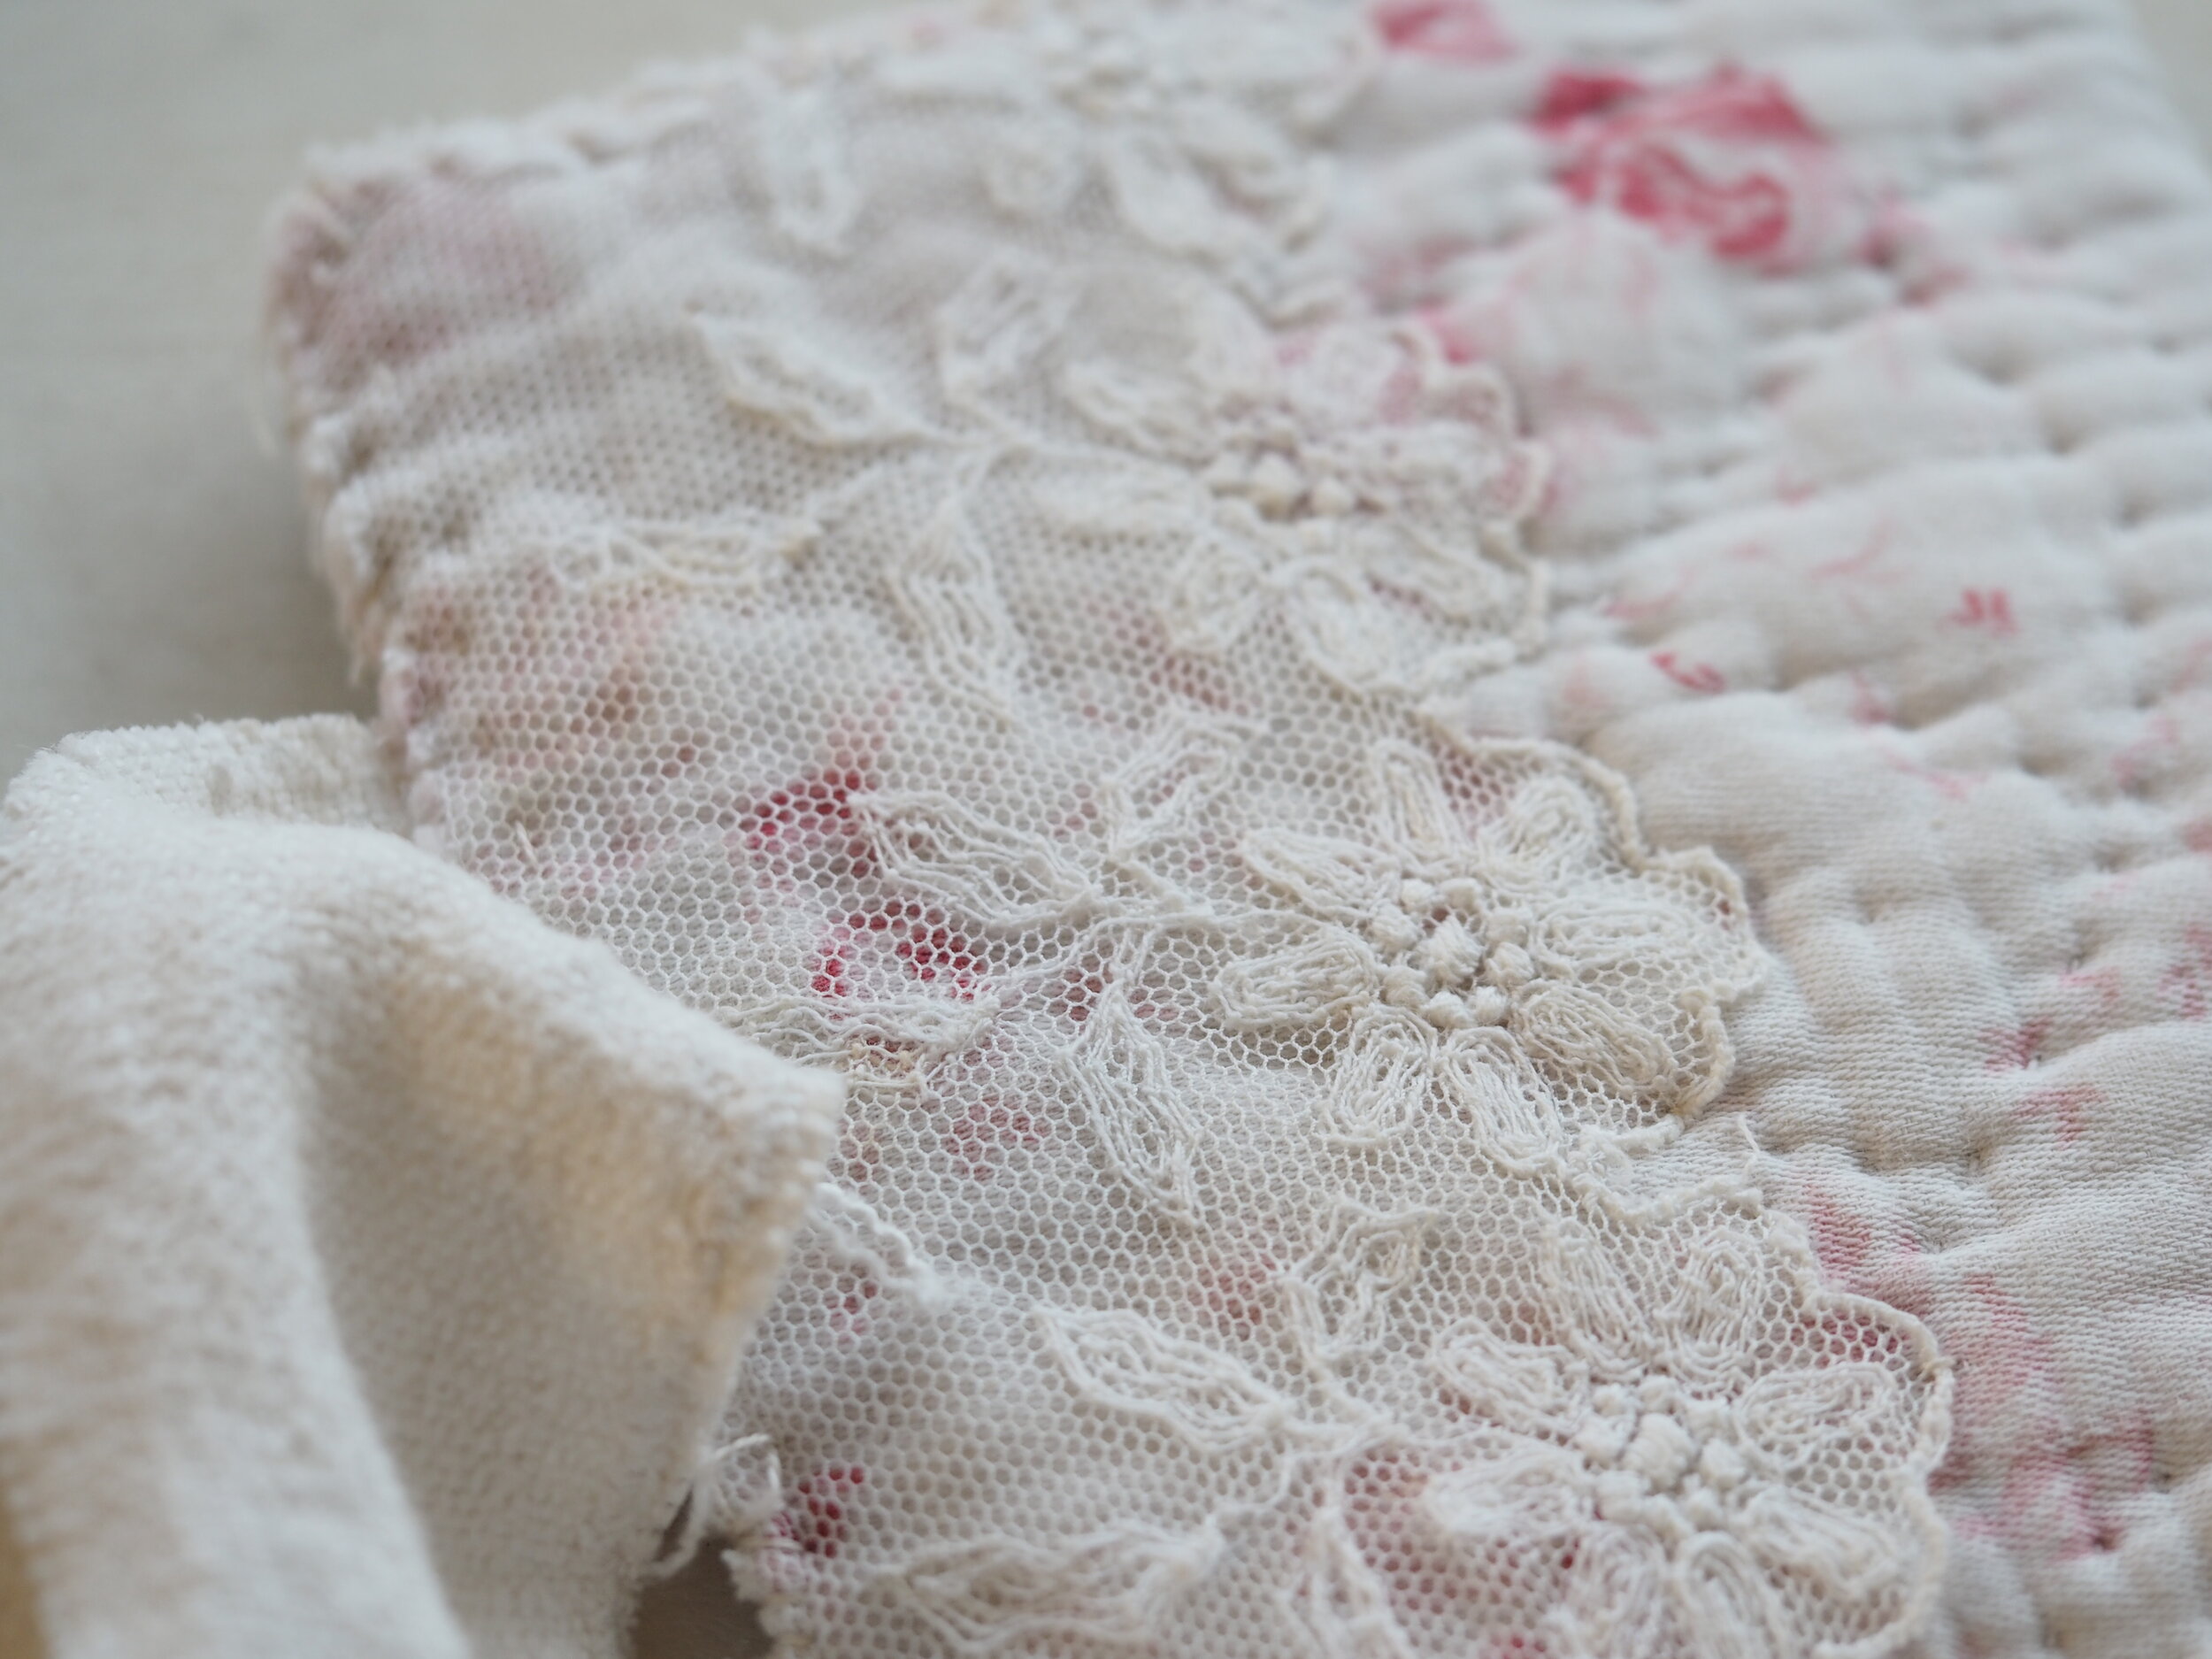
Stitch the lace to the back of the needle case using tiny stitches across the edge just to catch it down.  Use one strand of your ecru thread for this or a neutral general sewing thread.

P3232493.jpg

Cut a small patch or two of contrasting fabric and apply fusible web to the back with a hot dry iron. I used a piece of old checked fabric. Apply fusible web to the back of the fabric patch with a hot dry iron.  If you haven’t used fusible web before: The paper side of the web should be on the outside and the cobwebby fusible side of the web should be facing the back of the fabric.  Press with an iron for a few seconds and let cool.  Remove the paper from the back of the fabric (score down the centre with a pin to make it easier to remove).  The back of the fabric will now seem slightly rubbery – this is the adhesive and means it is ready to be fused to the needle case.  Put the fabric in place on the quilt piece, right side up and press with an iron for a few seconds.  The checked fabric should now be attached to the quilt.  Stitch around the edge of the fabric patch with a basic rough whip stitch using strands of ecru thread. Add other small patches to your quilt in the same way if you like.

Now fuse the embroidery to the bondaweb in the same way and cut an oval shape around it.   Attach to the front of the needle case and stitch around the perimeter, again with a basic whip stitch. These whip stitches are just decorative as the bondaweb will hold the patches in place permanently.

rough stitches catch the linen ties in.

rough stitches catch the linen ties in.

Catch the linen ties in place on the inside of the needle case using a couple of stitches trying not to come through at the front of the quilt (these stitches can be removed at the end if they do show so don’t worry too much.)

Attach the plain linen to the inside of the needle case using bondaweb  and work a rough stitch around the edge, being sure to catch the edge through the linen ties.

P3232490.jpg


P3232491.jpg

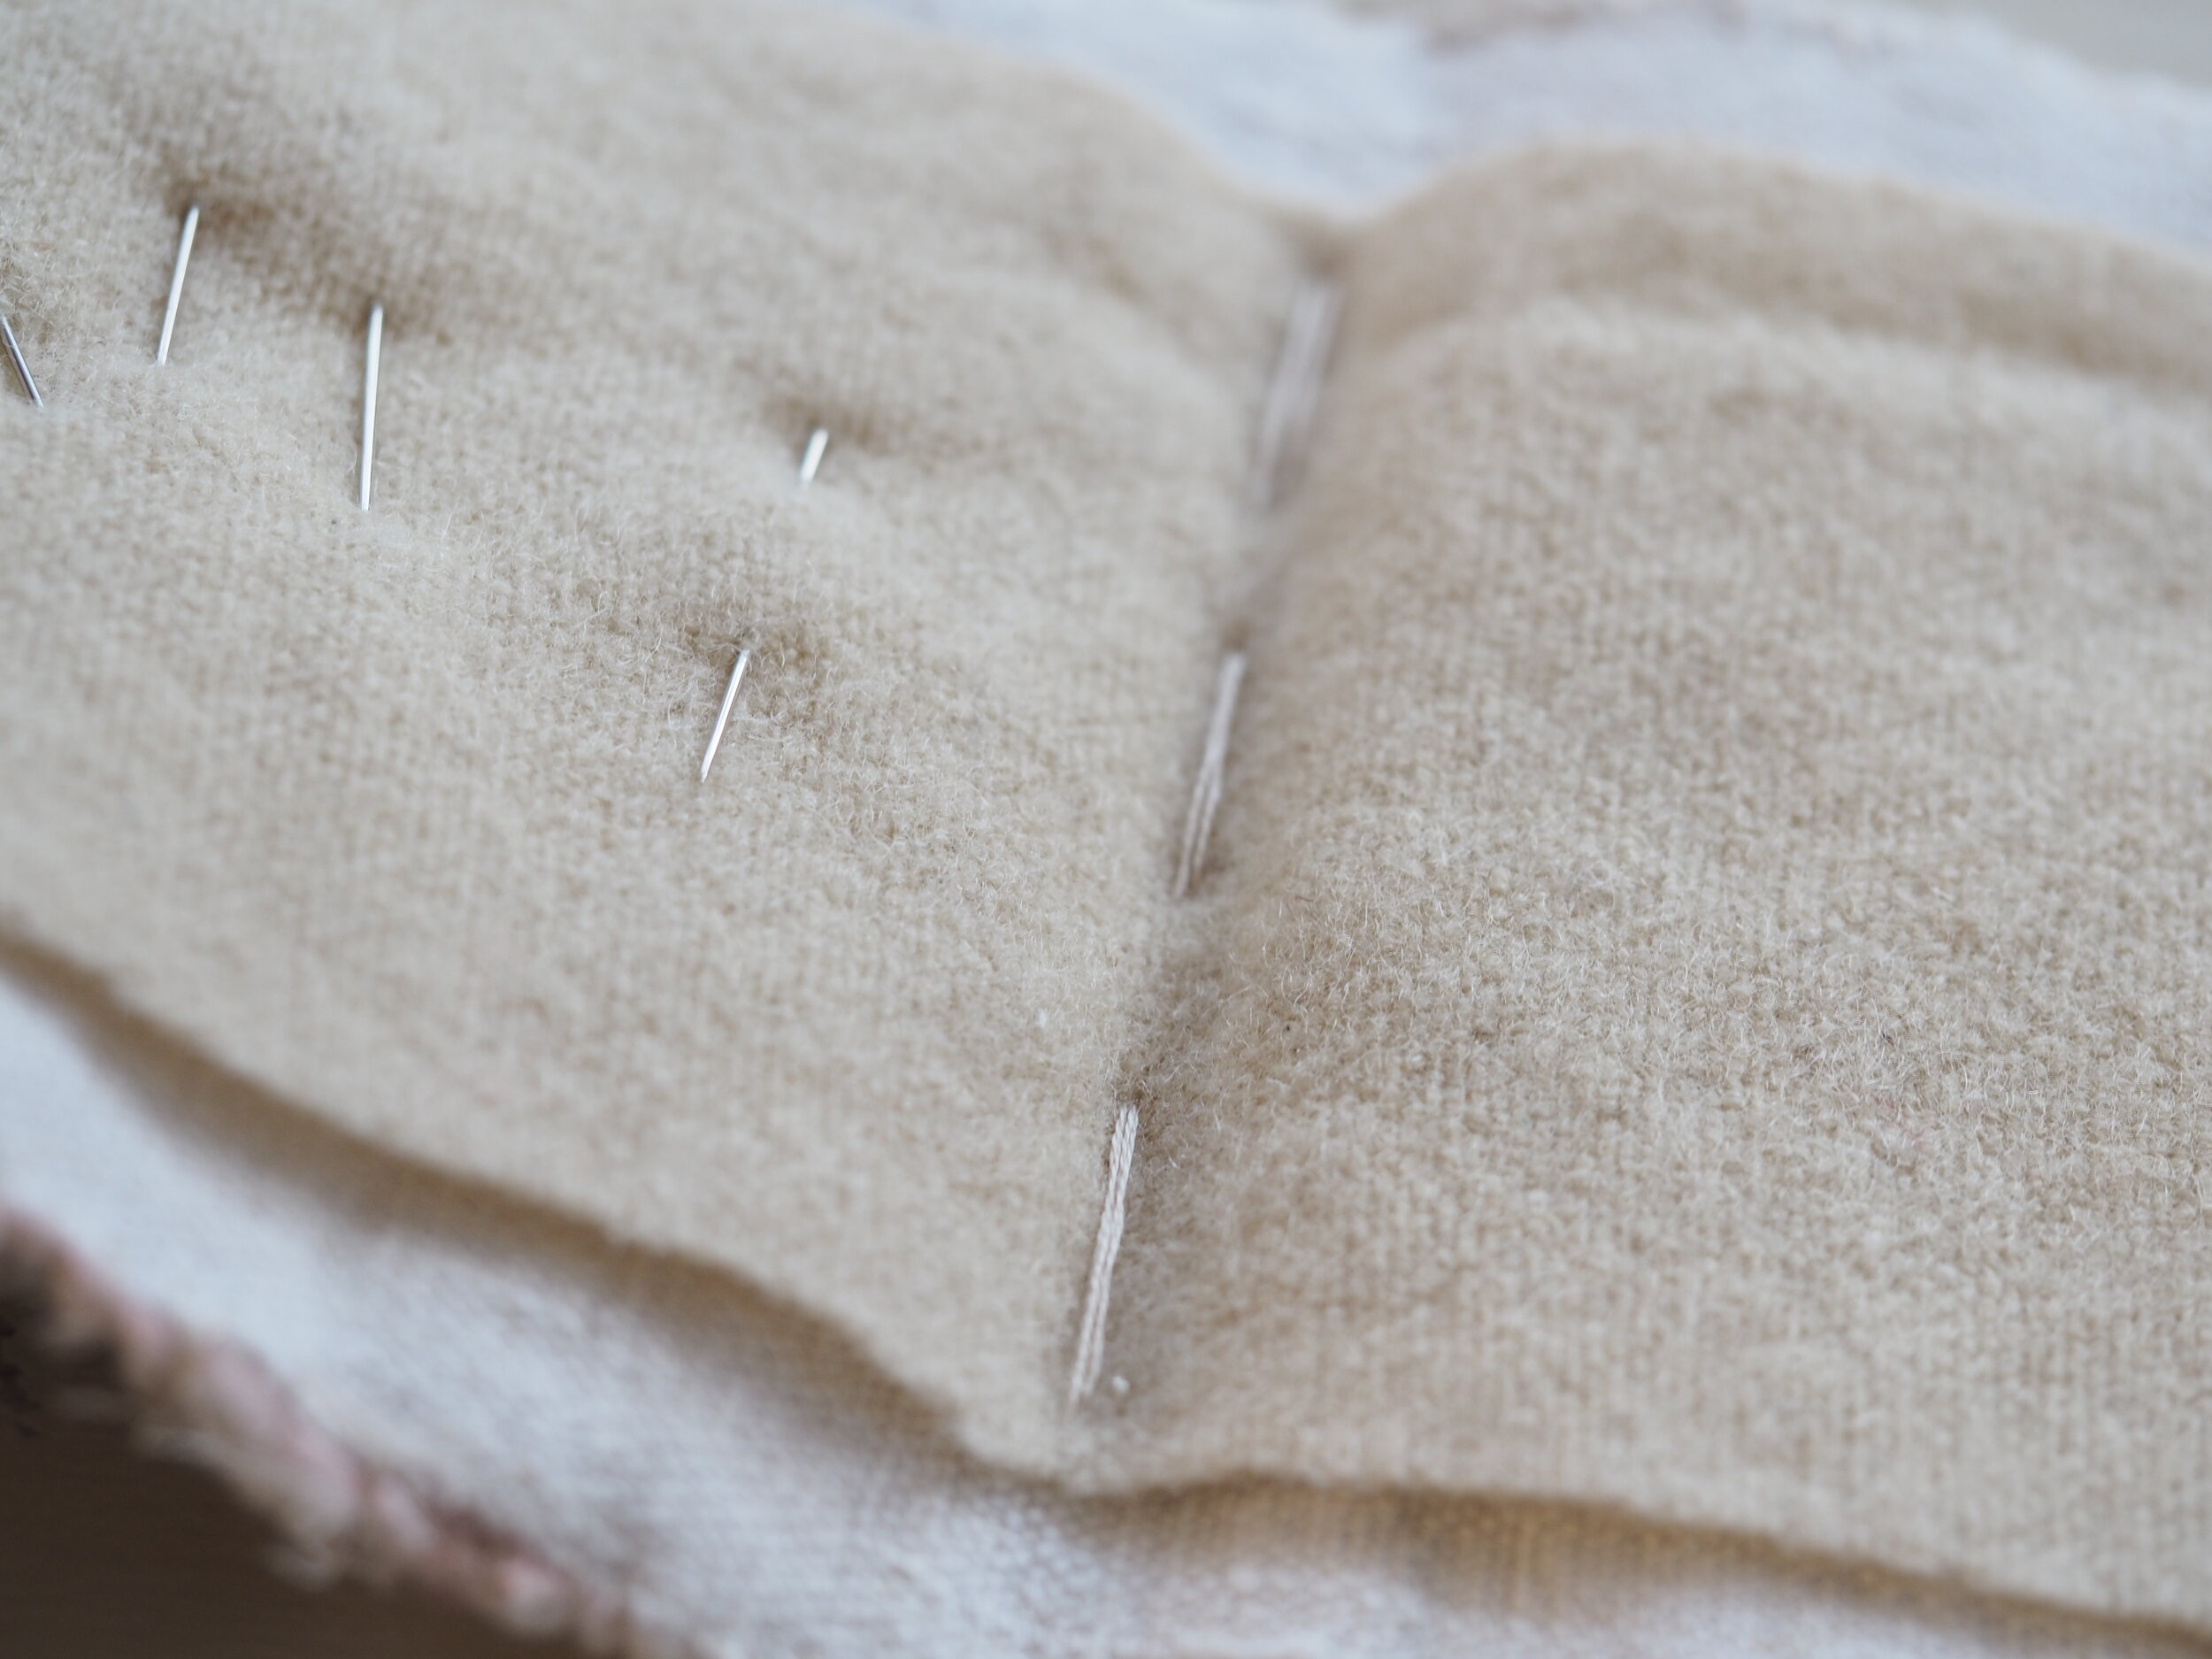
Attach the piece of wool to the centre of the case with with a basic long running stitch.  Fold and press the case – you are done!

Pattern notes:

If you don’t have fusible web you can attach the patches and linen using only the stitches but be sure that your whip stitch is strong and secure. You could also hand quilt the inner linen to the quilt piece to further secure it.

Add an extra square of felt to the front and back of the needle case for additional room. You could also make a simple pocket for your scissors by attaching another piece of fabric on the inside. The idea of this needle case is that it is rough yet tactile, with the shabbiness of the quilt and the torn linen contrasting with the delicacy of your embroidery.

You could of course add two pages of wool felt to the centre of the needle book. Patches, darning and embroidery inside the case would be pretty too.


If you’d like to have a go at making your own embroidery pattern, draw a rough oval and position flowers where you like (you could just substitute the roses for daisies or make a wreath of hyacinths around the edge). I used an old pink quilt piece and the pink roses fit beautifully but white roses are a good option too. Choose a darker beige for the centre (maybe DMC 3033) with an off-white for the next layer of petals (maybe DMC 3866) and then the final layer with a brighter white (DMC 3865). I rarely use DMC Blanc; it is almost glaringly white; 3865 is much softer.

I would love to see your version on social media; I especially love progress photos with cups of tea and scraps of fabric laying around. Please share via #thestitcherystudio hashtag on instagram if you can. It is nice to feel connected, particularly now.

Happy stitching (and if you notice a typo or something isn’t clear please drop me a message below and I’ll fix it.) .

With love,

Nicki x

PIN ME to remember for later…

Pinterest pin needlecase.png